")
This past Sunday (Father’s Day!) we celebrated our little hockey player’s 8th birthday! It was his first time playing this last season and I’m sure it will not be his last. He loves Hockey!
 |
| A photo from the Parent vs. Players Hockey Game last March! |
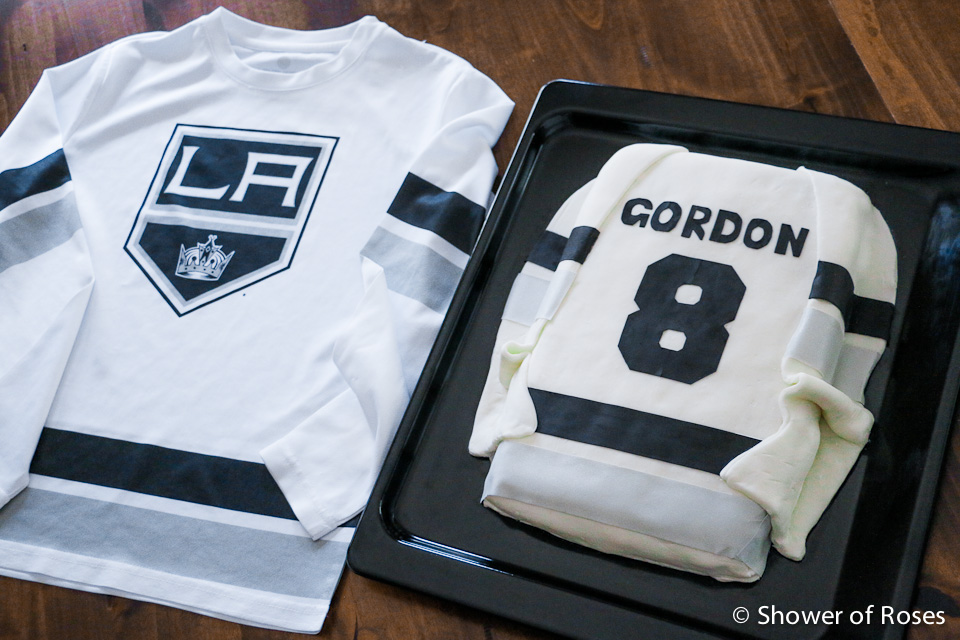
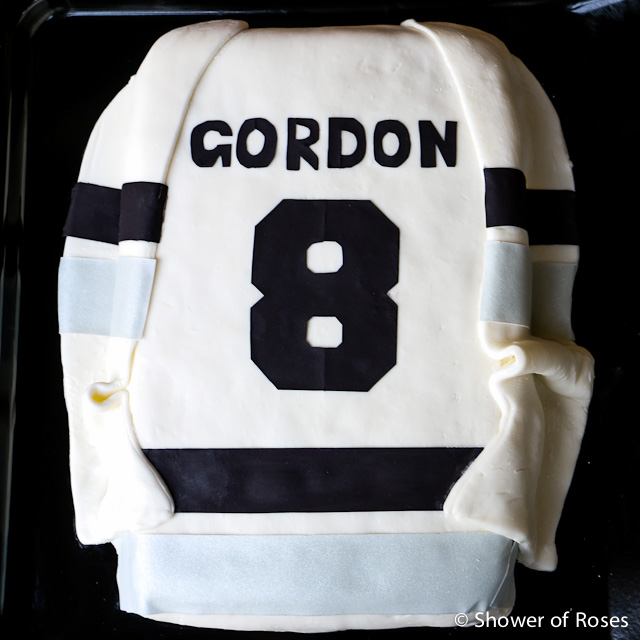
He had requested a hockey themed birthday earlier this year and of course, other than ordering a couple gifts, I put off making any plans until the very last minute this past Saturday! After a trip to the craft and grocery stores, and some help from my husband and older children, it all came together Saturday afternoon and evening. I wanted to do something different than our older son’s Capitals themed Hockey Birthday (over 5 years ago on his 8th birthday!) so I ended up focusing on black and silver for the LA Kings, the birthday boy’s favorite NHL team, and made a Hockey Jersey Birthday Cake. The cake was such a hit and could be easily modified for any sport or team!

Supplies:
- 1 – 9×12 Sheet Cake, frosted (the birthday boy requested a plain yellow cake with vanilla marshmallow frosting)
- 1 batch of Marshmallow Fondant (recipe below)
- Sugar Sheets in desired team colors – I used Silver and Black for the LA Kings (I hand cut the letters used for the name out of the black sugar sheet, but you could also use the Alphabet Sugar Sheet.)
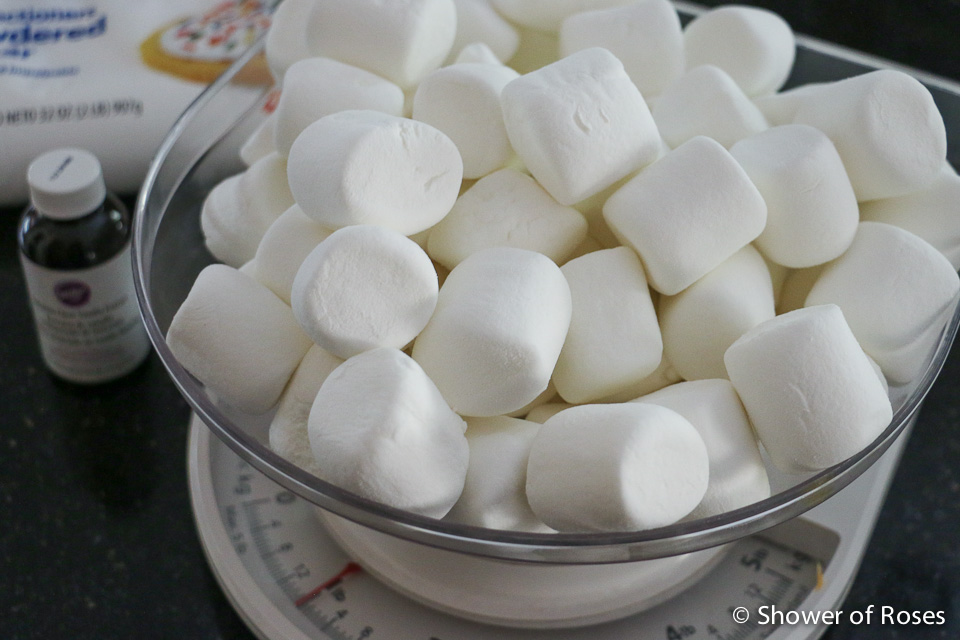
I made this recipe again with regular sized marshmallows, however I didn’t refrigerate it overnight as suggested. It probably would have been much easier to roll and place had it been refrigerated.
This was only the second time I’ve made my own fondant, and the first time I’ve tried covering a whole cake, but I’d definitely do it again! Everyone always loves the marshmallow fondant.
Ingredients:
- 1/4 cup butter
- 1 (16 ounce) package marshmallows
- 1/4 cup water
- 1 teaspoon vanilla extract
- 2 pounds confectioners’ sugar, divided
Directions:
- Place the butter in a shallow bowl, and set aside.
- Place the marshmallows in a large microwave-safe bowl, and microwave on High for 30 seconds to 1 minute to start melting the marshmallows. Carefully stir the water and vanilla extract into the hot marshmallows, and stir until the mixture is smooth. Slowly beat in the confectioners’ sugar, a cup at a time, until you have a sticky dough. Reserve 1 cup of powdered sugar for kneading. The dough will be very stiff. (You may end up needing additional powdered sugar to get the right consistency… I did.)
- Rub your hands thoroughly with butter, and begin kneading the sticky dough. As you knead, the dough will become workable and pliable. Turn the dough out onto a working surface dusted with confectioners’ sugar and continue kneading until the fondant is smooth and no longer sticky to the touch, 5 to 10 minutes.
- Form the fondant into a ball, wrap it tightly in plastic wrap, and refrigerate overnight. To use, allow the fondant to come to room temperature, and roll it out onto a flat surface dusted with confectioners’ sugar.
Decorate Cake:
Roll out white Marshmallow Fondant, reserving some to use for the sleeves. Cover the cake with fondant and trim off any excess. (Note: I really needed a larger fondant rolling pin – mine is pretty small and my rolling pin is too heavy – and had trouble rolling my fondant large enough to cover the whole cake, so I just made sure it was wide enough to cover the top, and long enough to cover the top and bottom of the jersey. The sleeves took care of the other two sides.)
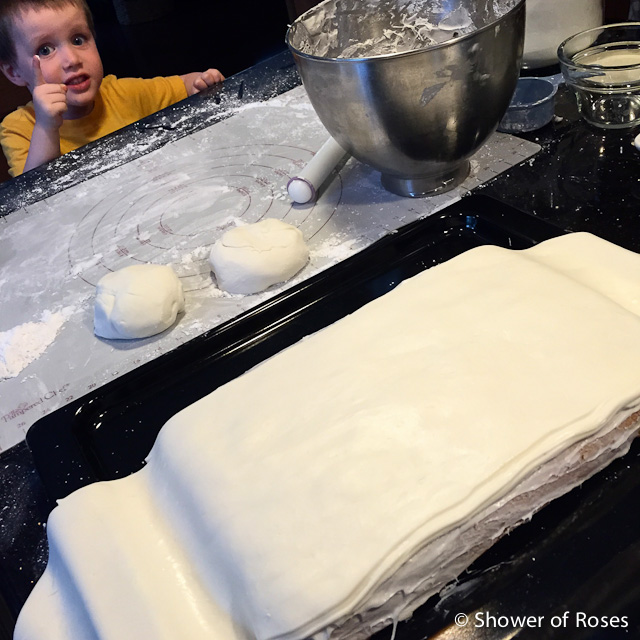 |
| That moment while making one of my kids’ birthday cakes when I think it’s going to be a total failure…. #happenseverytime #decoratingcakesisstressful #atleastsomeoneisexcitedabouttheprogress |
Before adding the sleeves I placed a silver and black stripe at the bottom of the jersey using the sugar sheets. I had purchased the sugar sheets “just in case” and I was glad that I did. I tried to color some of the marshmallow fondant using a lot of black gel coloring, but instead of getting silver/gray and black I ended up with lavender and dark purple… (Actually the dark purple looks pretty black now that it’s been sitting in the fridge for a couple days, maybe it just needed a little time.) The sugar sheets were so much easier and looked great on the finished cake!

I cut the sugar sheets with a paper cutter, though you could easily hand cut them as well. I lightly misted the fondant with a little water so that the sugar sheets would adhere to the cake. At this point I hadn’t considered that the bottom corners of the cake wouldn’t be covered by the sleeves, otherwise I would have cut the sugar sheets the longest length possible versus just cutting the width. I ended up having to add in a couple smaller pieces of silver sugar sheet on each side, but it was no big deal and I was the only one who noticed the imperfections! 🙂

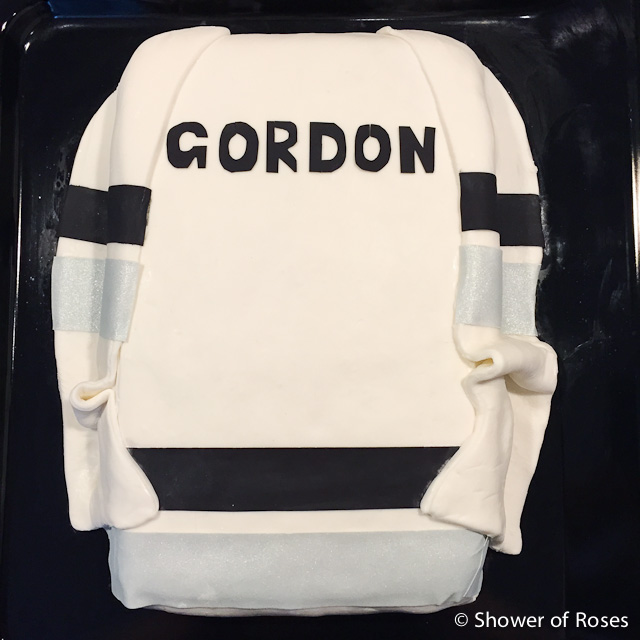
I hand cut the letters for the name at the top of the jersey and then printed out the number 8 using the “Freshman” font (you can download it here or find it at Picmonkey) to use as a template for cutting the sugar sheet.


Awesome cake!!
2015-06-23 20:35:52
Thanks! 🙂
2015-06-23 21:51:11
Oh my!!! This is incredible! Thank you for sharing the tutorial and marshmallow fondant recipe…you make the cutest cakes.
2015-06-23 22:33:05
Wonderful cake! I might just try the marshmallow fondant…..
2015-06-24 03:16:16
Thanks, Lori! The marshmallow fondant is such a great alternative to the store bought fondant – tastes better and isn't as expensive!
2015-06-24 16:31:13
Thank you, Valerie! It was a fun cake to decorate!
2015-06-24 16:31:35
Ahhhhh! I am going to try it!! I am so nervous, but you make it look relatively easy! Thank you so much for posting this!
2016-02-20 13:56:23
Did you put a marshmallow frosting on the cake before the fondant? If so, do you have that recipe? Did you just turn your cake over and put it on the tray? (Sorry – I'm so scared I'm sure I'm asking ridiculous questions).
2016-02-20 14:01:22
Hi April! Yes, I trimmed a bit of the cake off the top to make it flatter, then flipped it over on to the tray so the bottom became the top. I then spread a layer of marshmallow frosting over the cake before covering the cake in the fondant. I don't have a recipe to share – I just used a can of Pillsbury Vanilla Fluffy Frost Vanilla Marshmallow from a local store. Any white frosting of your choice would work just as well. Hope that helps! 🙂
2016-02-20 18:42:25
Thank you so very much!
2016-02-21 01:33:41