 |
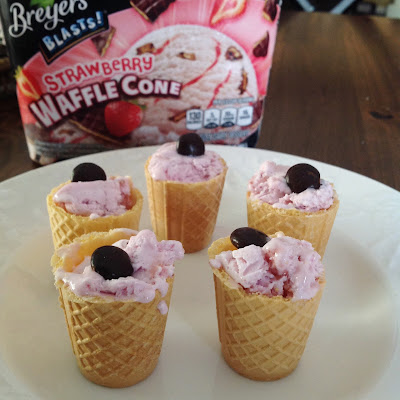
| “One of the benefits of helping mom with birthday prep = mini ice cream cones made from some of the leftovers.” – Captain |
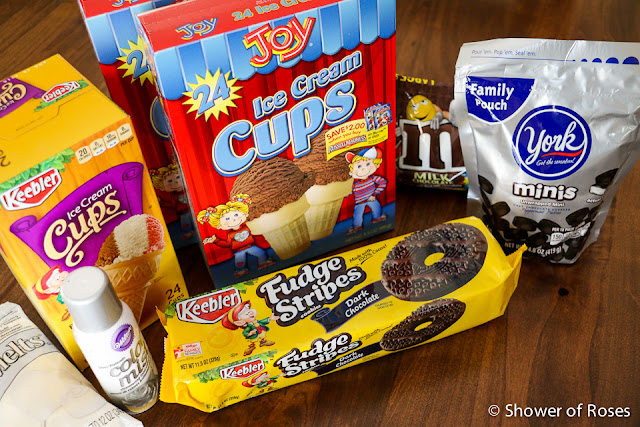
Supplies:
- Joy Ice Cream Cups (2 for each finished treat/cone)
- Keebler Ice Cream Cups (1 for each finished treat/cone)
- Keebler Fudge Stripes
- White Candy Melts
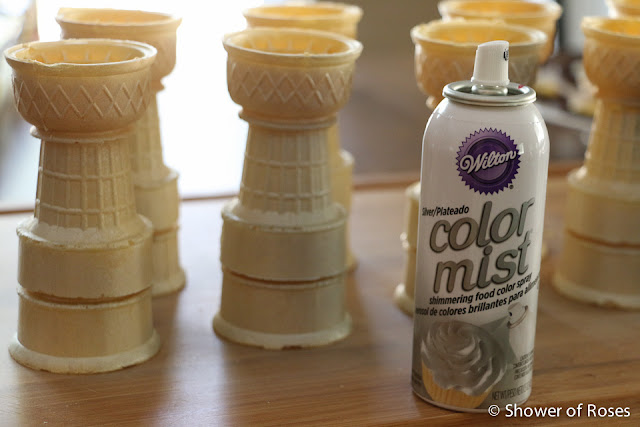
- Silver Color Mist (or use edible silver pearl dust)
- M&M’s
- Cookies & Cream Ice Cream
- York minis (optional)
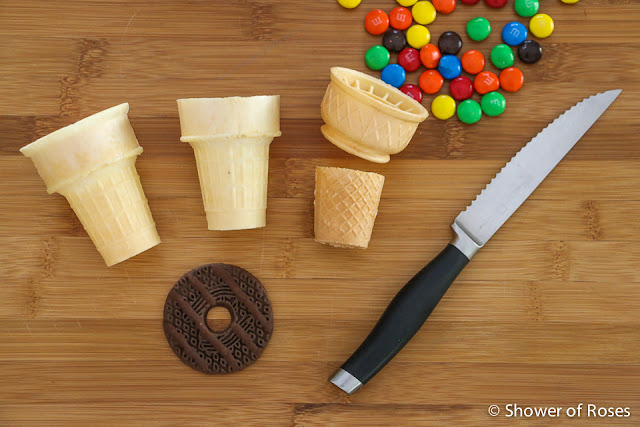
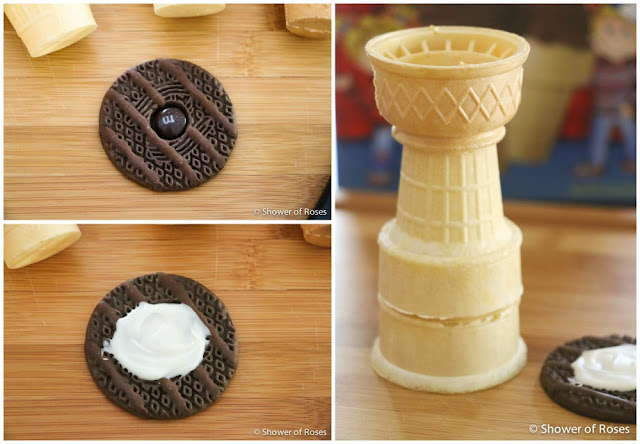
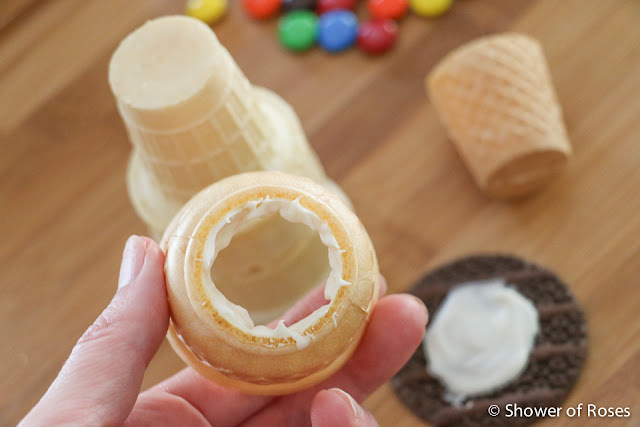
Using a serrated knife, carefully cut off the rounded “cup” area from the Keebler Ice Cream Cup and put aside. We also trimmed the edge of one of the Joy Ice Cream Cups so that the edge would be flat/straight when stacked on top of the bottom Ice Cream Cup.
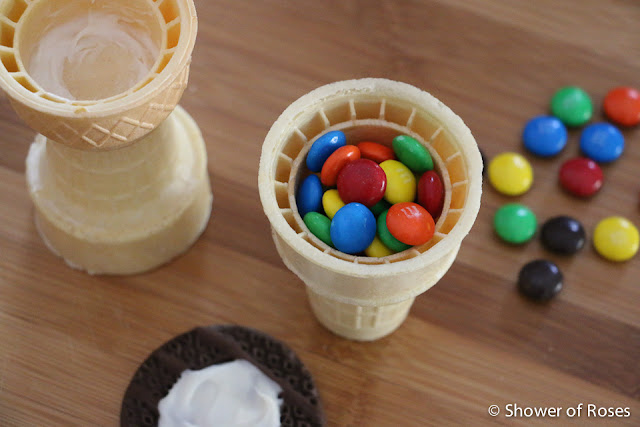
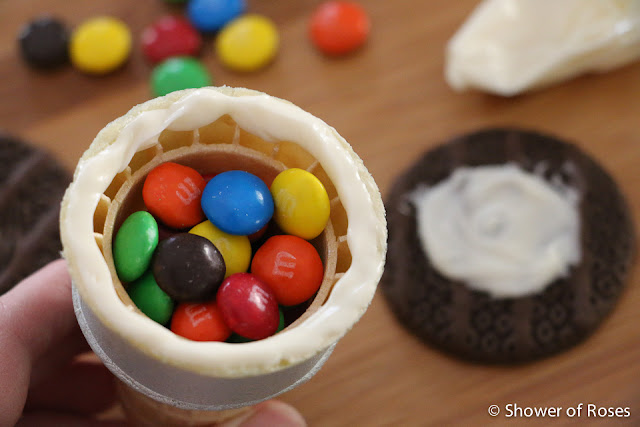
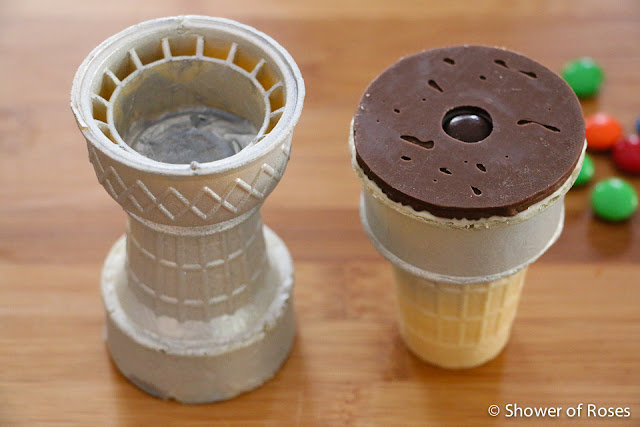
I wasn’t able to find a round cookie the size we needed for the bottom so we filled the center of Keebler Fudge Stripes with a brown M&M and secured it with some melted white chocolate for the base of the Stanley Cups.
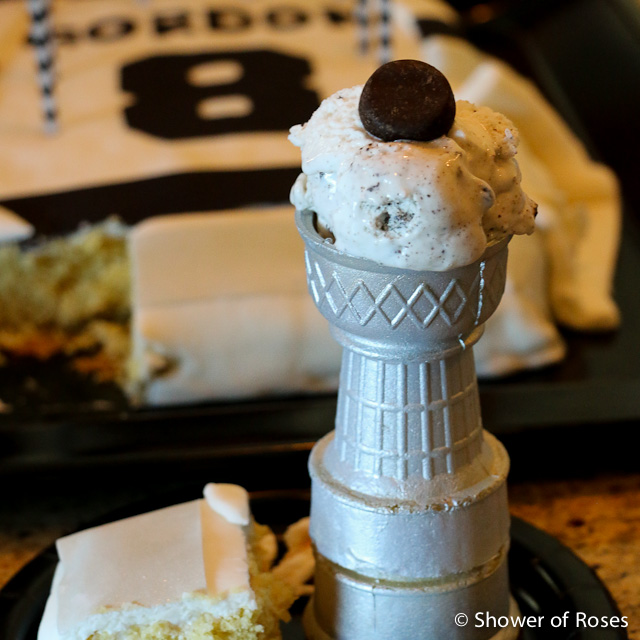
Next, put melted chocolate in a piping bag fitted with a small round tip. (We used a plastic bag with the corned clipped off.) The original directions suggested piping “melted chocolate on the base of the ice cream cup and slide it inside the second ice cream cup, stacking and sealing them together.” We skipped this step so that they could be taken apart during the party and used for Ice Cream, saving the treat side for later.
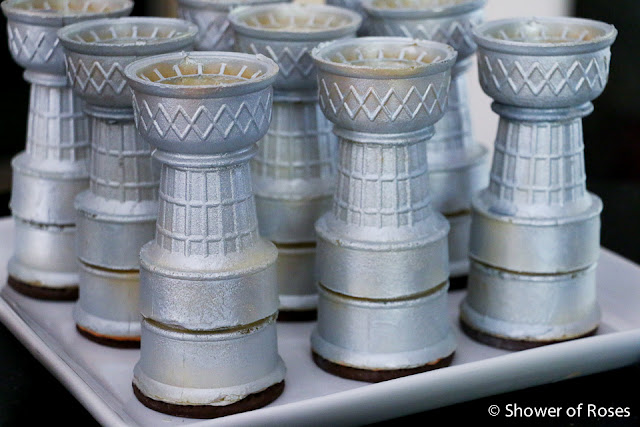
Pipe a ring of chocolate on the top of the Stanley Cup and attach the ice cream cone “bowl” cut earlier on top.
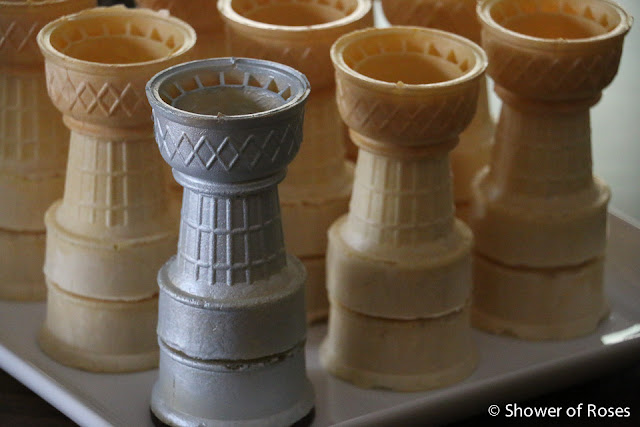
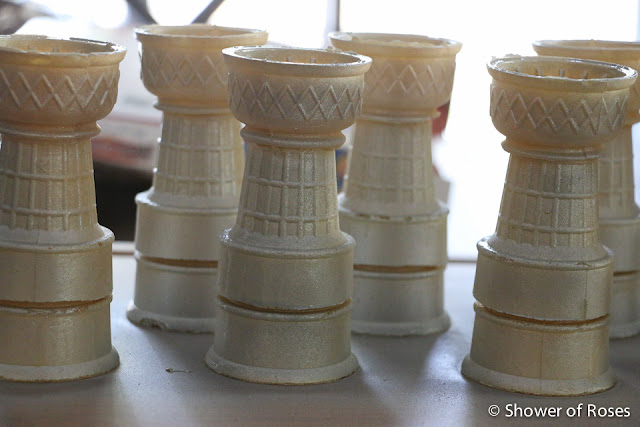
Before filling the bottom cups with treats (M&M’s) and attaching the base (cookie) we temporarily put the cones together and spray painted them silver with Silver Color Mist. This wasn’t the most cost-effective thing to do, and we ended up needing a second can (purchased with 60% off coupons at least) to cover the cones that we made.
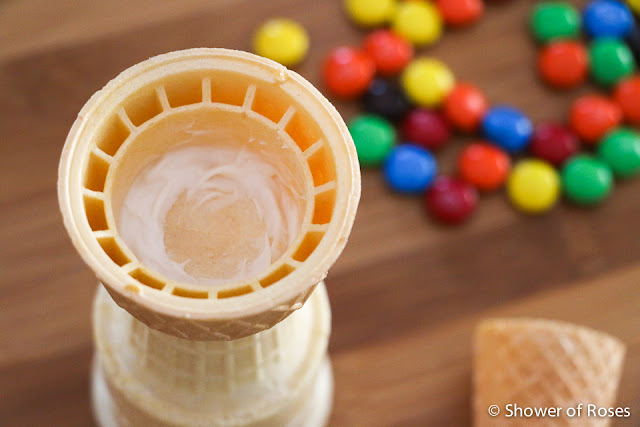
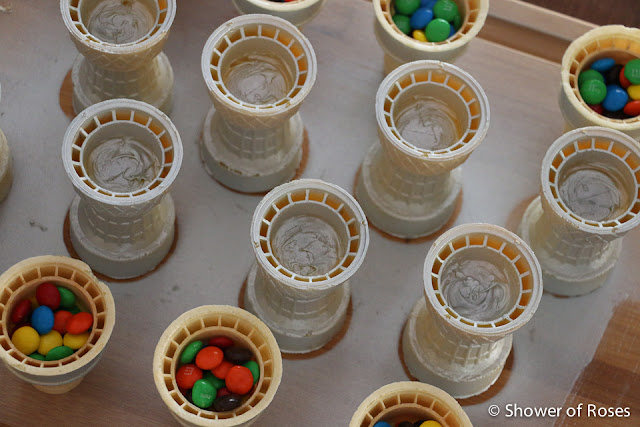
After the silver spray has dried, fill the bottom cup (the ice cream cup that wasn’t trimmed or cut at all) with candy, then pipe chocolate around the edges of the opening and place the cookie over the opening to seal. Stand the ice cream cups cookie-side down.
Re-assemble cones, set on tray, and let color and chocolate dry overnight in a cool, dry place.






















Very clever birthday treat, Jessica! Captain did a great job helping! Sorry my dyslexia kicked in on the last post and I gave him credit for helping with the Face Off Puck Cakes instead of Ranger and Twinkle Toes. They all decorated Snuggles' birthday treats beautifully! Maybe they'll be contestants on Cupcake Wars or Cake Wars one day! 🙂
2015-07-01 03:41:00
Thank you, Bernadette! With the way I had worded the last post it would have been easy to make that mistake. 🙂 We all had fun working together on the birthday preparations!
2015-07-01 03:53:00
You are so stinkin' creative! Good for you! I love seeing all your ideas and then using when I can!
2015-07-01 06:19:41
Thank you, Carla! 🙂
2015-07-07 01:09:45
These are amazing!!!! Do you think a cupcake could sit on one? Trying to come up with something clever for my son's bday party in April!
2016-02-10 16:12:02
How long do you think these would last? I'm going to attempt to make them for a bake sale and was wondering how many days in advance I could make them? Thanks!!
2016-05-22 02:23:45
I made them the day before, to let the color dry overnight, but I don't see why they couldn't be made at least a couple days beforehand. Just make sure to store them in a dry place. We had leftovers for a few days following the birthday and the cones stayed fresh and crispy since they didn't have cupcakes baked into them. Be sure to purchase the color-mist with a coupon, or go with hand-painting on edible silver pearl dust, since it isn't cheap and doesn't go very far.
2016-05-23 01:30:01
Thank you, Susan! You could probably bake a cupcake into the top cone like this: http://www.bettycrocker.com/recipes/ice-cream-con…
I also made some Hockey themed cupcakes that are fun and easy here:
https://showerofrosesblog.com/2015/06/face-of…
2016-02-20 19:54:33
I agree about the silver pearl dust.. it does not go a long way!!
We do not have the spray in Canada that you ended up
Using… I made these & they looked like Stanley cups but certainly were not nearly as silver as you show..