")
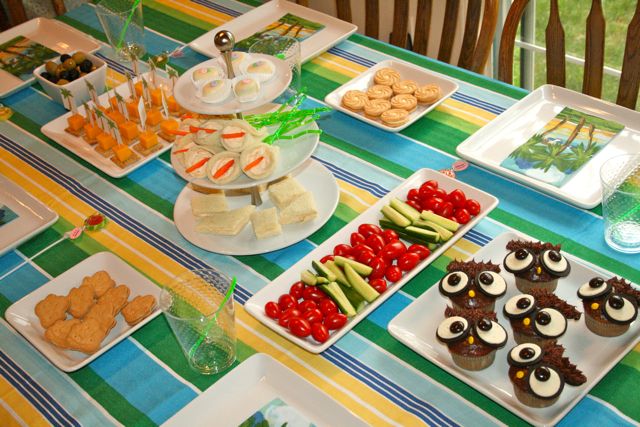
Good Shepherd’s Garden Party :: Plans for Week Seven

“The Heavenly Zoo”
This Week’s Good Shepherd’s Garden Party Menu
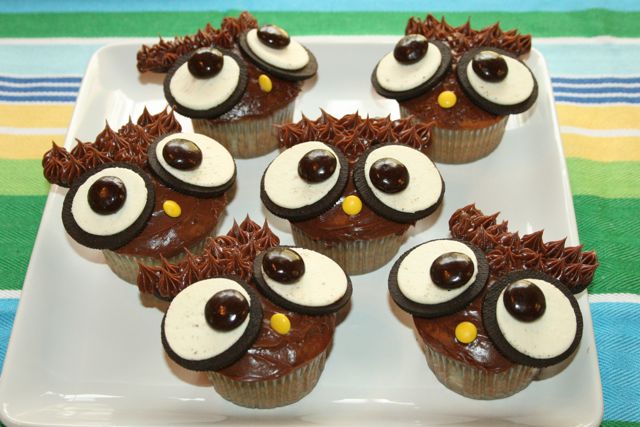
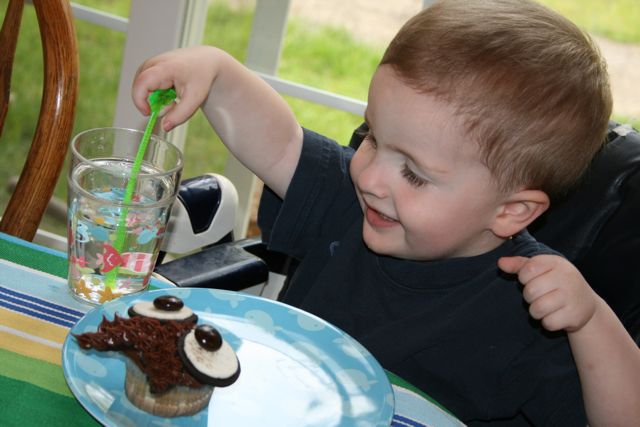
Deer Cupcakes
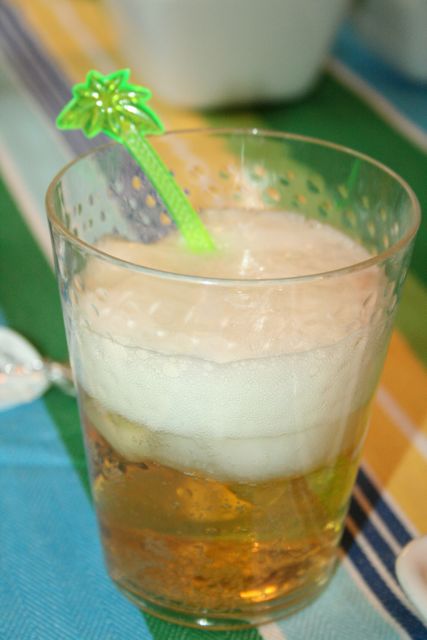
Lucky Lion Lemonade
Beehive Baked Pears
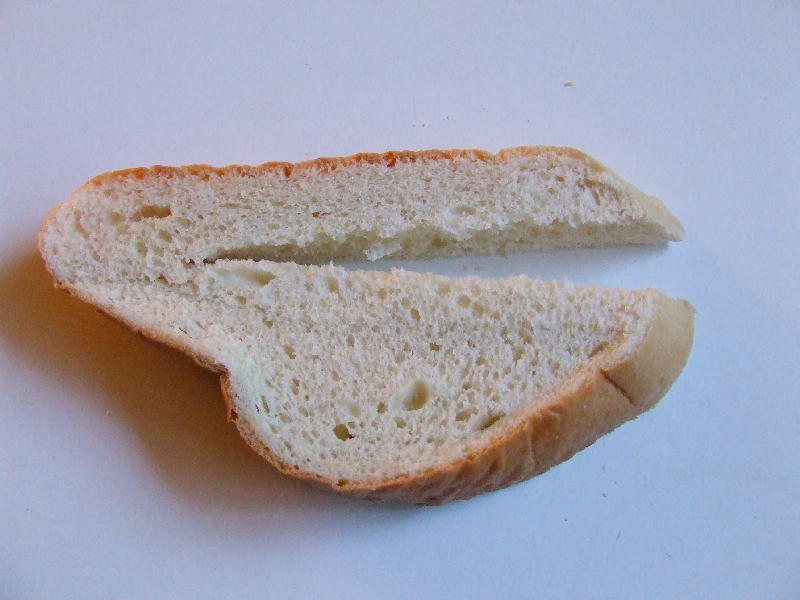
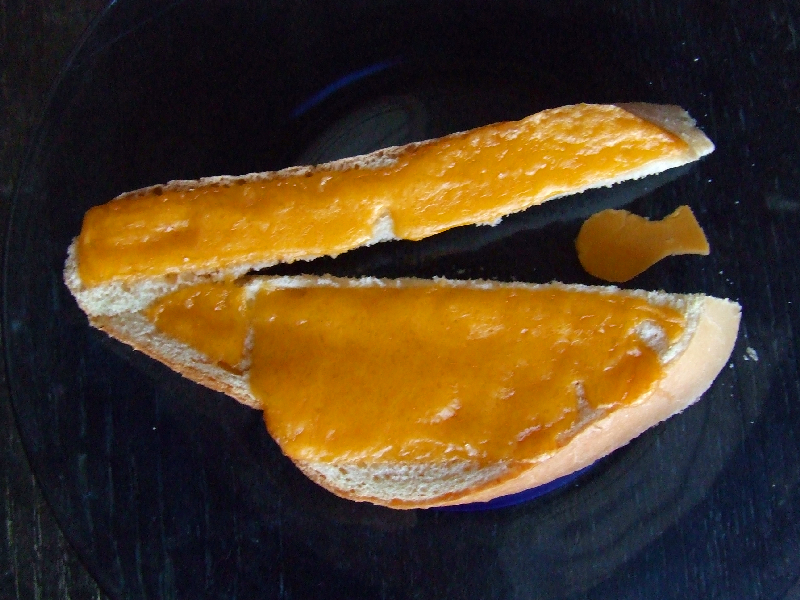
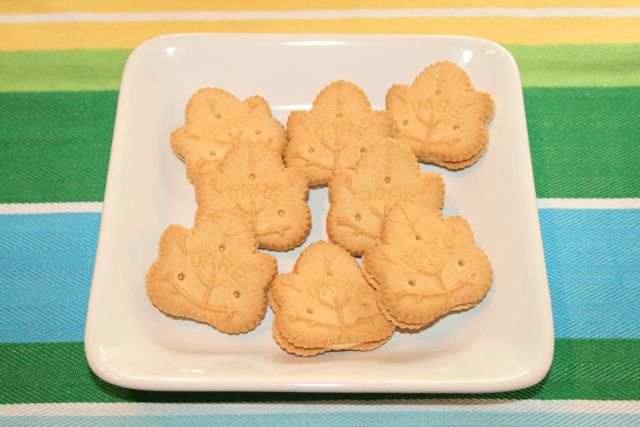
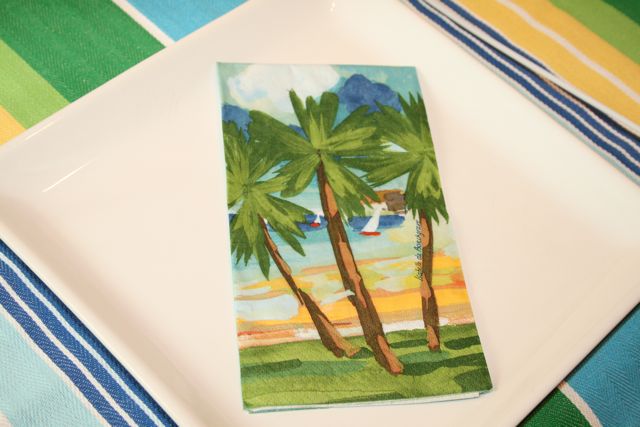
Pelican Toasties
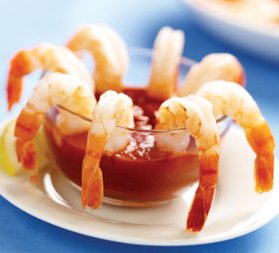
Phoenix-Tail Shrimp
Decorating Ideas
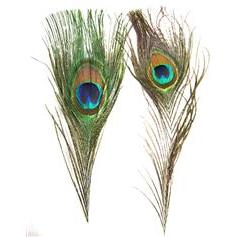
Peacock Feathers
Water Fountain Centerpiece
Recipes and Suggestions
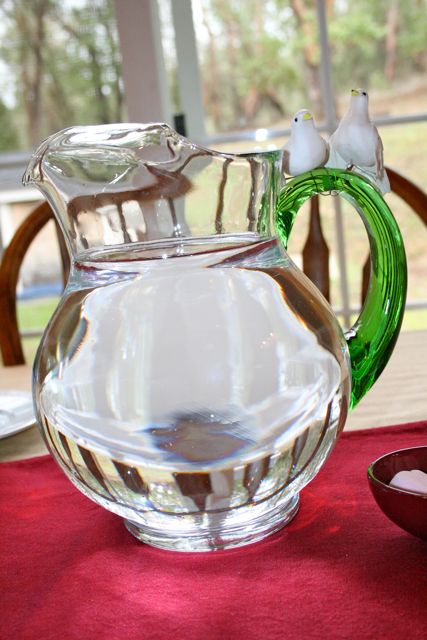
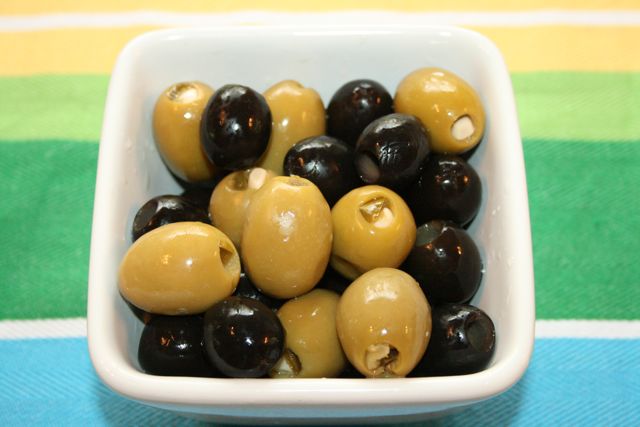
43. The Water
A pitcher of water would be simple and work just fine, but since we do have another drink suggestion, you could also decorate the center of the table with a small water fountain.
and/or Pitcher of Water
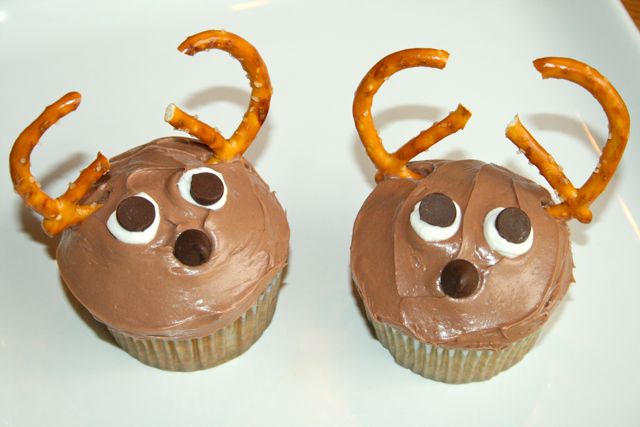
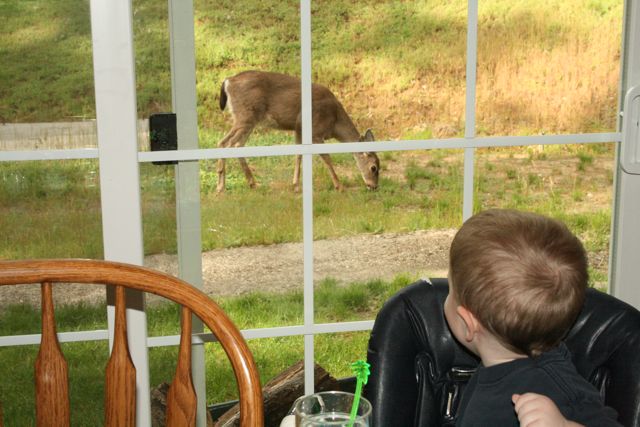
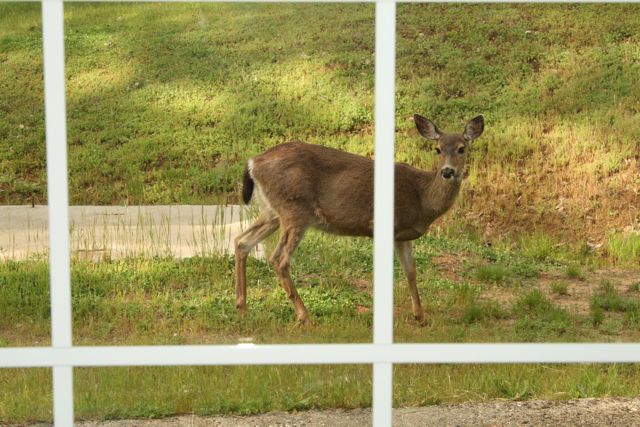
44. The Deer
(I mixed Milk Chocolate with White for a lighter brown)
45. The Lion
Our first thought was to make Lion cupcakes, but since we already have deer cupcakes, we decided to go with this fun sounding drink that Charlotte found from the San Diego Zoo.
3 to 4 scoops frozen vanilla yogurt
1 can frozen lemonade
5 to 6 ice cubes
1 cup lemon-lime soda
Whipped Cream
Chocolate Sprinkles
Fill a blender with frozen yogurt, add frozen lemonade, ice cubes, and soda.
Hold lid TIGHT! Blend together. Pour into cups and top with whipped cream and chocolate sprinkles, to make your lion’s mane.
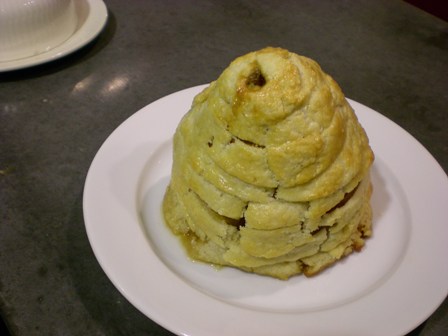
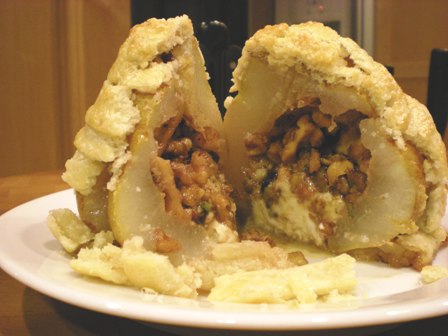
46. The Beehive
Here is another unique idea Charlotte found online, from The Feast Within, to symbolize the Beehive!
Ingredients:
Pie Crust
2 large Comice or other pears, firm ripe, washed unpeeled
1/2 cup Walnuts, toasted
1/4 cup Pistachios, toasted
1/4 Honey
2 Tbs. of vanilla scented granulated sugar (put your rinsed and dried vanilla beans -or a fresh one-in a canister of granulated sugar after other uses)
Pinch of Salt
Pinch of Allspice, Cloves, and Cinnamon
Zest from a Small Lemon
4 Tbs. Cream Cheese
Directions:
Toast the nuts. Wash and dry the lemon and zest it. Place the honey in a small sauce pan and cook over medium heat until it boils. Add the nuts and stir to coat. Add the zest and salt and spices and cook until the honey is thickly coating the nuts. Wash and dry the pears. Using a melon baller, remove the blossom end and make a small cavity by removing the core of the pears. Spoon the nut mixture in and then plug the bottom with about 2 Tablespoons of cream cheese- depending on the size of your pears. Set aside. Roll your pastry dough out to a rectangle about the height of your pears and 2 x the circumference. Cut into strips about 1/2″ wide. Wrap the pastry around the pear starting from the bottom side and slightly overlapping each go round. Use a little water join pieces as needed. Wrap all the way to the top and place strips on the bottom to cover. Completely encase the pears in the pastry. Bake in a preheated 350F oven for about an hour or until the pastry is golden and the pear is tender when pierced with the tip of a knife. Cool slightly, cut open and serve with vanilla bean ice cream, a caramel sauce or creme anglaise as desired. Serves 2-8 depending on your appetite!
47. The Peacock
You can find Peacock Feathers, to decorate the table, at the craft store.
48. The Pelican
We had a hard time coming up with something, other than a Pelican Shaped Cookies, until Charlotte was inspired by a loaf of French bread in her kitchen and came up with these perfect Pelican Toasties!
49. The Phoenix
An Easy alternative to the recipe below would be to just pick up a Shrimp Cocktail platter from your local grocery store.
1 pound medium-size or large raw shrimp
1 cup unsifted all-purpose flour
2 1/2 teaspoons baking powder
1/4 teaspoon salt
1 dash white pepper
1 cup water
Salad oil
Dipping sauces: catsup and hot mustard or sweet and sour kumquat sauce
Salt-pepper mix
Shell shrimp, but leave the tail sections on for handles. Devein, wash, and pat dry with paper towels. In a bowl, combine flour, baking powder, salt, and pepper. Add water and stir until batter is smooth. In a deep pan, pour oil to a depth of 1 1/2 inches and heat to 375 F on a deep-frying thermometer. Holding shrimp by the tail, dip into batter so it covers shrimp but not the tail, then lower into hot oil. Cook several pieces at a time without crowding, turning occasionally, until crisp and light golden (about 2 to 3 minutes). Remove with a slotted spoon and drain on paper towels. Serve with dipping sauce of your choice.
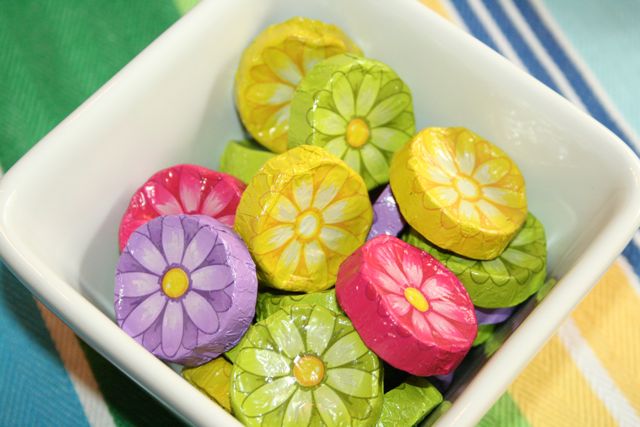
50. The Dove
We decided to include a menu suggestion for Day 50, Pentecost Sunday, to this final Garden Party. You can find additional ideas and recipes for celebrating Pentecost Sunday over at Catholic Cuisine.

Shopping List
Fresh Produce:
2 large Comice Pears
Small Lemon
Dairy:
Cream Cheese (4 Tbs.)
Cheddar Cheese
Whipped Cream
Meat:
*1 pound medium-size
or large raw shrimp
~OR ~
Shrimp Cocktail
(If you purchase a premade Shrimp Cocktail, exclude all items marked with an asterisk.)
Frozen:
Frozen Vanilla Yogurt
Frozen Lemonade, 1 can
Bread:
French Bread
Spices:
Salt
Allspice
Cloves
Cinnamon
*White Pepper
Baking Supplies:
Cake Mix + ingredients for Cupcakes
Chocolate Frosting
White Frosting
Chocolate Chips (3 per cupcake)
Chocolate Sprinkles
Pie Crust
vanilla scented granulated sugar
Honey (¼ cup)
Walnuts (1/2 cup)
Pistachios (¼ cup)
*all-purpose flour
*baking powder
*Salad oil
Snacks:
Pretzels for Antlers
Gold Fish (one each, optional)
*Dipping sauces
Cookies & Sweets:
Dove Candy
Beverages:
Lemon-lime soda
Other:
Water Fountain Centerpiece (optional)
Peacock Feathers
Wordless Wednesday . . .


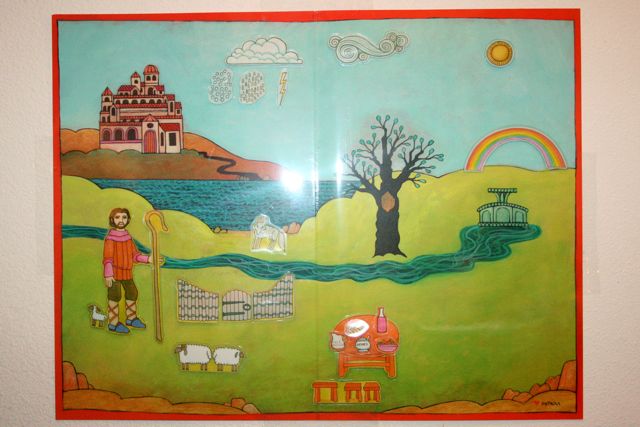
Our Fifth Good Shepherd’s Garden Party : The Gardener Plants Paradise

A Gift for Mother’s Day
Highlights from “T” Week


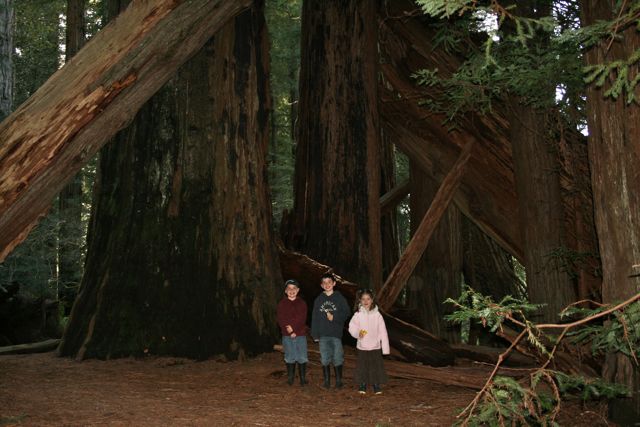
As soon as we got home our Tree Toys were all taken out and I got quickly got online to order some picture books on the Topic! 😉


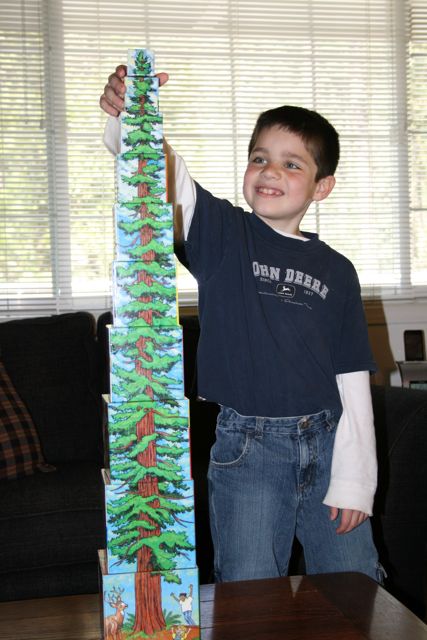
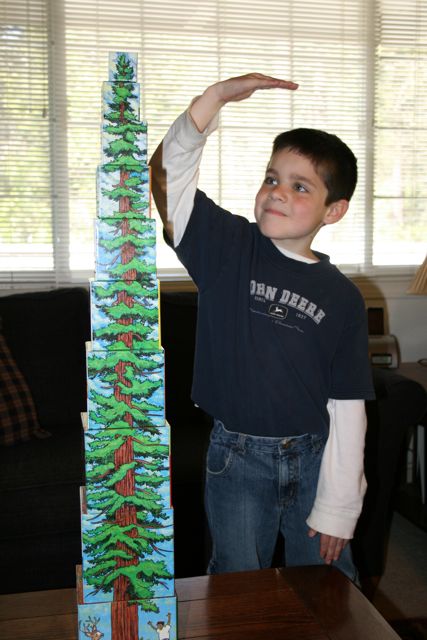
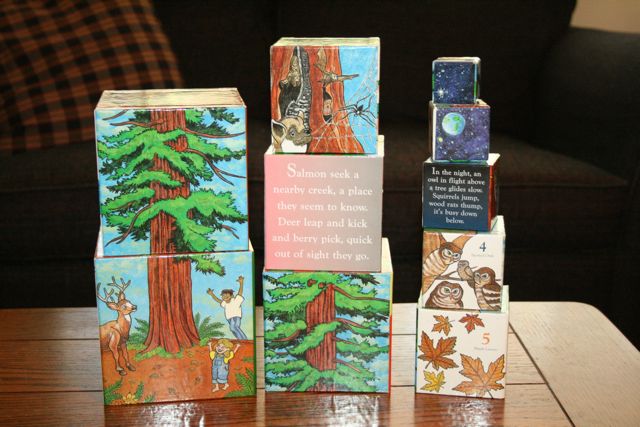
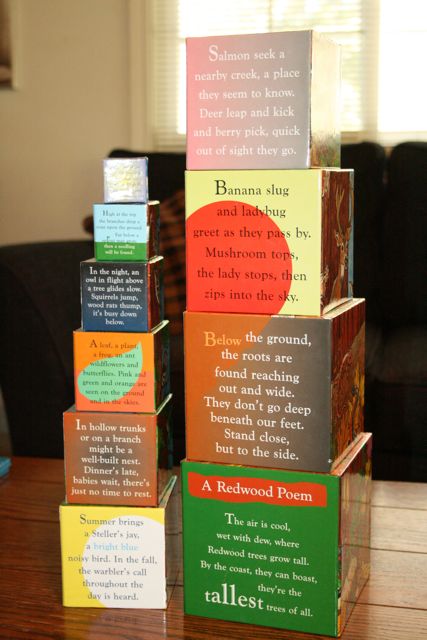
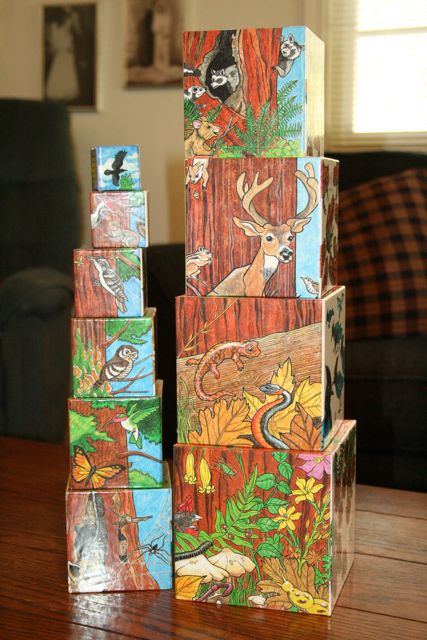
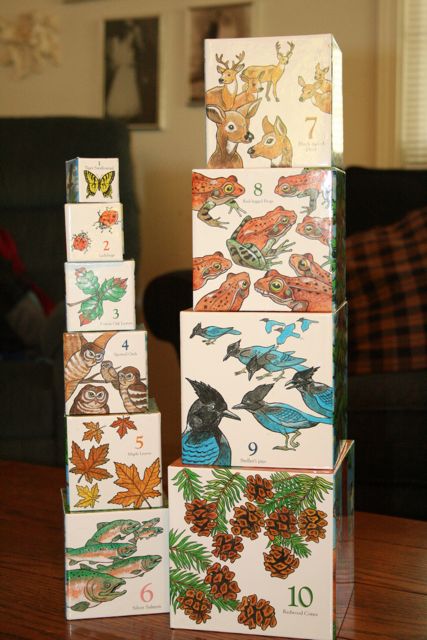
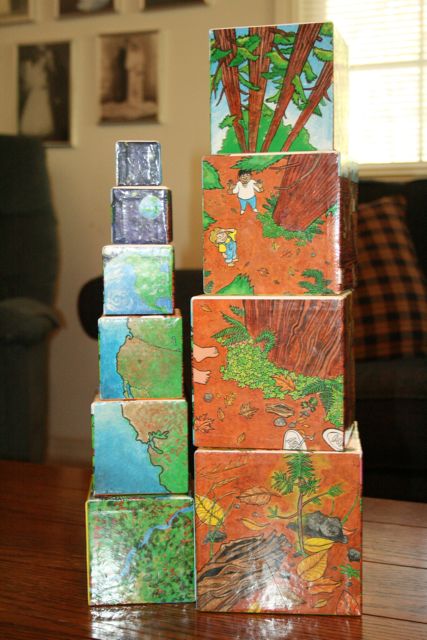
I also have my eyes on some Tree Blocks (like these) and a stacking Tree
… Perhaps for next Christmas.
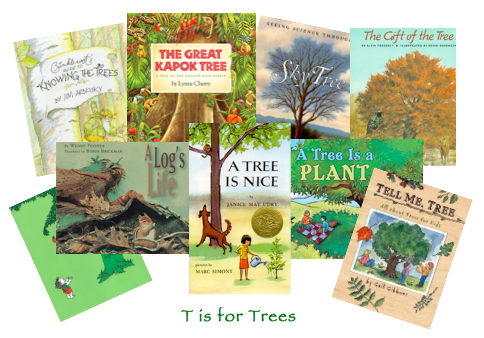
A Tree Is a Plant (Let’s-Read-and-Find-Out Science)
A Log’s Life
Tell Me, Tree: All About Trees for Kids
The Great Kapok Tree: A Tale of the Amazon Rain Forest
Sky Tree: Seeing Science Through Art
A Tree Is Nice
The Giving Tree
The Apple Pie Tree
Fun With Nature (Take-Along Guide)
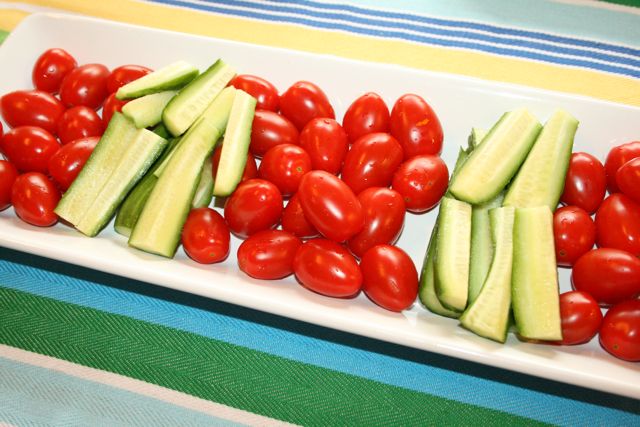
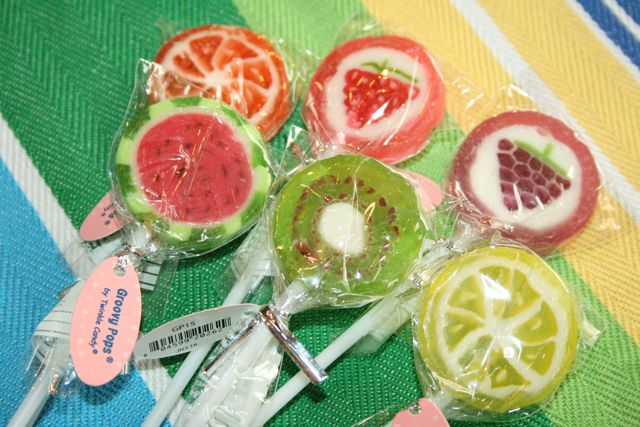
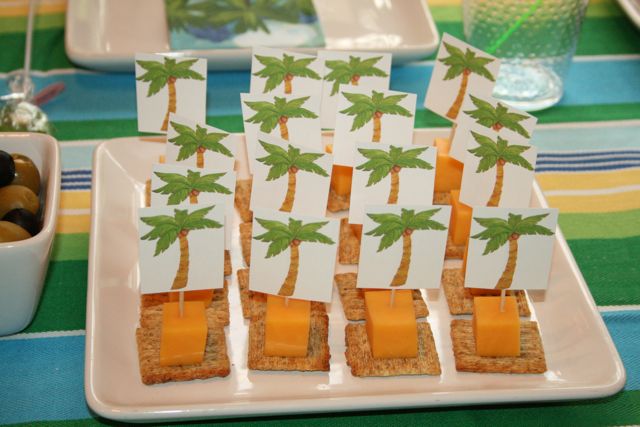
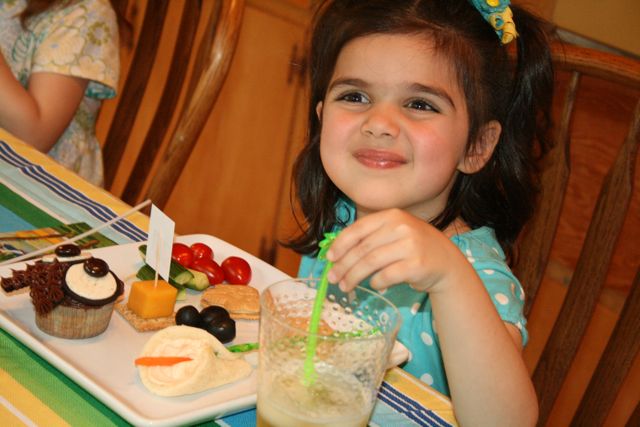
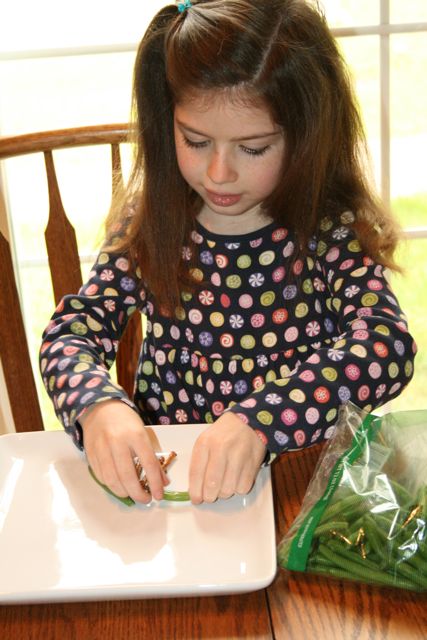
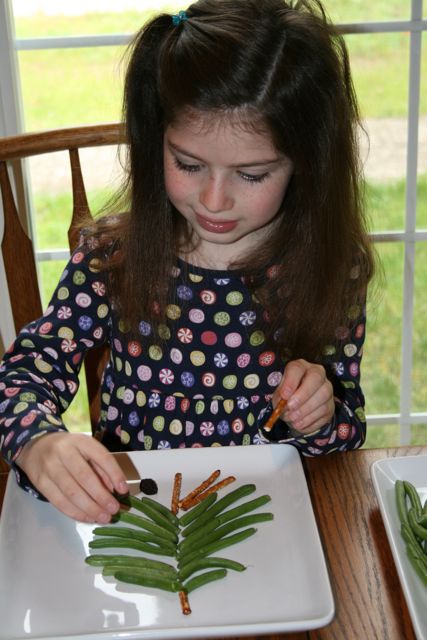
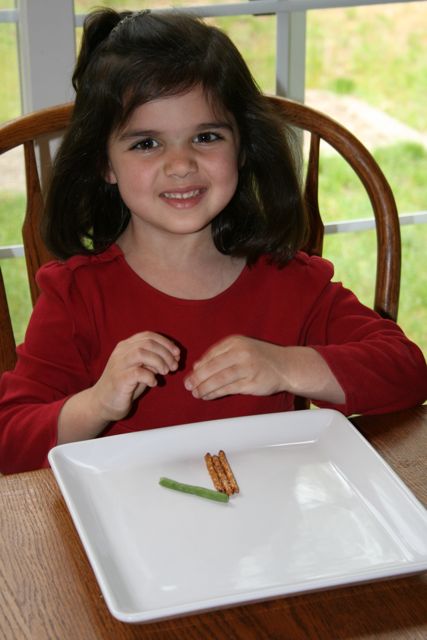
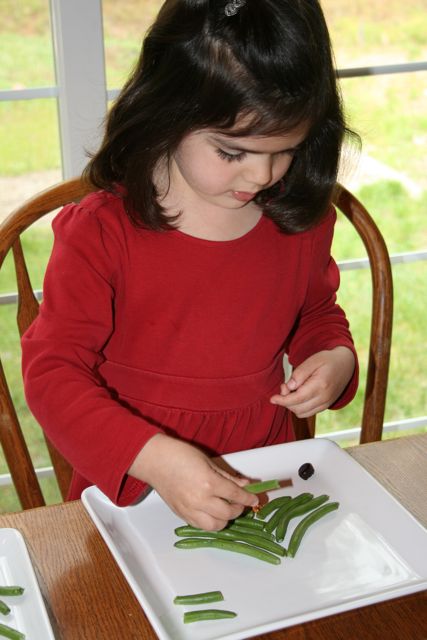
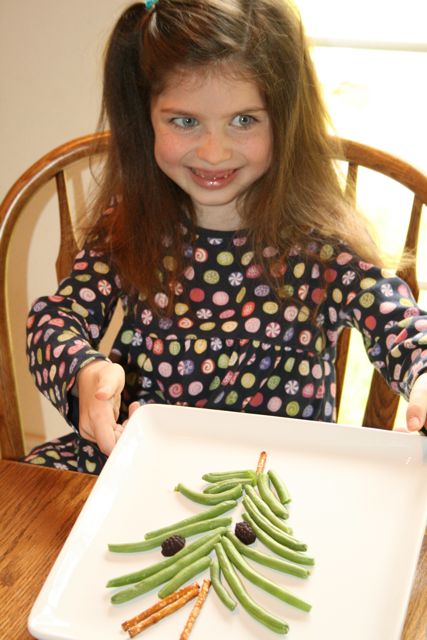
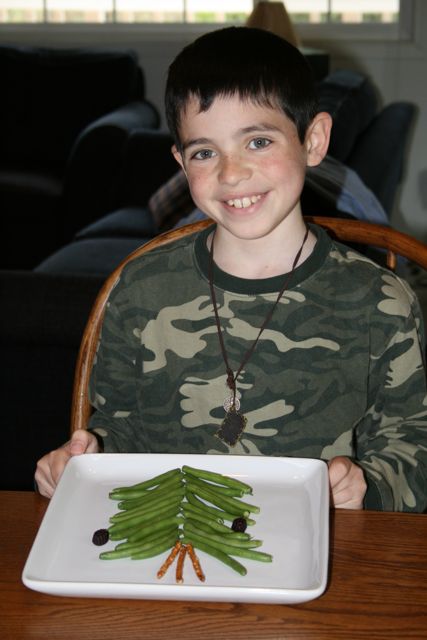
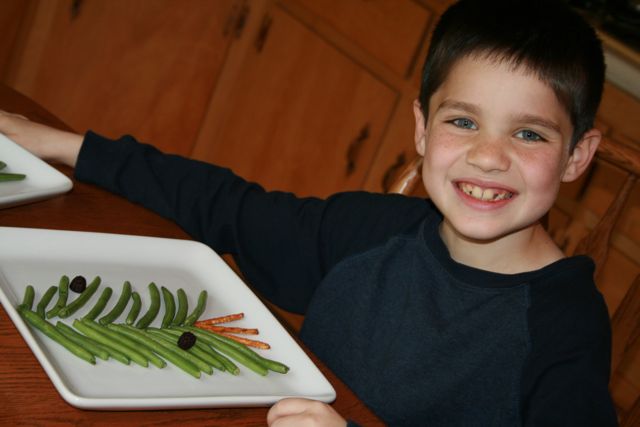
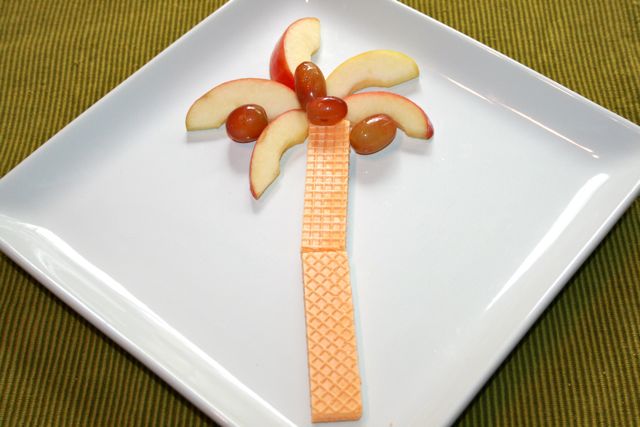
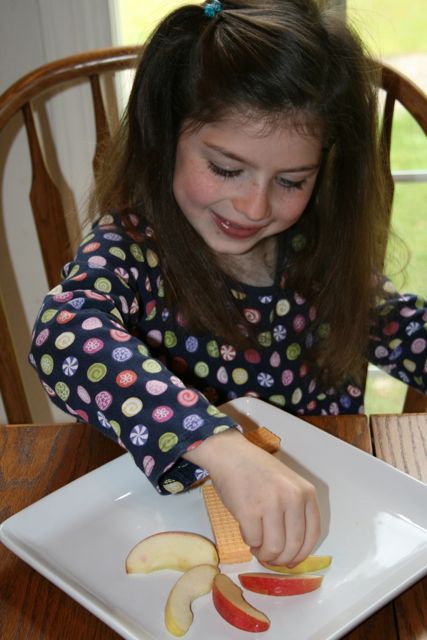
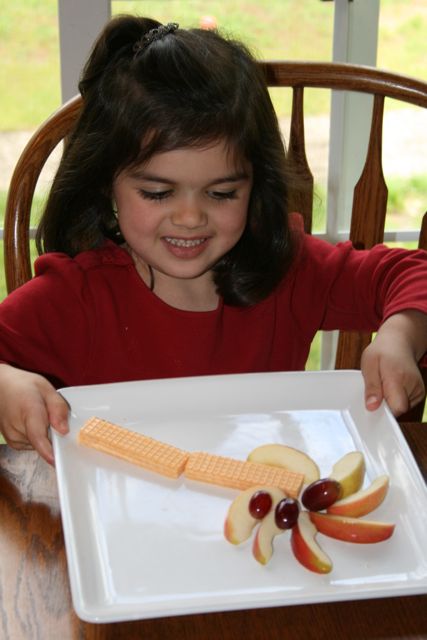
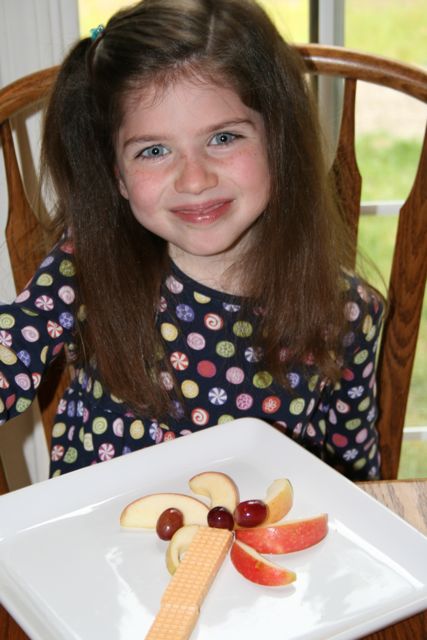
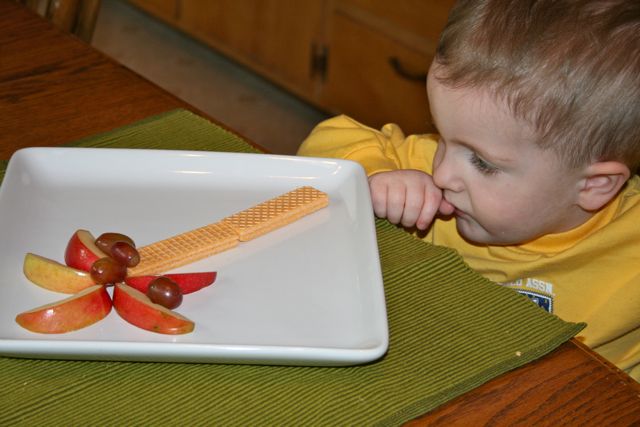
For lunch one day, while I was preparing some Toasties, the children made Veggie Pine Trees and Fruit and Cookie Palm Trees! They were both very easy, fairly healthy, and so much fun!!


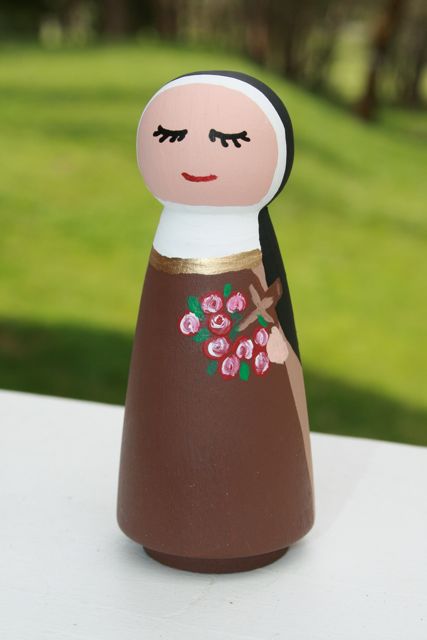
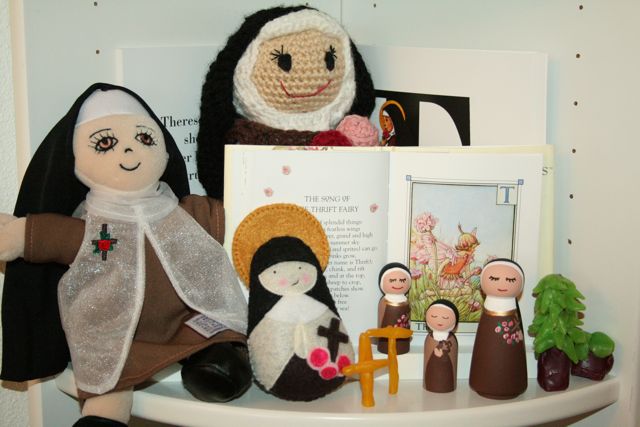
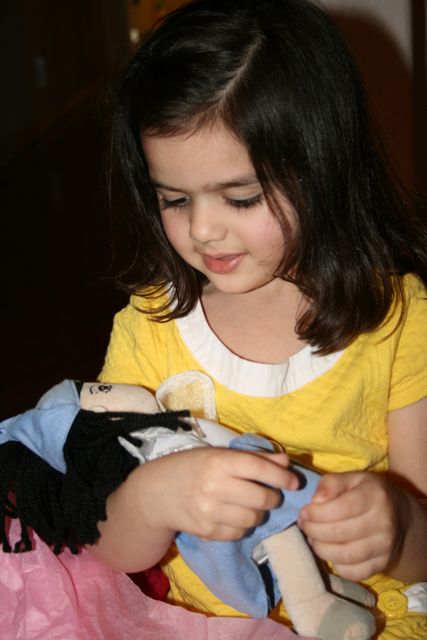
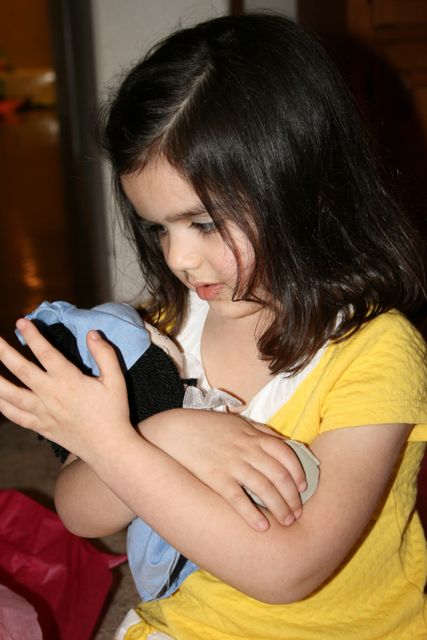
The girls had fun dressing up in their St. Therese Costumes, playing with Rose’s St. Therese Dolls, and loved watching The Miracle of St. Therese.
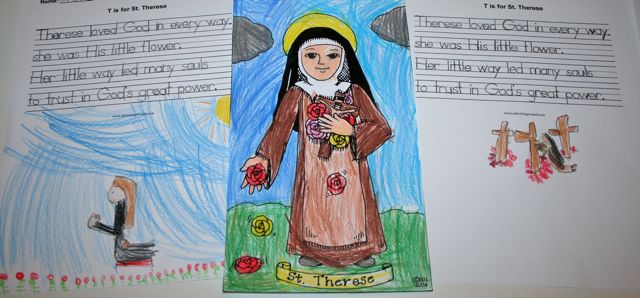

We also read about St. Therese in our Catholic Children’s Treasure Box books.
You think you might be able to find lots of other ideas for St. Therese in my archives! 😉
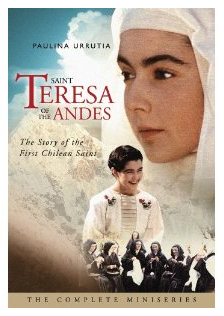
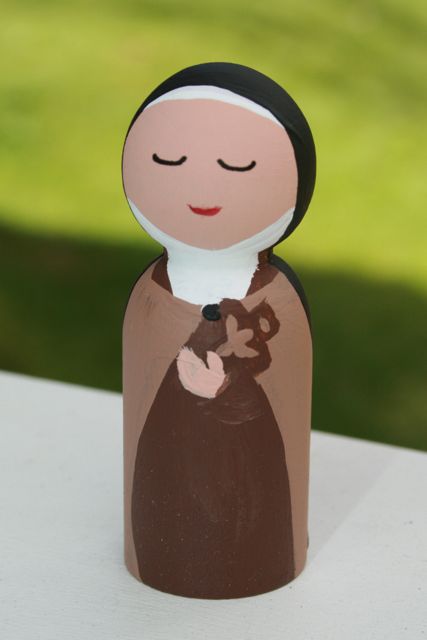
We also watched St. Teresa of the Andes. My children (and I!) LOVE this movie even though it is in Spanish. It truly is very inspiring! While we were watching the movie, I worked on painting St. Teresa to add to our collection.

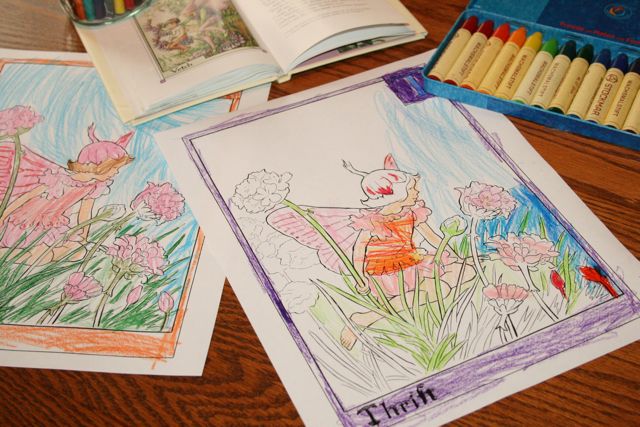
A Flower Fairy Birthday Party
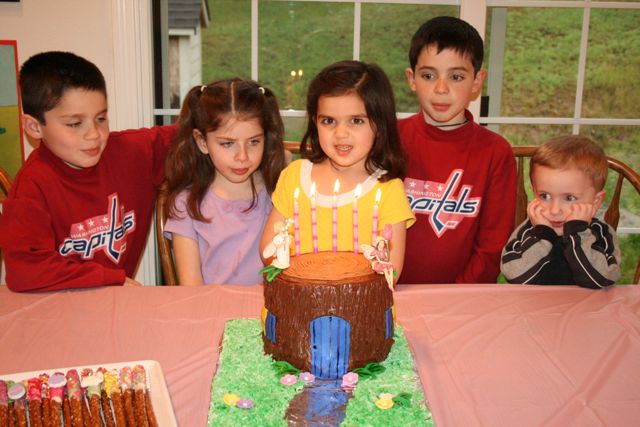
 It’s hard to believe that Chiquita’s birthday was well over 2 weeks ago and that I still haven’t posted any pictures, other than of her cake!?! What has happened to me? 😉 I just can not keep up with blogging anymore!
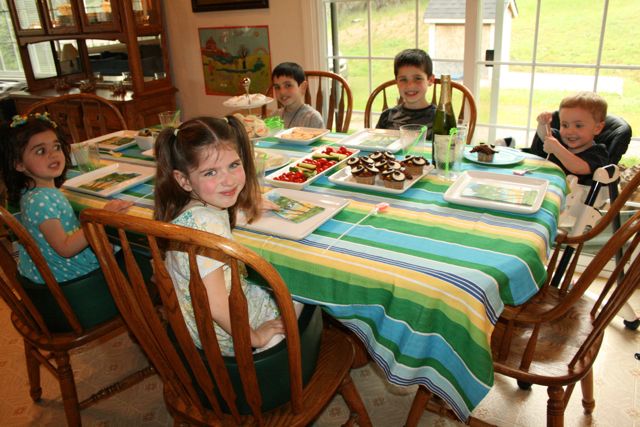
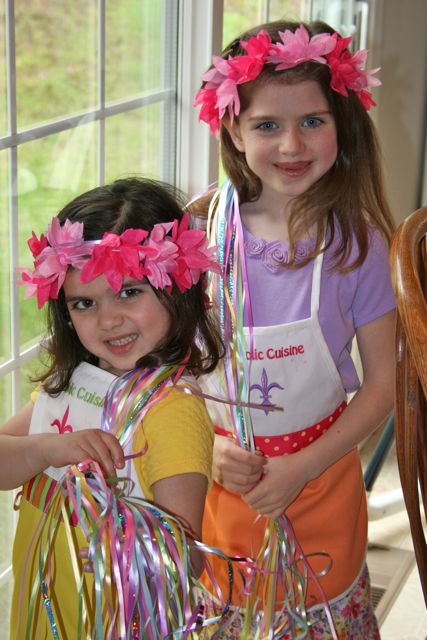
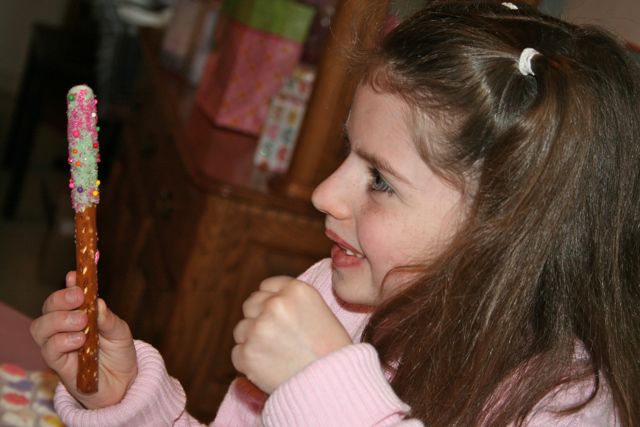
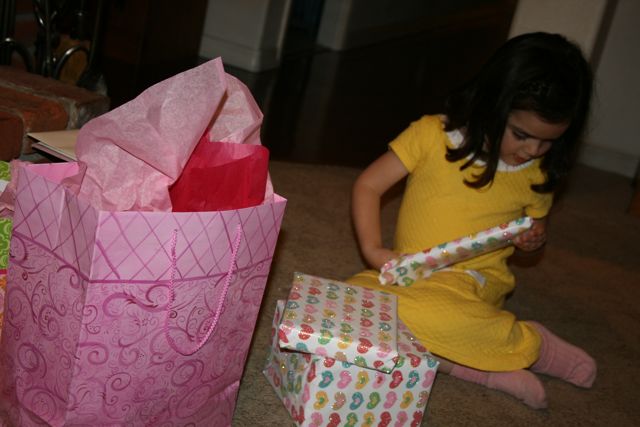
Chiquita had wanted a Flower Fairy Birthday Party ever since seeing the pictures from another little girl’s birthday. Even though it was just our family (my mom did stop by for a few minutes) she had a wonderful birthday, complete with some darling Flower Fairy Crowns sent as a gift from Twinkle Toes’ new pen-pal who recently had a Flower Fairy Birthday Party too!!
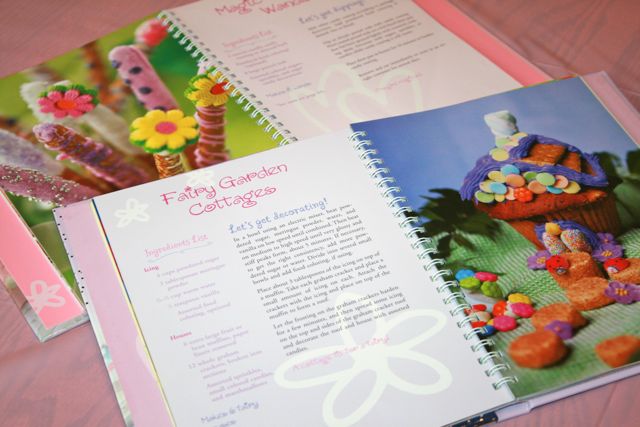
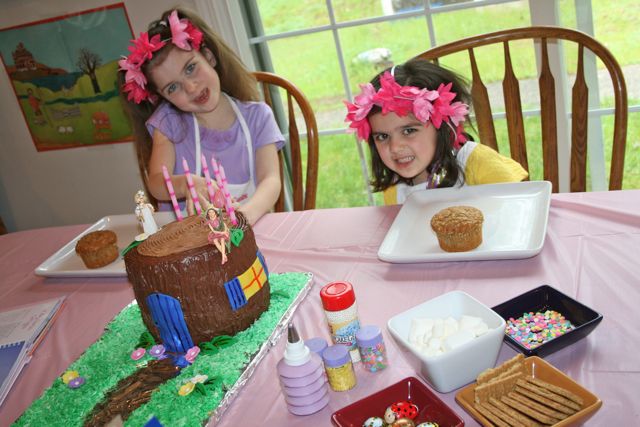

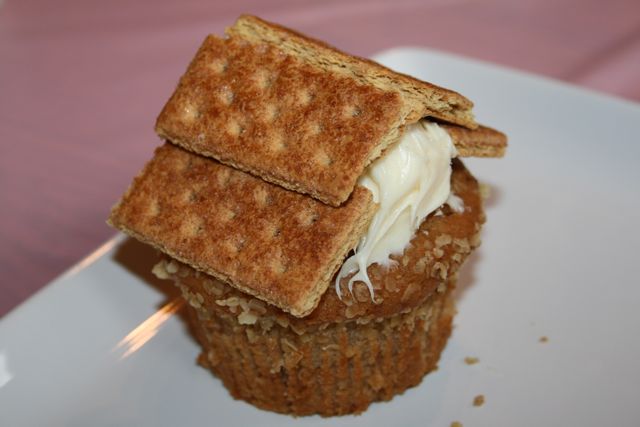
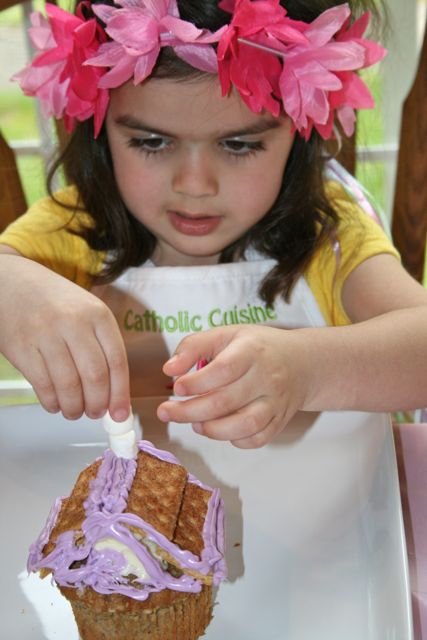
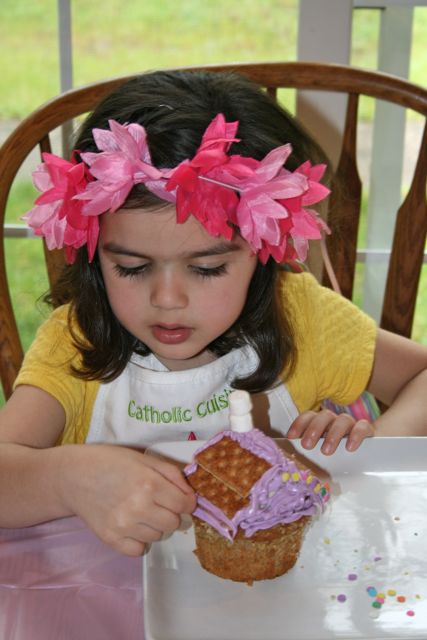
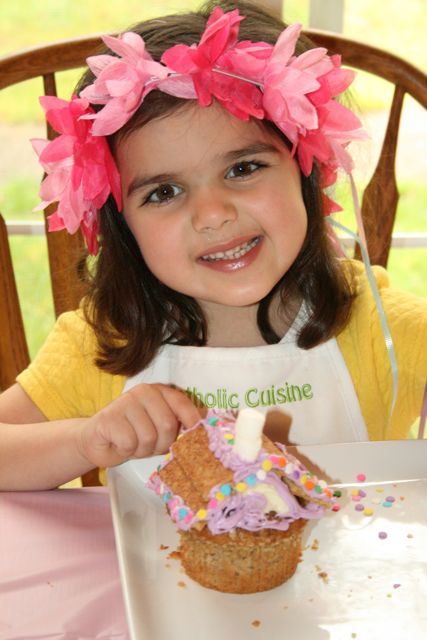
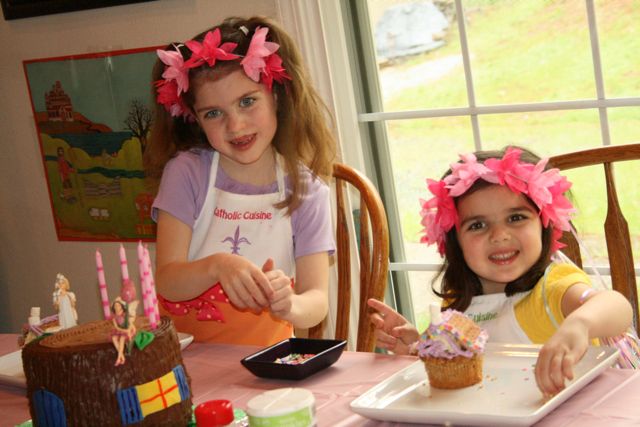
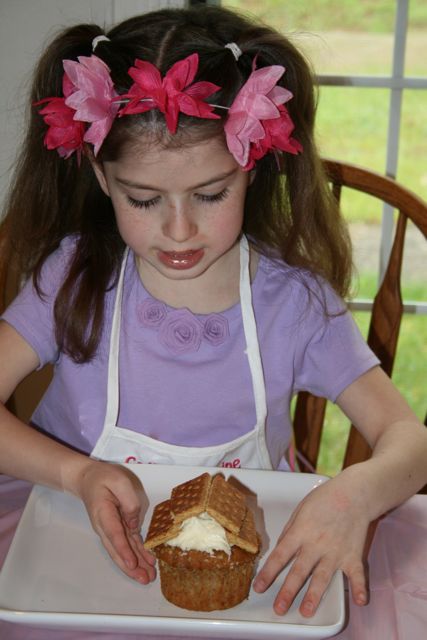

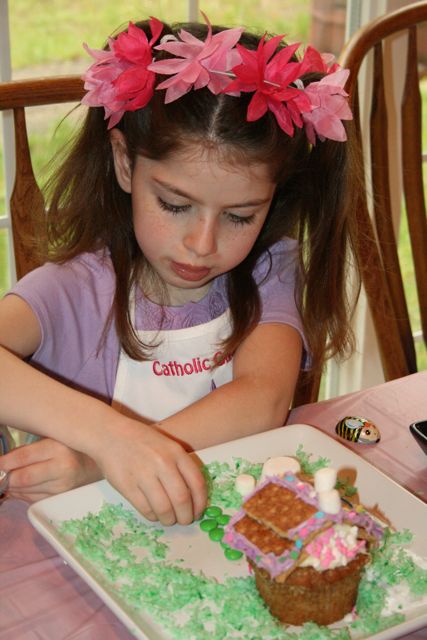
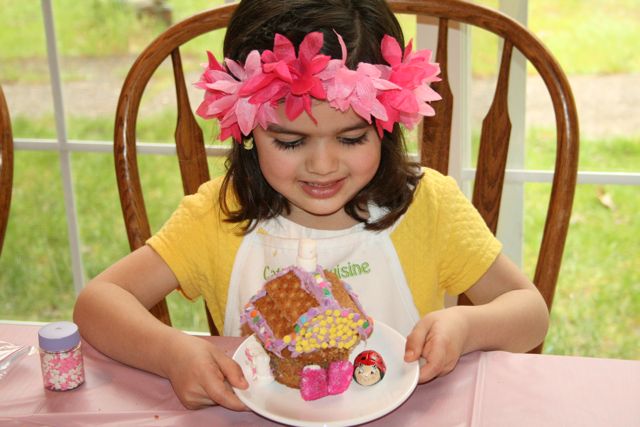

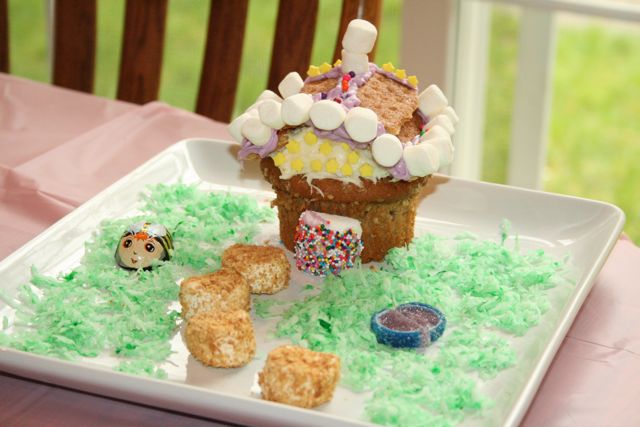
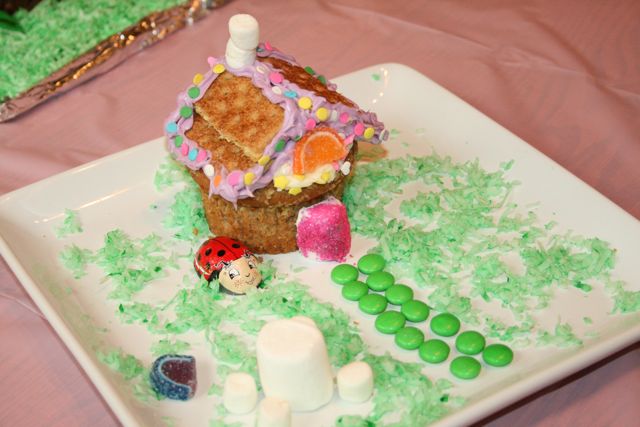

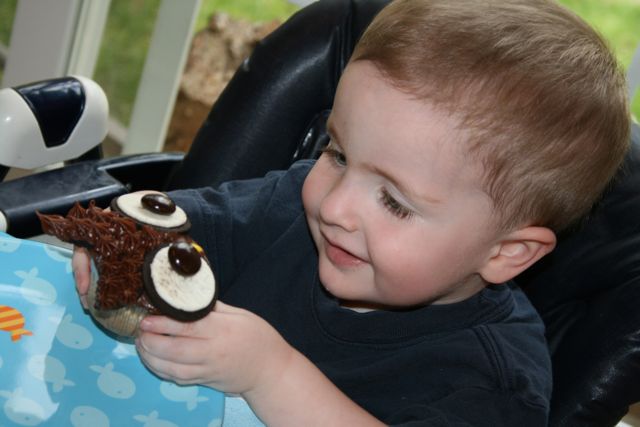
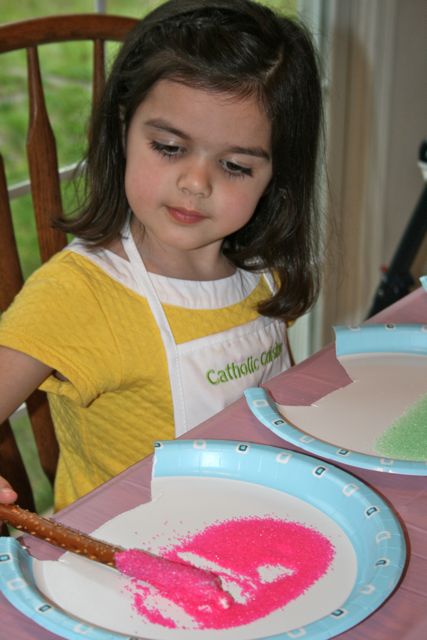
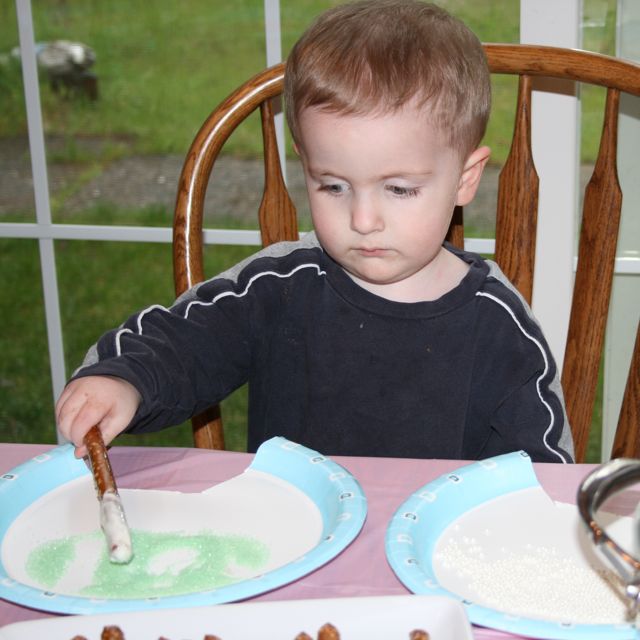
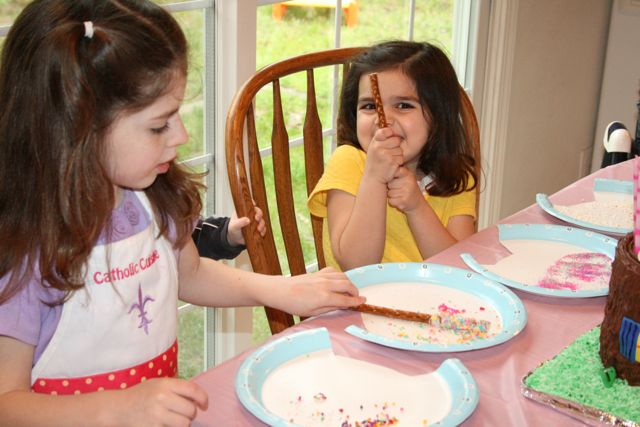
The children all had so much fun decorating their muffins as Fairy Garden Cottages!
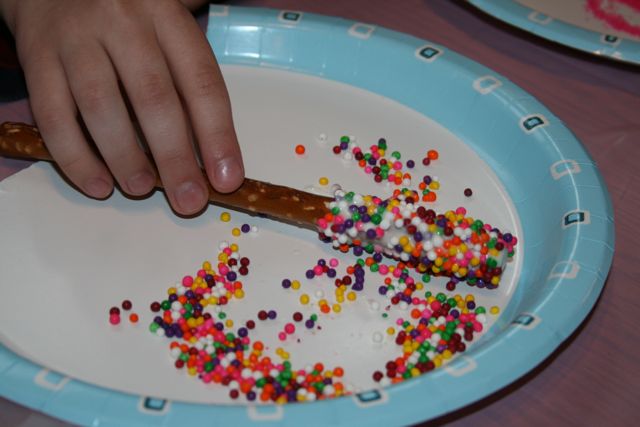
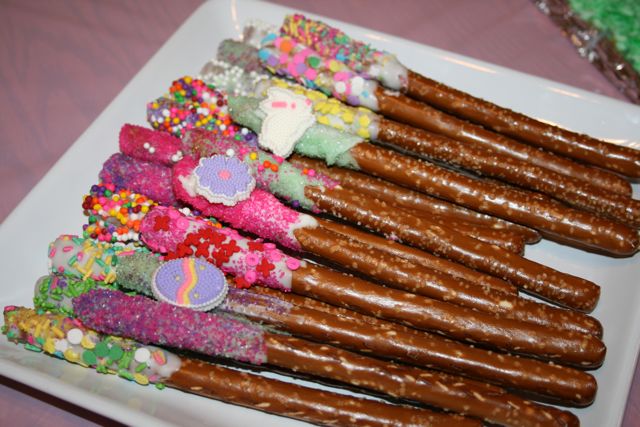
Thank you, Charlotte, for the tip on cutting notches into the paper plates to make rolling the wands in the sprinkles a little bit easier!
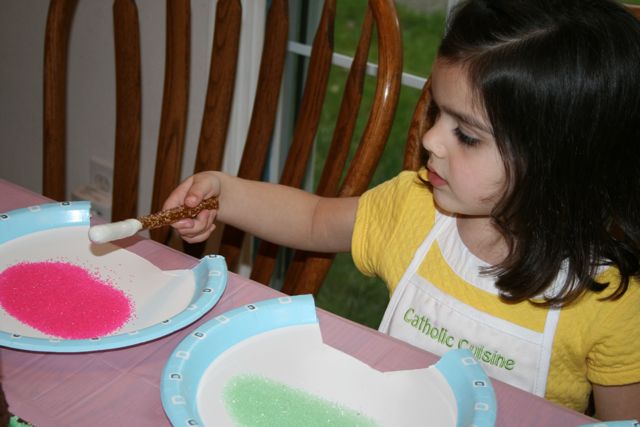

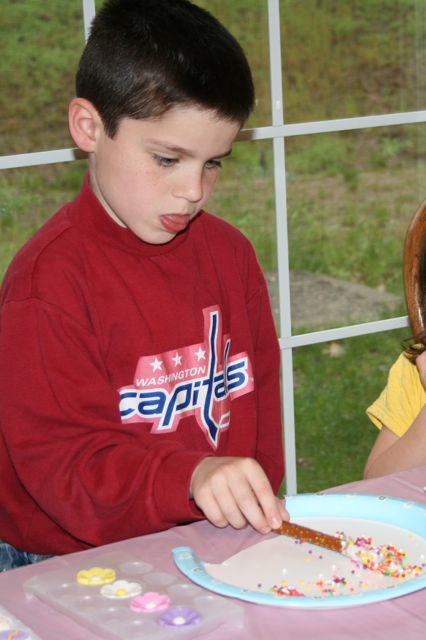


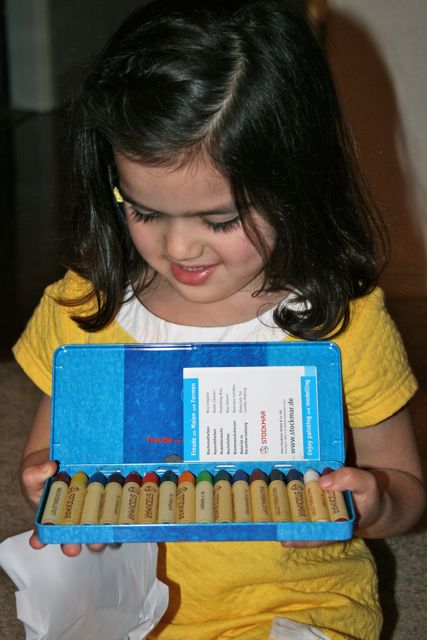
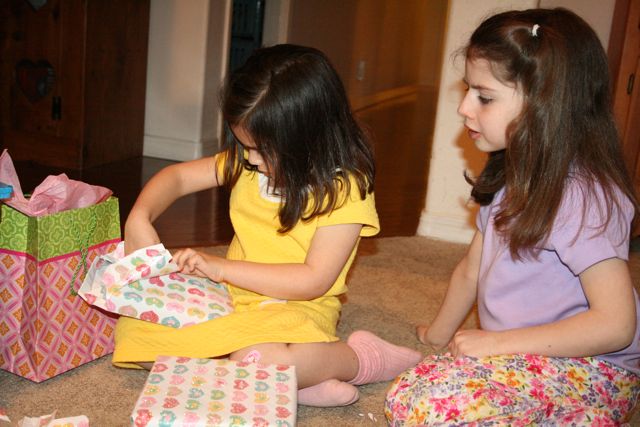


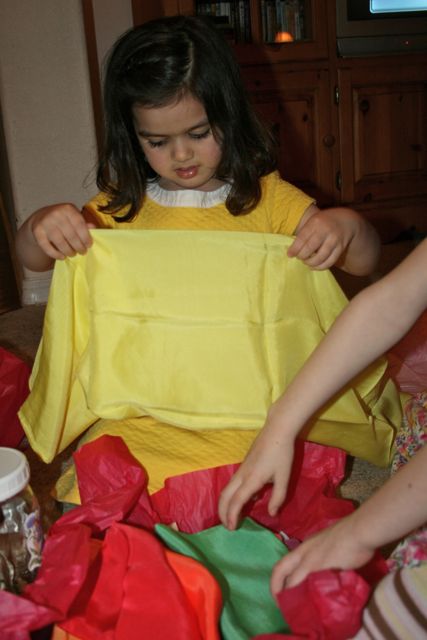
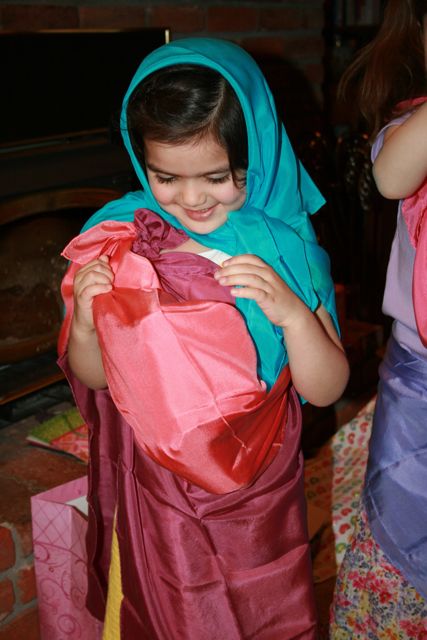
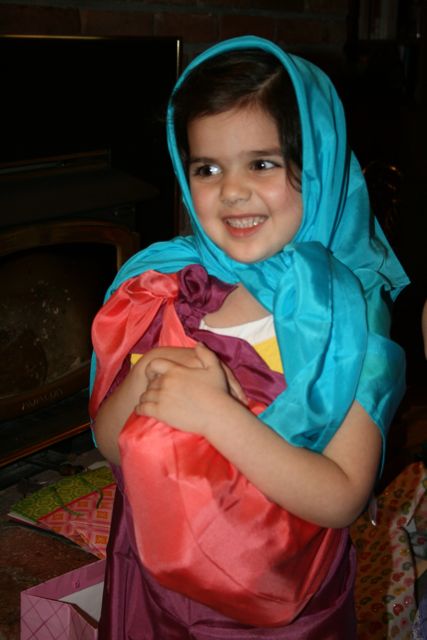
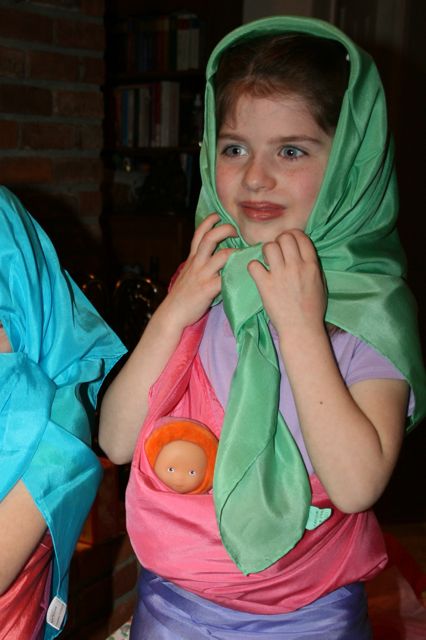

She wasn’t quite sure what to think of that bag of “cloth,” but as soon as I showed her a few of the possibilities we had a whole bunch of very excited children. Even the boys joined the fun!
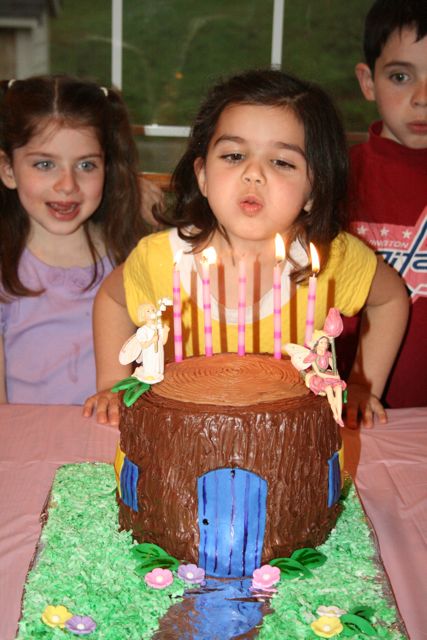
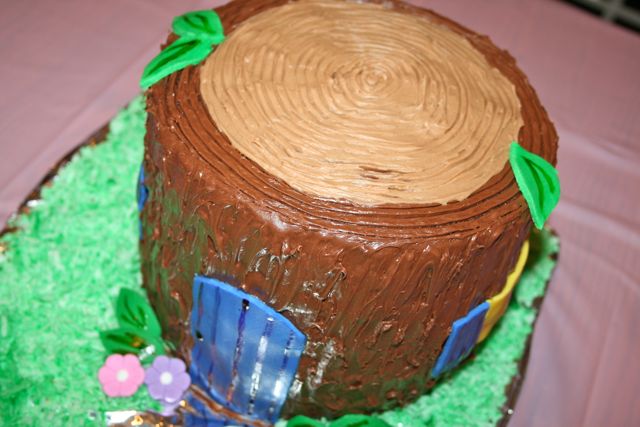
Fairy House Cake Tutorial
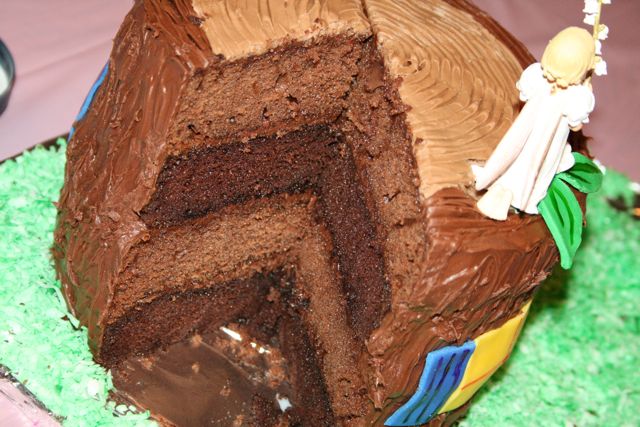
I’ve had a couple emails asking for directions on how to make the Fairy House Birthday Cake I made for Chiquita’s birthday, so here is a quick tutorial. It really was quite easy to make and this is coming from someone who had to be convinced to even try decorating a cake just two years ago! Of all the cakes I’ve made, this one and Captain’s Tank Cake are my favorites. I’m so glad that my sweet friend convinced me to give it a shot and create such wonderful memories for my children.

Ingredients:
- 4 – 8″ Round Cakes (I used two boxes of cake mix – 1 Milk Chocolate and 1 Triple Chocolate)
- Milk Chocolate Frosting
- White Frosting mixed with a little Creamy Peanut Butter to make a light brown Frosting
- Coconut mixed with some Green Food Coloring for Grass
- Fondant (I used blue, yellow, and green from this Wilton Multi Pack)
- Food Decorating Gel (to paint accents on the door, windows, shutters, and leaves)
- Sugar Flowers
- Trim the cakes so that they are nice and level. I’m sure there are better ways to do so, but I just used my long serrated knife. I did it quickly and if you look closely my cake is slightly slanted! 😉
- Stack the cakes frosting between each layer. (I flipped them over so I was frosting the bottoms of each cake instead of the trimmed top, making it easier to frost .)
- Frost the outside of the cake and a ring around the outside of the top with chocolate frosting. (Use a knife, or in my case clean finger) to add texture to the “bark.”
- Frost the top of the cake, inside the dark brown ring, with a light brown frosting.
- If you’d like to add growth rings like I did, just use a fork to create multiple rings at once, starting at the outside of the circle and working your way towards the inside with just a dot in the very center. (My husband is a Forester, so this was very important! My children all counted the rings to see how “old” this tree was before it was cut down!)
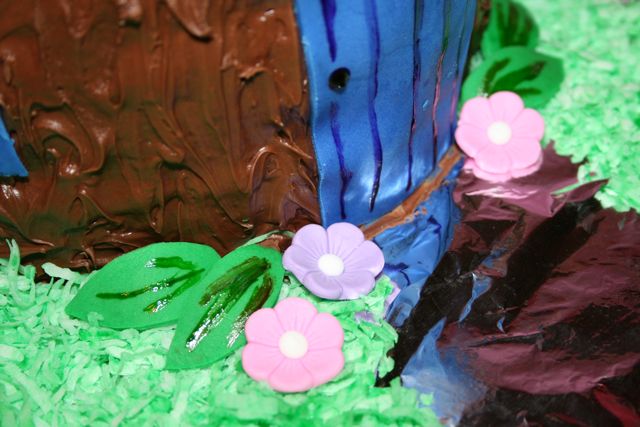
- Sprinkle coconut grass around the base of the house, covering your serving platter. (I covered my tray with foil first and then a trail making a pretty shining pathway leading up to the front door. Simple and cute!)
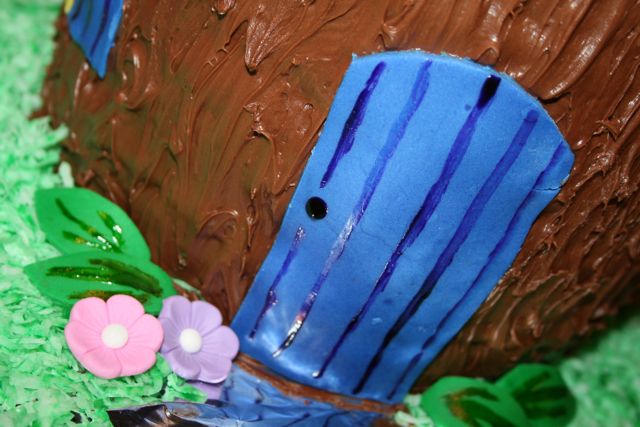
- Decorate the Fairy House with a door, two windows, and shutters cut out from Fondant. Using a small paint brush and food gel, add accents. Cut leaves out of Green Fondant and place around the house for decoration. You can also add decorative sugar flowers as well.
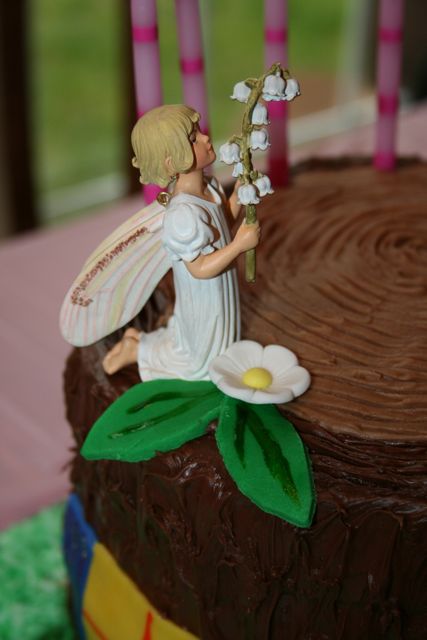
- I added a couple Cecily Mary Barker Flower Fairy Ornaments (purchased from The Turtle Trail) to the top of our cake. They are even cuter in person! They come with floral picks which make them quite easy to place securely on the cake.


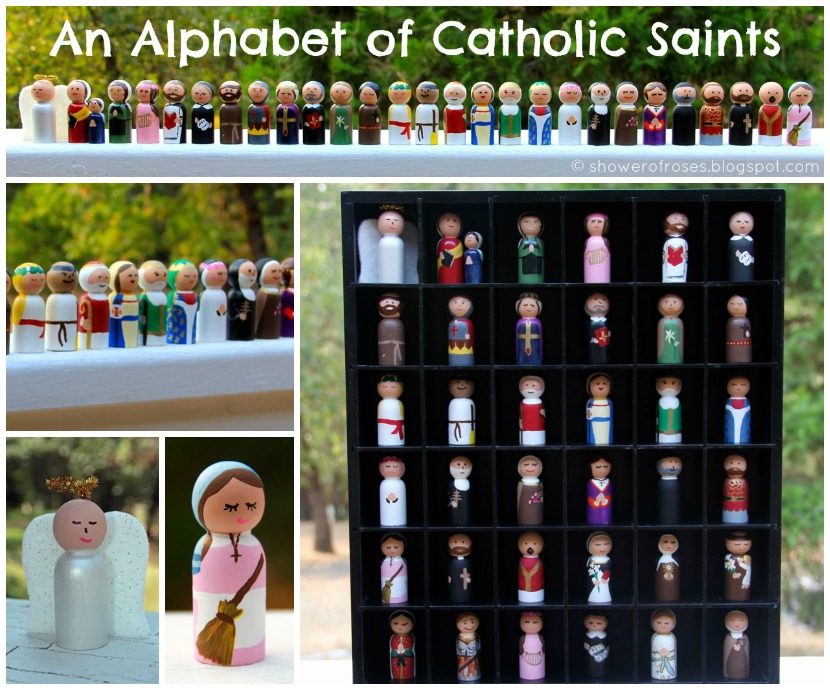
Craft Basket Wednesday :: More Painted Saints
 I’m so excited to actually be able to participate in my friend Amy’s Craft Basket Wednesday this week!
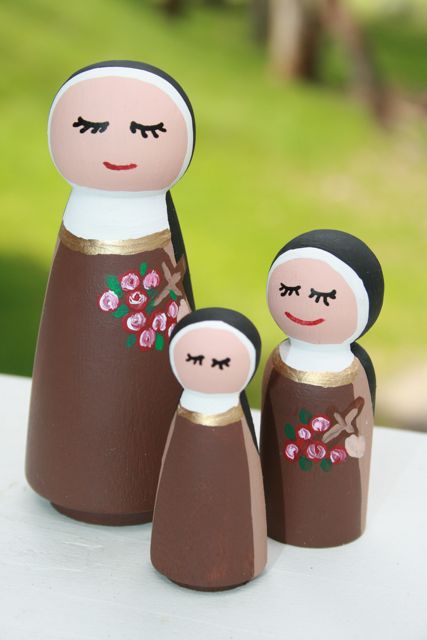
This past week was “T” week for us Along the Alphabet Path, and even though I have already painted (quite a few!) St. Therese Dolls, I just had to paint another. 🙂
For the very first St. Therese I ever painted, I used a 2 3/8″ Little Person. I have also made some with the tiny 2″ Girl dolls as well. This time I decided to try painting one of the 3 1/2″ Dolls for the first time. It was just as easy (if not easier!) and will be less of a choking hazard for my littlest one. I took a picture with all three so you can see the size differences. All of these dolls can be purchased very inexpensively from Woodworks.


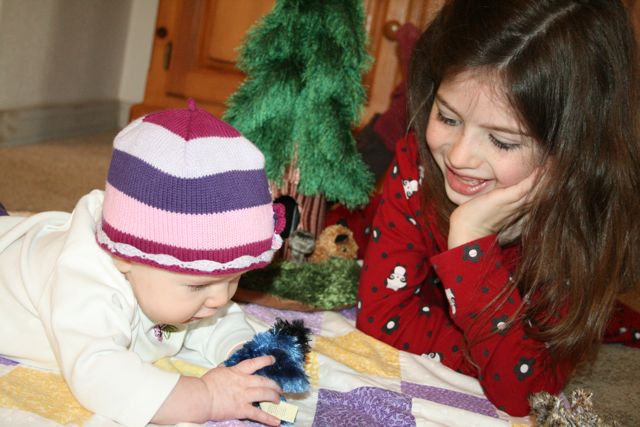
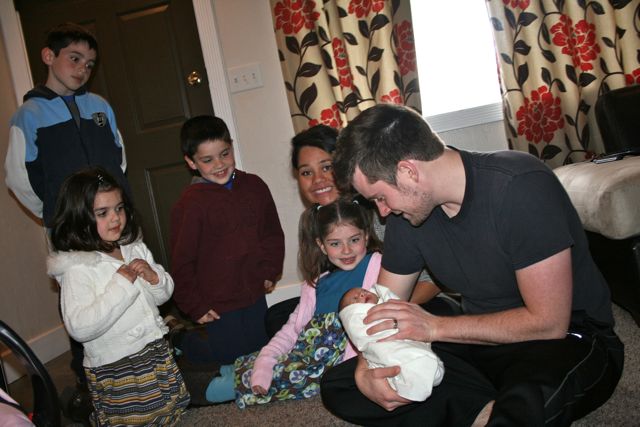
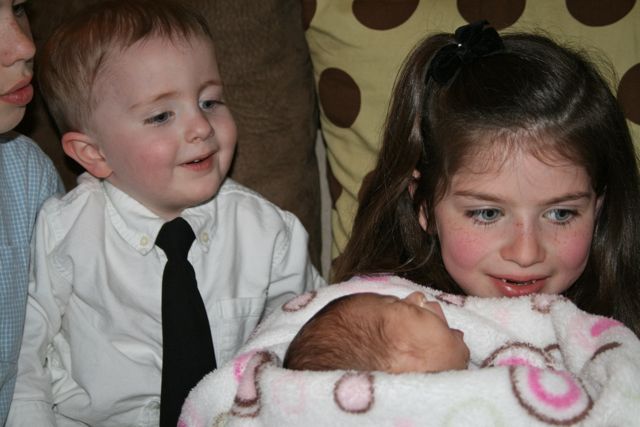
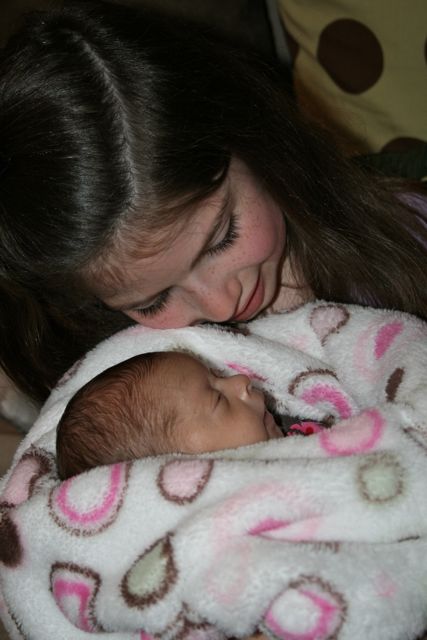
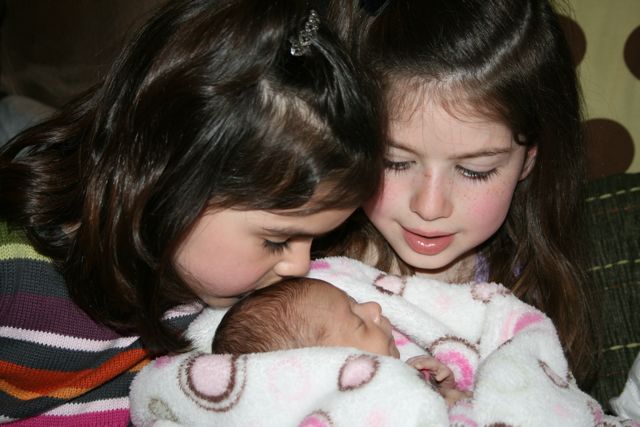
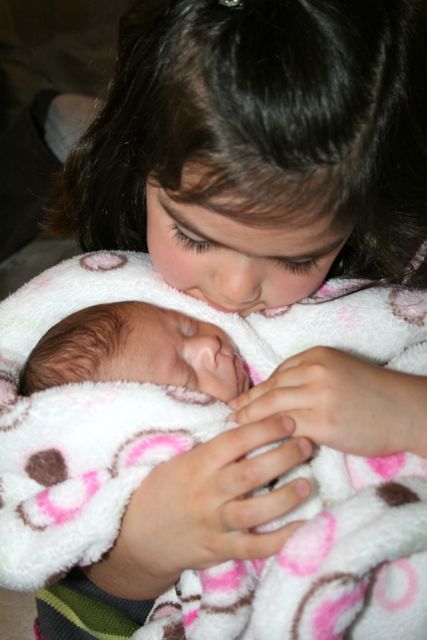
My New Little Niece
Last Wednesday my brother and his wife were able to bring their sweet little baby home from the hospital at just 4 pounds! So we could have “an excuse” to stop by and see them, the kids and I made up a dinner to deliver and then headed to town.


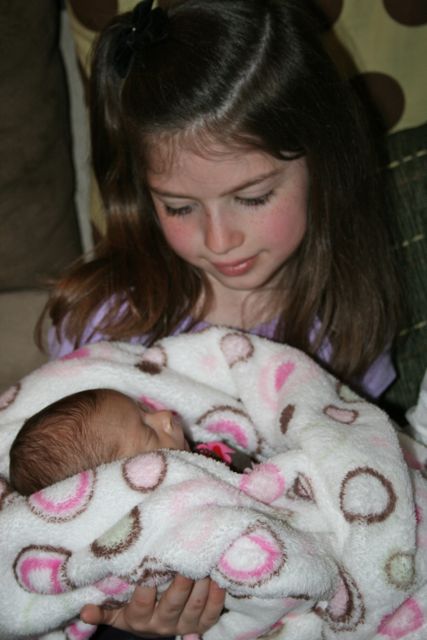

Comparing Baby Pictures #2


0 Comments