Preparing our Hearts for Christmas :: A Soft Manger, Christkindl, and a Letter to the Christ Child
Each Advent, as we prepare for Christmas, our children love creating a soft place for the Infant Jesus to arrive on Christmas morning by placing a piece of straw (or raffia) in the manger for each of their extra prayers, good works, and sacrifices.
This year, as some of the children get older, we have decided to expand on this tradition by incorporating the Christkindl tradition which Maria von Trapp shares in her book Around the Year with the Trapp Family. (Unfortunately this book is out of print, but you can find the complete text at EWTN. Many years ago I printed it out in it’s entirety!) Growing up my family enjoyed doing this during Advent, and it was also encouraged at Christendom College when I was a student! (I still remember the funky glasses and “pet bug” I found in my mailbox which my Christkindl – also known as Kris Kringle – left me as a gift! lol)
Mrs. Von Trapp explains the tradition much better than I ever could so I am just going to share a quote:
… And then comes another exciting moment. Once more the mother appears with the bowl, which she passes around. This time the pieces of paper contain the names of the members of the family and are neatly rolled up, because the drawing has to be done in great secrecy. The person whose name one has drawn is now in one’s special care. From this day until Christmas, one has to do as many little favors for him or her as one can. One has to provide at least one surprise every single day–but without ever being found out. This creates a wonderful atmosphere of joyful suspense, kindness, and thoughtfulness. Perhaps you will find that somebody has made your bed or shined your shoes or has informed you, in a disguised handwriting on a holy card, that “a rosary has been said for you today” or a number of sacrifices have been offered up. This new relationship is called “Christkindl” (Christ Child) in the old country, where children believe that the Christmas tree and the gifts under it are brought down by the Christ Child himself.
The beautiful thing about this particular custom is that the relationship is a reciprocal one. The person whose name I have drawn and who is under my care becomes for me the helpless little Christ Child in the manger; and as I am performing these many little acts of love and consideration for someone in the family I am really doing them for the Infant of Bethlehem, according to the word, “And he that shall receive one such little child in my name, receiveth me.” That is why this particular person turns into “my Christkindl.” At the same time I am the “Christkindl” also for the one I am caring for because I want to imitate the Holy Child and render all those little services in the same spirit as He did in that small house of Nazareth, when as a child He served His Mother and His foster father with a similar love and devotion.
Many times throughout these weeks can be heard such exclamations as, “I have a wonderful Christkindl this year!” or, “Goodness, I forgot to do something for my Christkindl and it is already suppertime!” It is a delightful custom, which creates much of the true Christmas spirit and ought to be spread far and wide…
On the first Sunday of Advent we will draw names. (I’m thinking the oldest five children this year, but if any of you have done this before and have suggestions or advice, I’d love to hear it in the comment box!) I also plan to have the children write a letter to the Christ Child this year, also inspired by Maria Von Trapp:
…And there is still one very important thing to do for Advent. According to Austrian custom, every member of the family writes a letter to the Holy Child mentioning his resolutions for the weeks of Advent and listing all his wishes for gifts. This “Christkindl Brief” (letter to the Holy Child) is put on the window sill, from whence the Guardian Angel will take it up to heaven to read it aloud to the Holy Child…
Update: Our children tuck their letters into their shoes on the eve of the feast of St. Nicholas so that he can pick them up and deliver them to the Christ Child.
Preparing for Advent :: A Few Fun Finds for 2012
As you might have noticed, I’ve been spending some time preparing for Advent! Each year my goal has been to be ready before the baby arrives by the first Sunday of Advent, having all my shopping completed, but that doesn’t always happen. I can’t believe Thanksgiving is next week already! Anyways, I still have quite a few decisions to make for this year but, like I did last year, I thought I’d share a few of the new things I have set aside for this Advent.
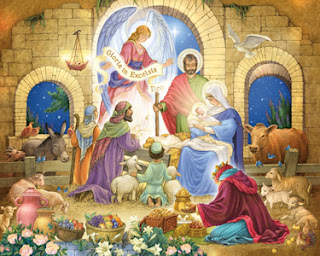
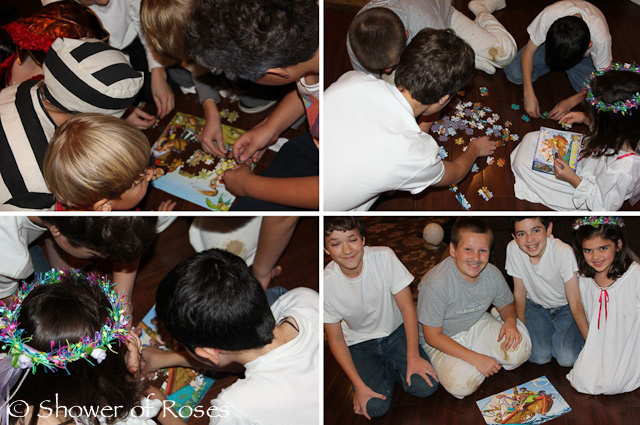
The last couple years we have been assembling a puzzle (or two!) each Advent. In 2010 we assembled the Our Lady of Guadalupe Puzzle. Last year the kids loved The Nativity in the Woods Puzzle, followed by the gorgeous Holy Family Jigsaw Puzzle and the They Come Bearing Gifts Puzzle for Epiphany. For this year I considered the Peaceful Prince Jigsaw Puzzle and this O Star of Bethlehem Snow Globe Puzzle, but in the end I settled on this beautiful Glorious Nativity 1,000 Piece Jigsaw Puzzle. (I’m also planning on ordering this one for one of this year’s O Antiphon Gifts, but more on that later!)
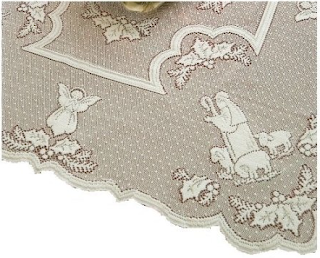
We always set up a card table to use for assembling our Advent/Christmas Puzzles. This year I purchased a beautiful Silent Night Table Cover to place over the card table. (For those of you that don’t have a second table option for puzzles, this Stow & Go might be a good solution.)
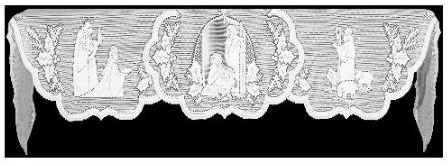
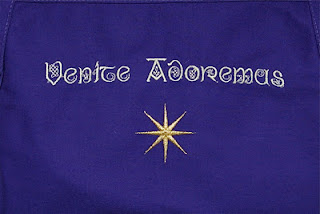
I have our Advent Prepare and Rejoice Mantel letters ready to go, and this year I will also be covering our mantel with this lovely Silent Night Mantle Scarf! (It is also available from Catholic Embroidery.)
Our He’s Coming! The Importance of Advent CD by the Altar Gang isn’t new, we’ve owned it since it came out 5 years ago, but it hasn’t been pulled off the shelf in quite some time. I think my younger children, especially, are going to love listening to it! Here are links to the MP3 download and CD, or you can purchase them from Holy Heroes.
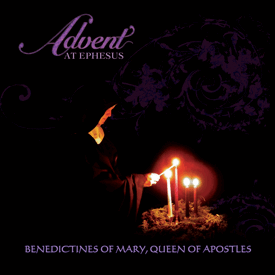
After seeing Catholic Embroidery‘s recommendation, I pre-ordered Advent at Ephesus from The Benedictines of Mary. According to their website, a significant amount of the proceeds will go directly to their community. In addition to assisting them with their present needs, the funds will also go towards the future construction of our permanent monastery building! (I ordered mine directly from the sisters, but it is also available from Amazon.)
Almost Wordless Wednesday {Christmas 2004}
A Jesse Tree Ornament Swap!
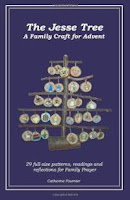
Speaking of Jesse Trees, I forgot to mention Jesse Tree Ornament Swaps! And guess what, Charlotte’s other friend Jessica is hosting one this year based on the symbols suggested in The Jesse Tree: A Family Craft for Advent by Catherine Fournier! I was about to sign up, but then remembered that I have a baby shower to co-host on the 27th, two birthdays coming up in December to start planning for, and a whole bunch of Christmas gifts that I am hoping to make… I could squeeze one more thing in, right? Maybe not… It’s not like I don’t have a Jesse Tree (or two) already! 😉
Anyhow I wanted to share the link in case some of you would like to join the fun. It’s filling up fast, so click on over and sign up while you still can!
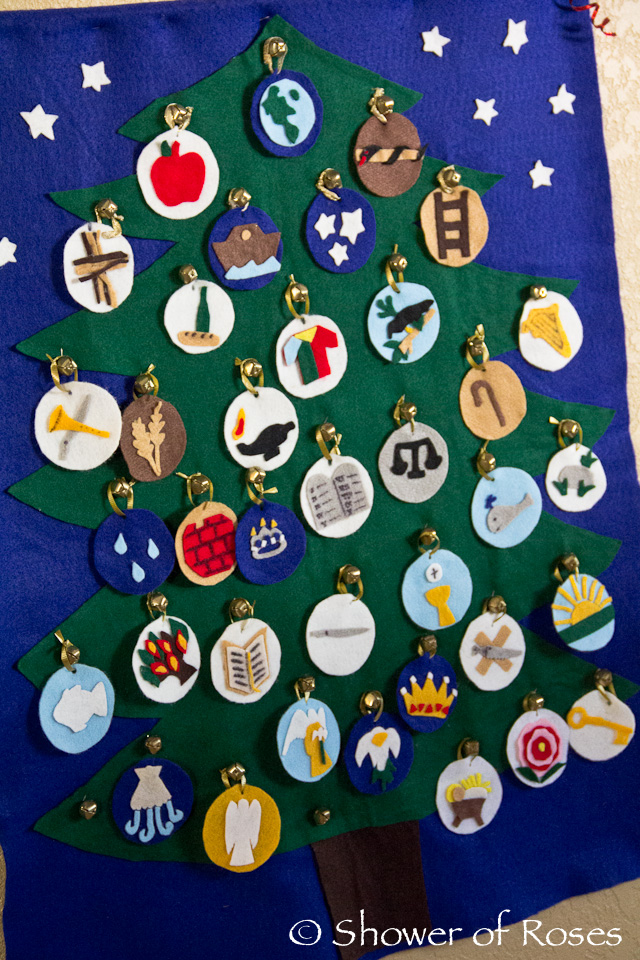
The Jesse Tree :: A No-Sew Picture Tutorial with Readings
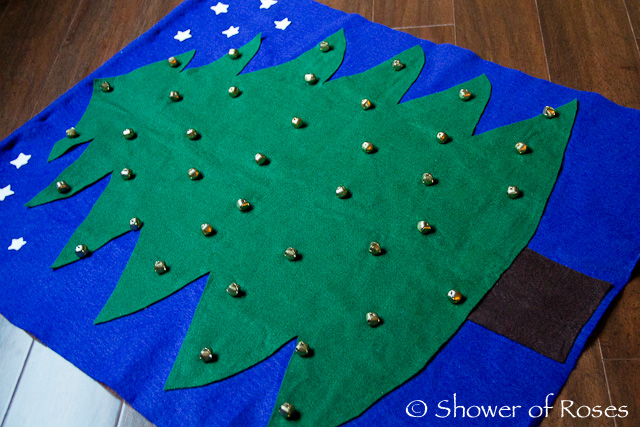
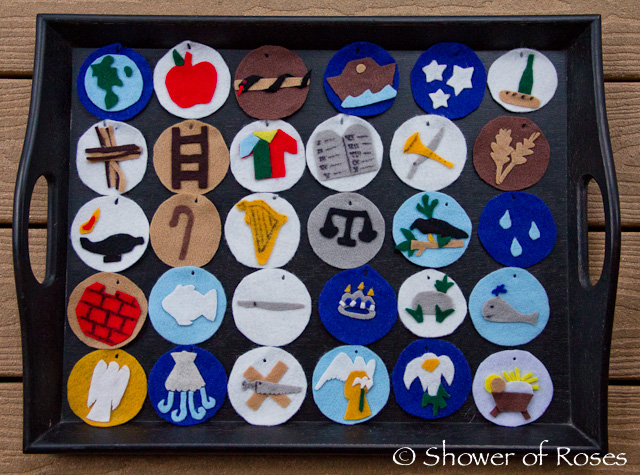
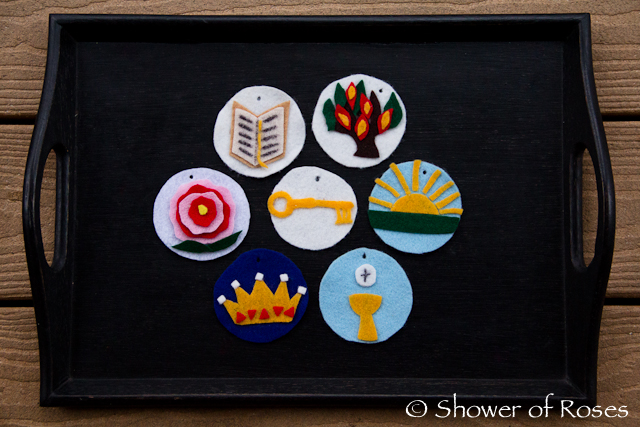
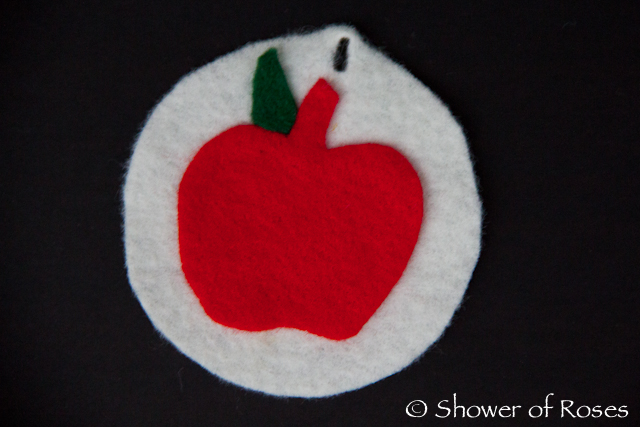
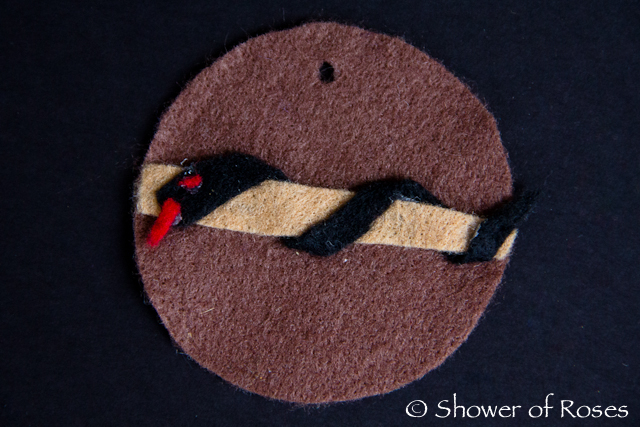
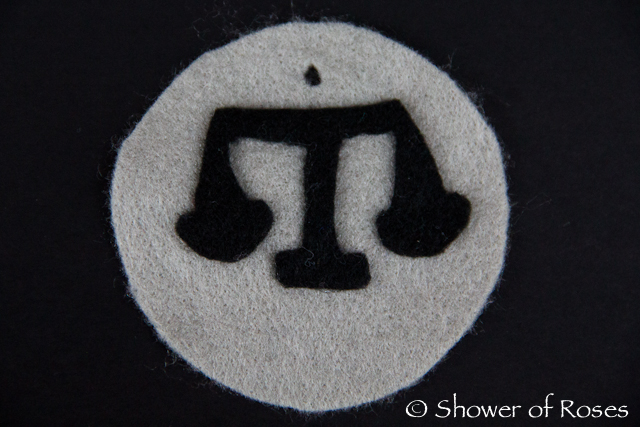
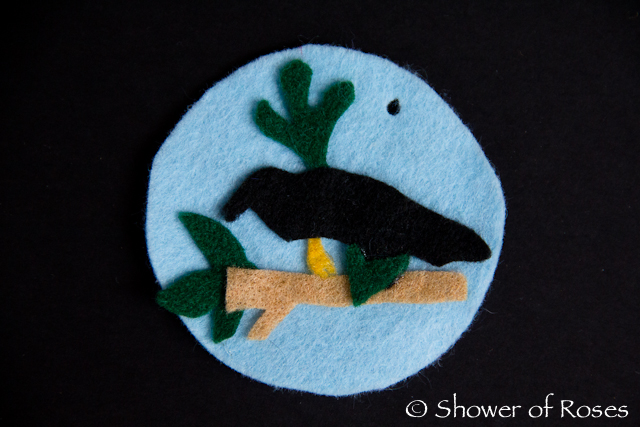
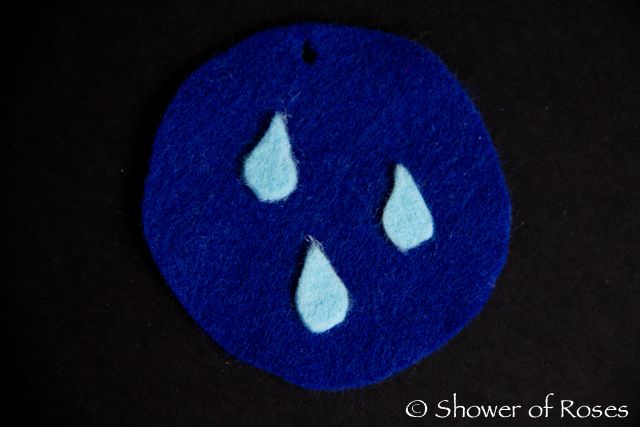
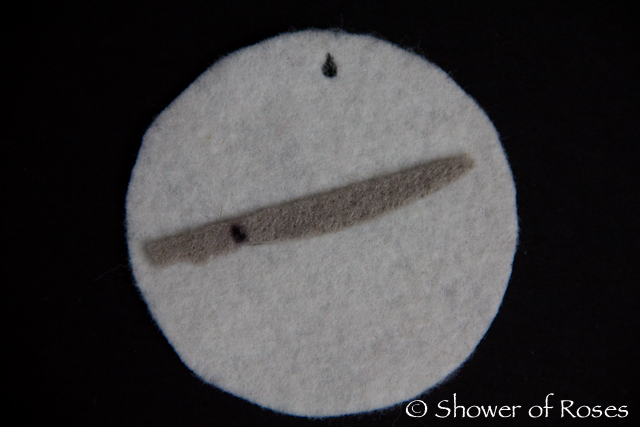
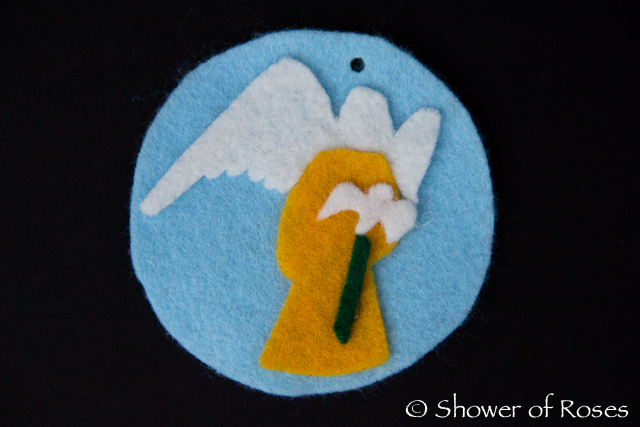
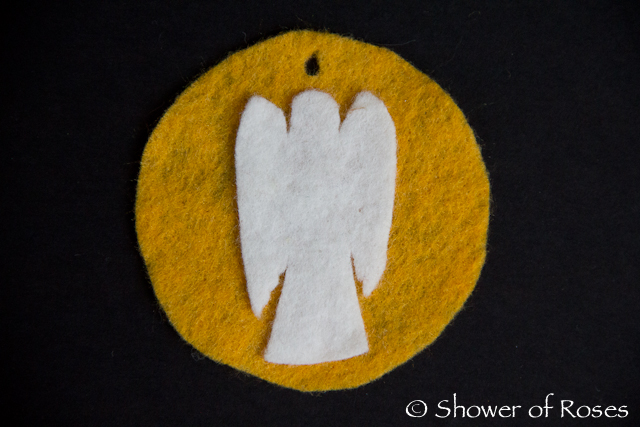
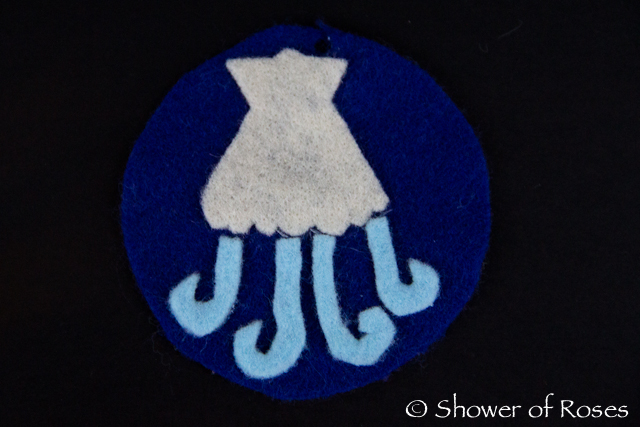
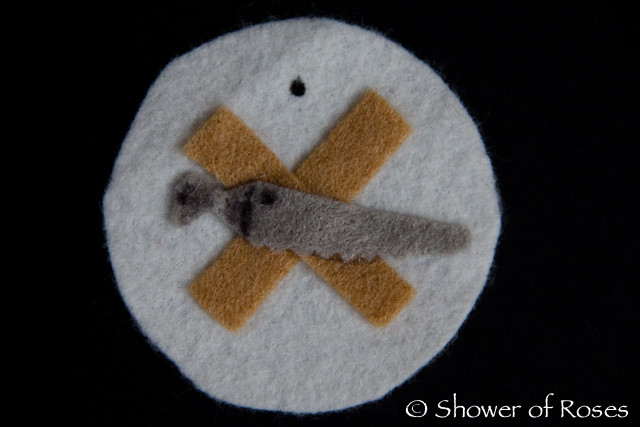
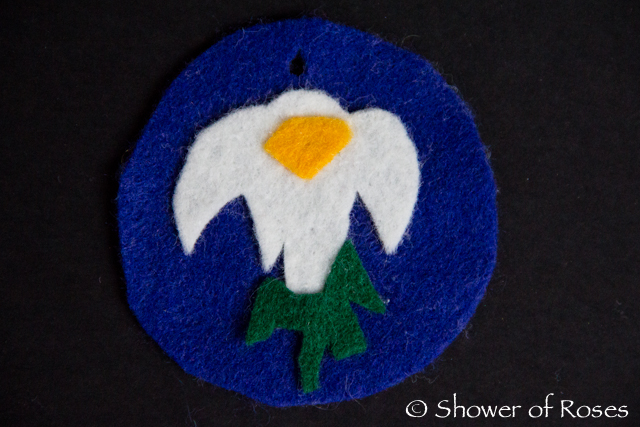
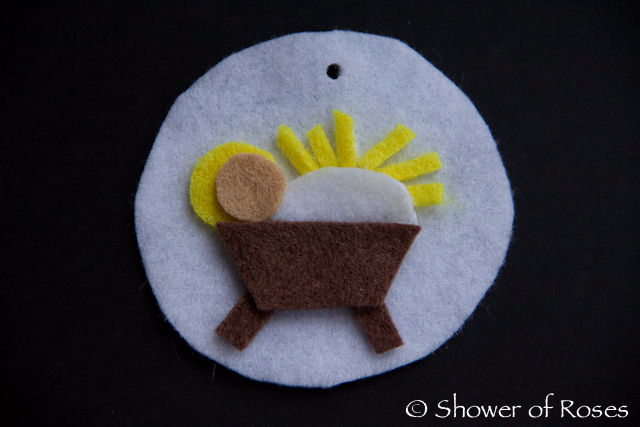
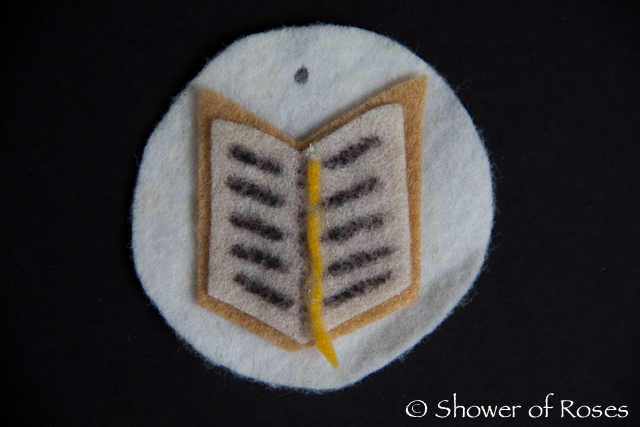
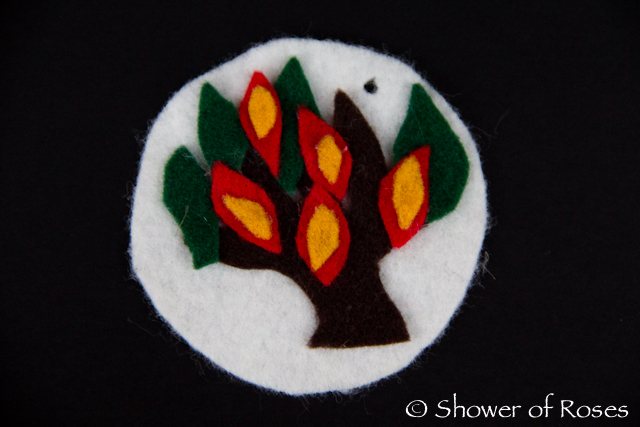
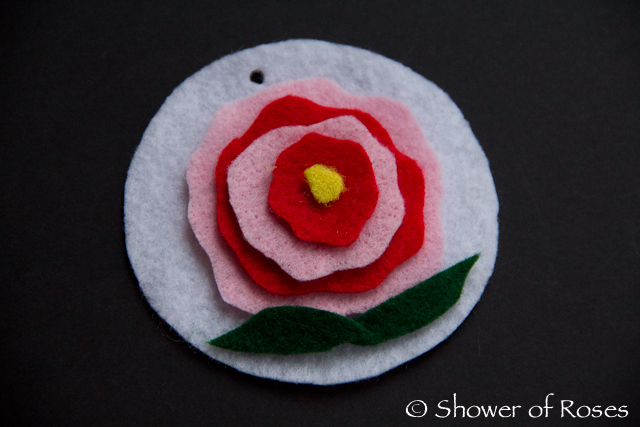
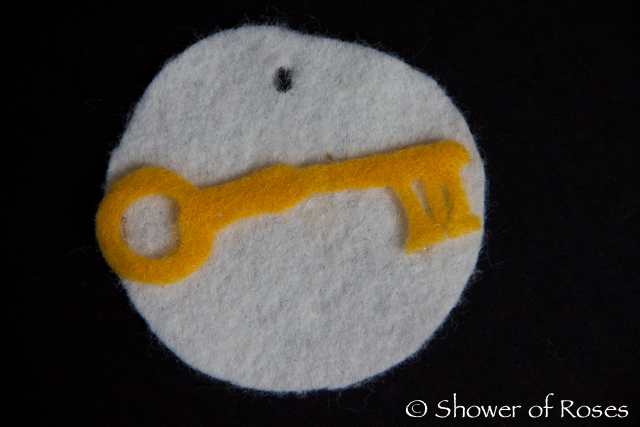
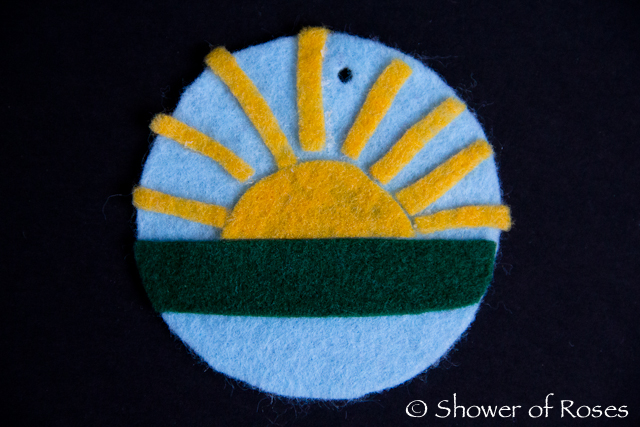
Advent is quickly approaching and I have been promising you all (for years!) close-up pictures of our Jesse Tree and Ornaments! Well, with the long holiday weekend, I finally pulled out all the ornaments and spent some time taking pictures of each of them.
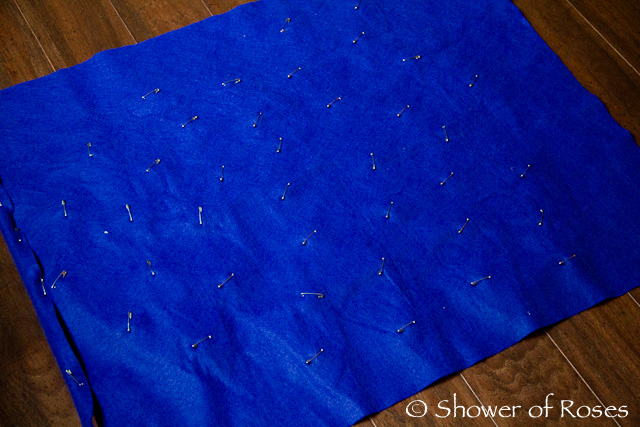
- Blue Felt for Sky/Background (mine measures 36″ x 28″)
- Green Felt for Tree (mine measures 28″ from top to bottom and 25 1/2″at the widest)
- Brown Felt for Stump (mine measures 4 1/2″ x 5″)
- White Felt for Stars
- Various Colors of Felt for Ornaments (most of my circles are 2 3/4 – 3″ in size)
- Scissors & Hot Glue
- Jingle Bells
- Safety Pins or Needle/Thread
- Hole Punch & Gold Ribbon or Thread (to hang the Ornaments)
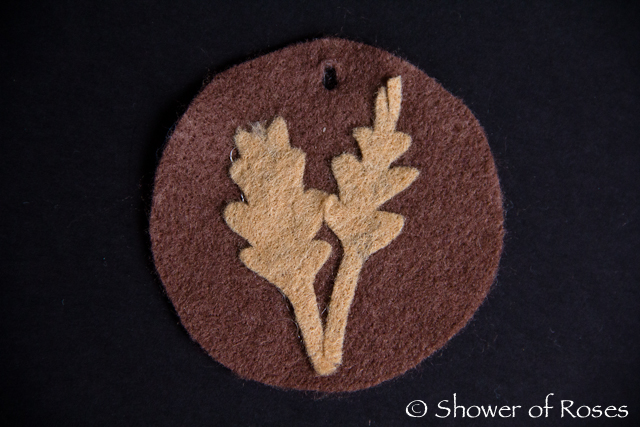
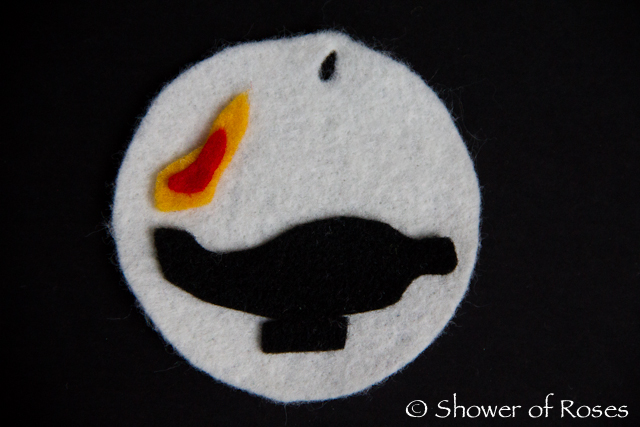
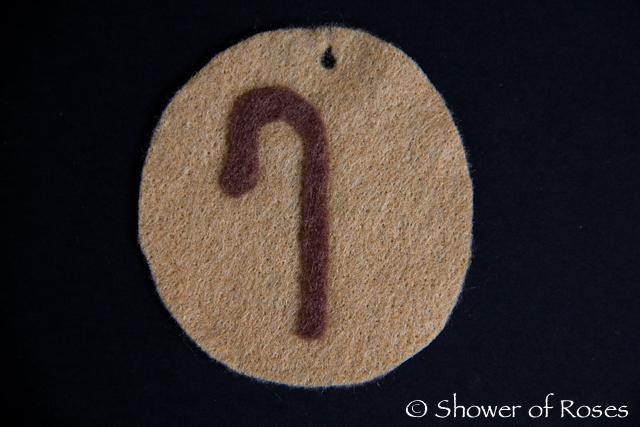
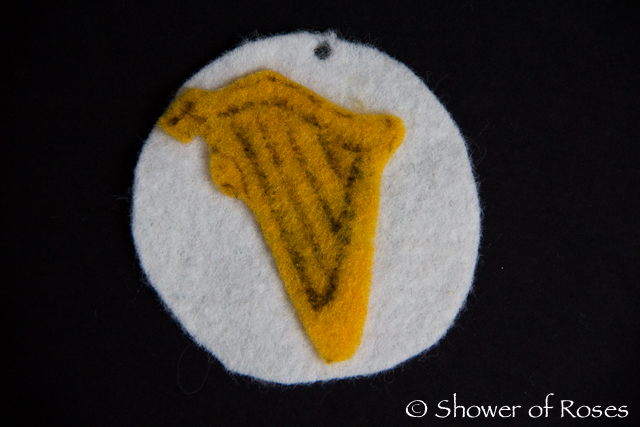
The felt ornaments I made for our Jesse Tree were mostly inspired by the coloring pictures found in Advent and Christmas for the Christian Family which is part of the Celebrating the Faith in the Home Series from Emmanuel Books.
- The Jesse Tree: Stories and Symbols of Advent by Raymond Anderson
- The Jesse Tree by Geraldine McCaughrean
- The Advent Jesse Tree: Devotions for Children and Adults to Prepare for the Coming of the Christ Child at Christmas
- Lets Make a Jesse Tree
- The Jesse Tree: A Family Craft for the Story of Advent by Catherine Fournier
- Jesse Tree Ornaments: Advent Coloring Activities and Craft Projects for Kids with Bible Stories for the Jesse Tree Symbols
- The Jesse Tree Kit by Lynn Simms
- Scripture Tree’s Jesse Tree Banner Kit from Leaflet Missal
- Paper Dali’s Paper Jesse Tree Ornaments to Color
- Faith Magazine’s Printable Ornaments
- King of Peace Printable Ornaments
- Domestic Church Printable Ornaments
- Jesse Tree Readings and Coloring Pages (2007, 2008, 2010)
- Jesse “Tea” for Advent (2009, 2010)
*Note: I do not own all these books, they are just various ones I’ve run across online.
Also for those of you that would like a beautiful pre-made set of Jesse Tree Ornaments, I highly recommend Jesse Tree Treasures.
This year I am considering ordering the Jesse Tree DVD from Holy Heroes.
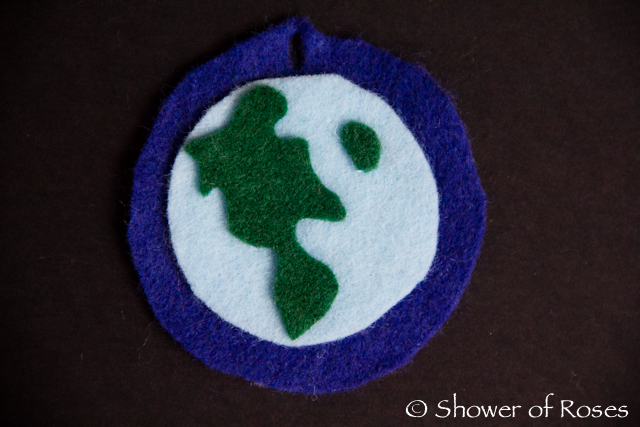
1. Creation
Symbol: Earth
Readings: Gen .1:1-31; 2:1-4
NCPB: The Story of Creation, Pages 8-9
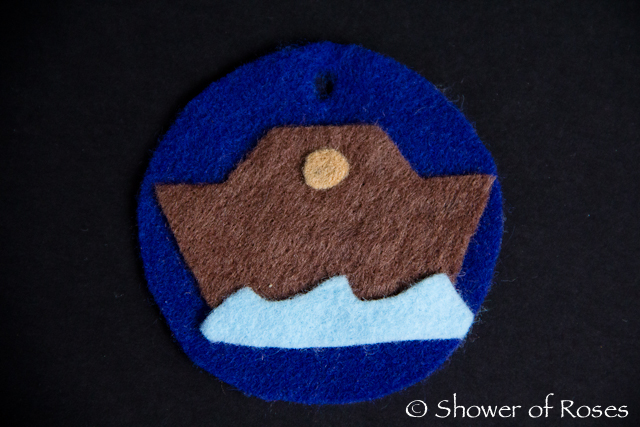
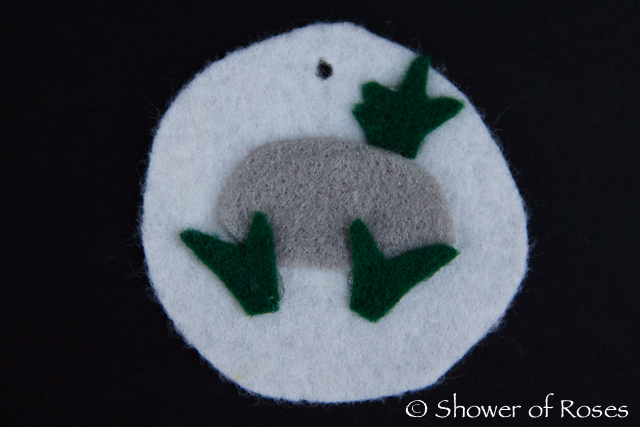
4. Noah
Symbol: Ark
Readings: Gen. 6:5-8, 13-22; 7:17, 23, 24; 8:1, 6-22
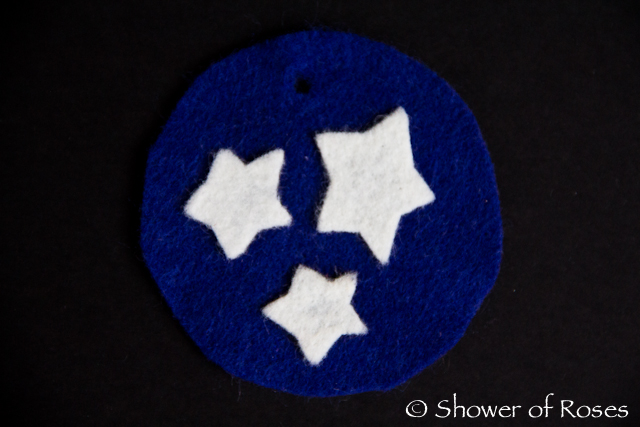
5. Abraham
Symbol: Stars
Readings: Gen. 12:1-3
6. Melchisidek
7. Isaac
8. Jacob
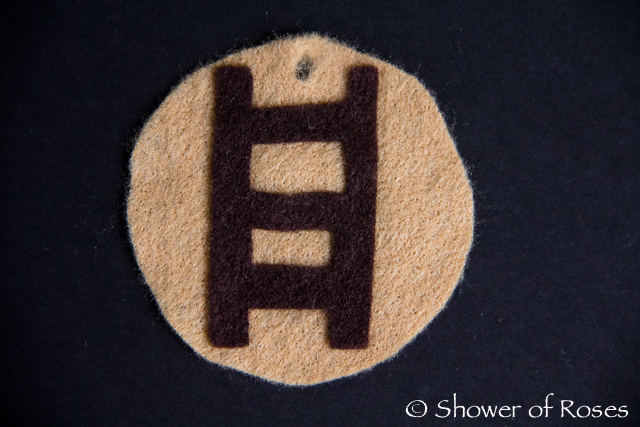
Symbol: Ladder
Readings: Gen. 25:1-34; 28:10-15
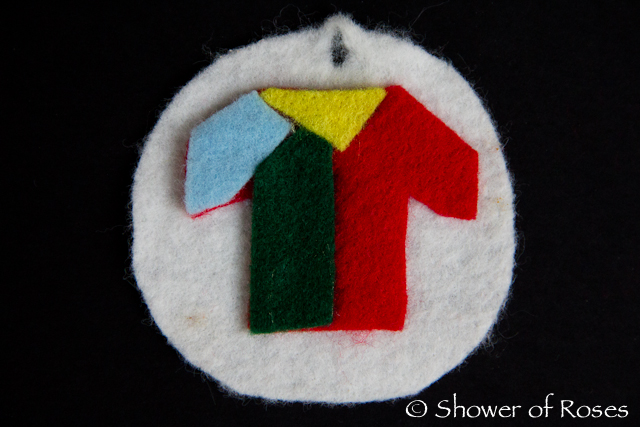
Symbol: Joseph’s Coat of Many Colors
Readings: Gen. 37:23-28; 45:3-15
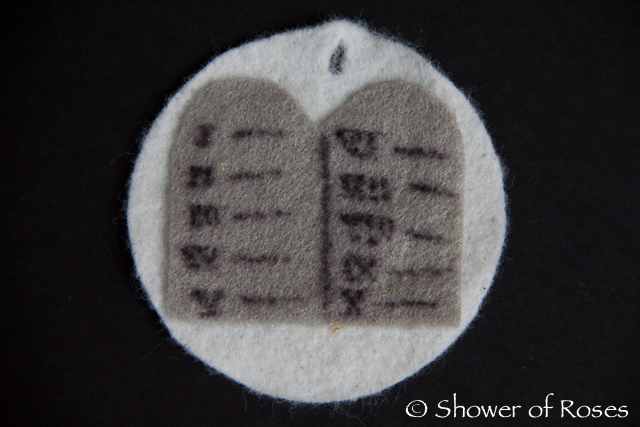
10. Moses
Moses: Ex. 2:1-10
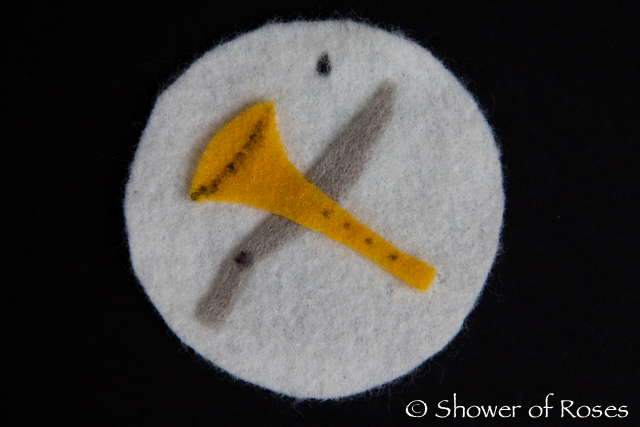
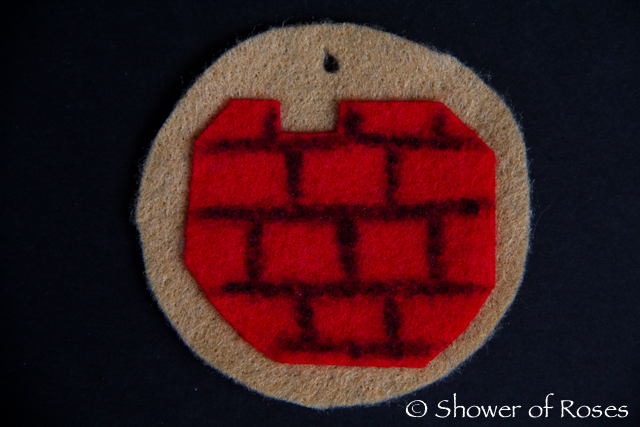
11. Joshua
Readings: Joshua 6:2-5; Jos. 1,3,6-11
12. Ruth
13. Samuel
Readings: 1 Sam. 3:1-18
Readings: 1 Sam. 17:12-51
16. Solomon
17. Elijah
Readings: 2 Kings 17:2-4, 6; 2 Kings 17-18:21-39
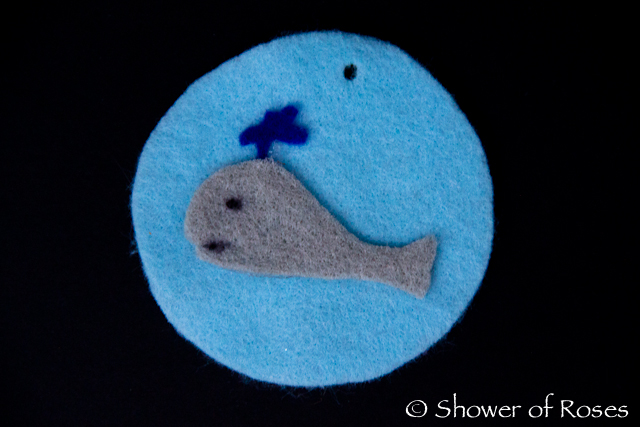
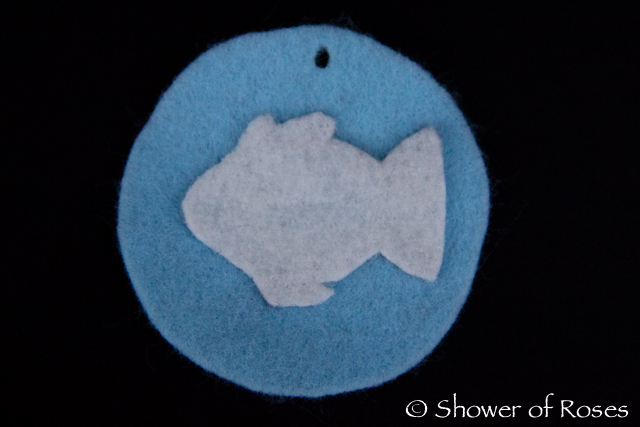
18. Jonah
Readings: Jonah 2:1-2, 11
20. Jeremiah
22. Nehemiah
Symbol: Angel
Reading: Luke 1:11-13
Symbol: Flower
Reading: Isaiah 11:1-3
December 21st – O Radiant Dawn (Jesus is the Radiant Dawn)
Symbol: Sun Rising
Reading: Isaiah 41:25-26
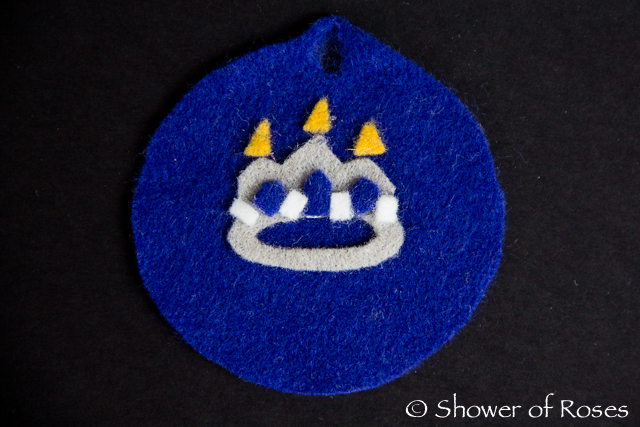
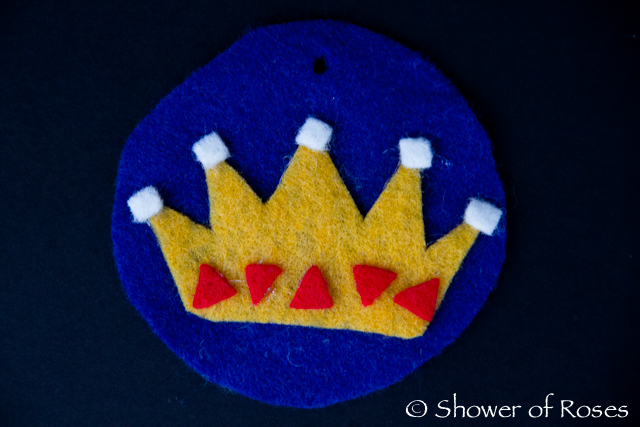
December 22nd – O King (Jesus is King of the Gentiles
Symbol: Crown
Reading: Psalm 2:7-8; Ephesians 2:14-20
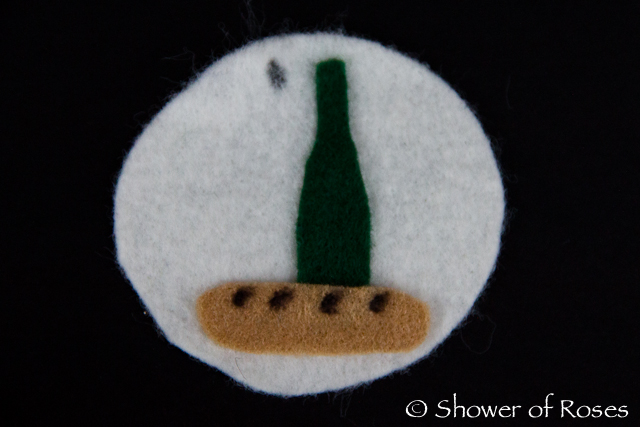
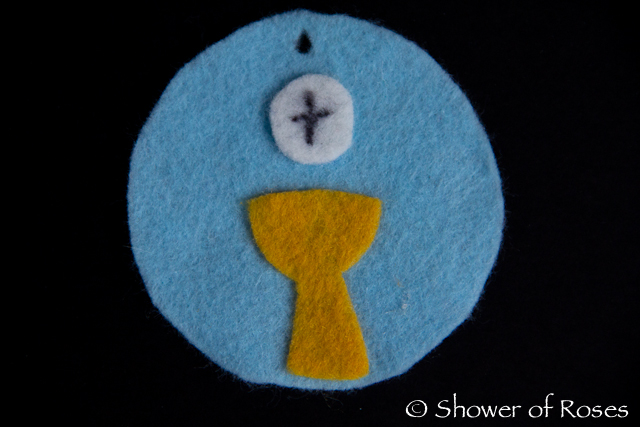
December 23rd – O Emmanuel (Jesus is Emmanuel)
Symbol: Holy Eucharist
Reading: Isaiah 7:14; 33:22
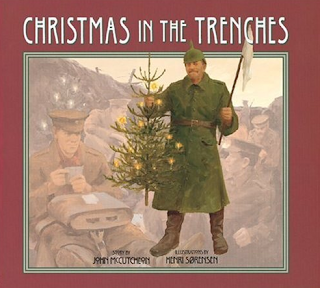
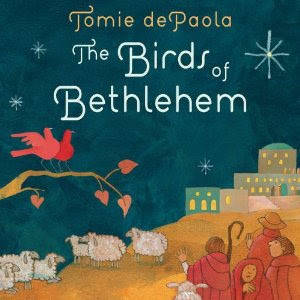
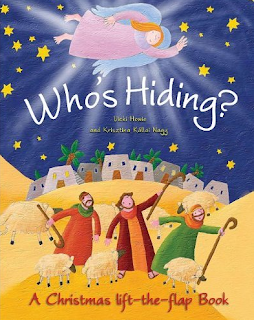
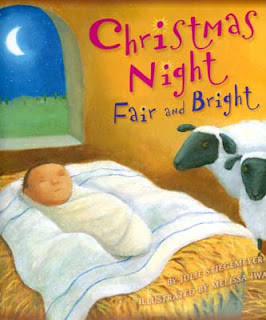
New Christmas Books for the Feast of St. Nicholas
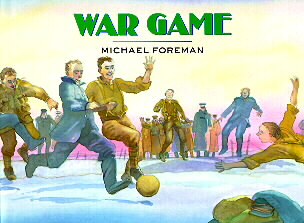
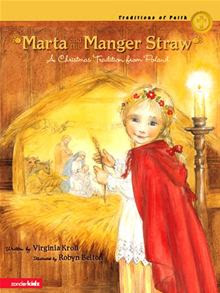
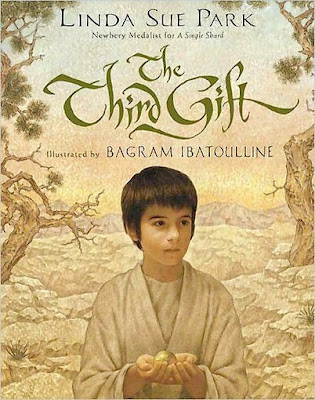
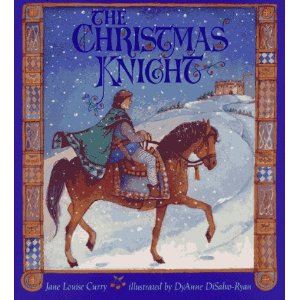
Every year on December 6th, the feast of St. Nicholas, our children wake up to find new slippers (when needed) filled with treats and chocolate gold coins, along with a new Christmas Picture Book to add to our every growing collection.
With the feast of St. Nicholas less than a month away, I spent some time this weekend preparing. Every year I worry that I’m not going to be able to find a new book for each of the children, since we have so many already, but that has yet to be a problem… Instead I have such a hard deciding which ones to choose! Here’s a peek at the books I purchased for this year: (And the best part was I was able to order them all for only $19.96, since I’ve been saving up our Amazon Visa Reward Points! Yay!!)
UPDATE: I am saving this book to give to the children during the twelve days of Christmas and ordered Chiquita a copy of this new version of Our Lady of Guadalupe!
Winter ONEderland birthday next month!
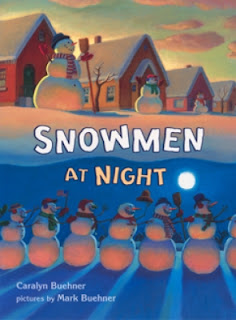
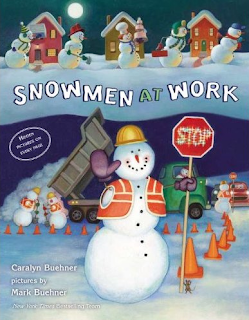
Snowman at Night and (the brand new!) Snowman at Work
(We’ll have to add Snowman at Christmas and Snowman All Year to our collection later!)
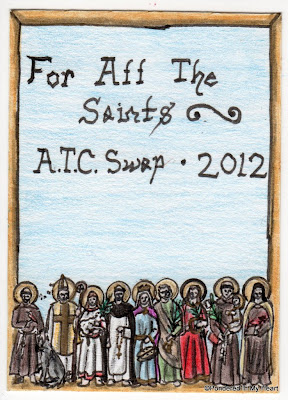
The 2012 Artist Trading Card Swap: For All the Saints!
My children were so excited this morning when I told them that Kimberlee (and her ever so talented children) is hosting another Artist Trading Card Swap: For All the Saints!
Celebrating the Saints :: Our Annual All Hallows’ Eve Party!
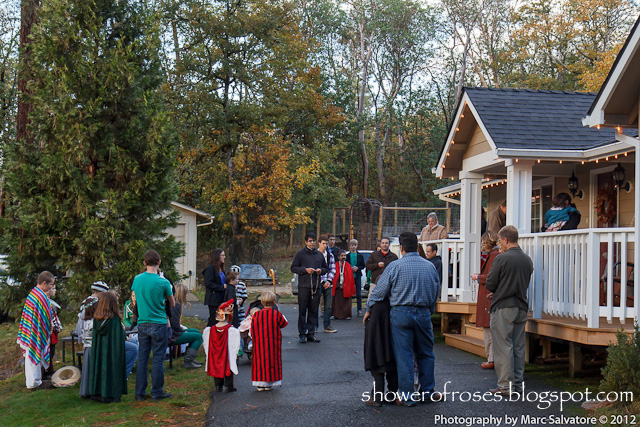
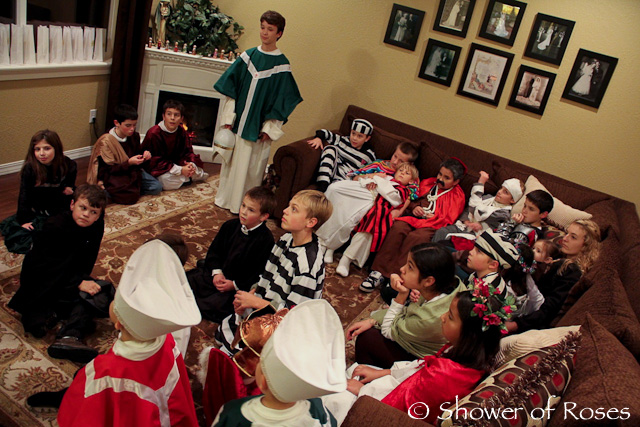
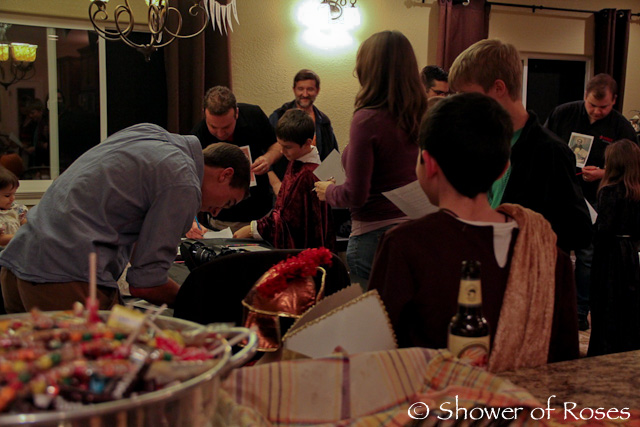
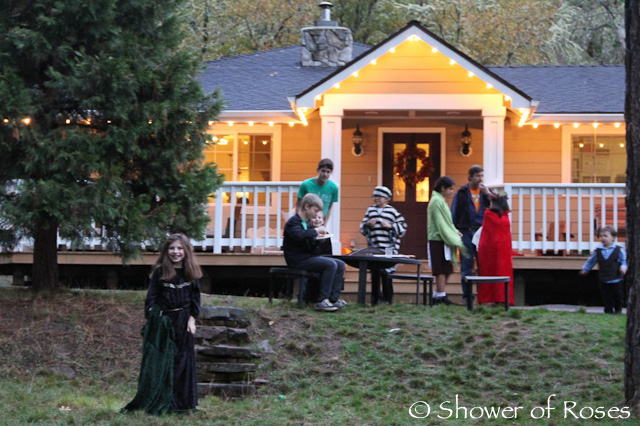
It wasn’t my plan to host another All Hallows’ Eve Party this year. After a physically exhausting year with a new baby and all the extra medical challenges, I thought we’d take a year off. However, I ended up being talked into it by both my children and friends! How could I say no when one of my friends said she’d rather I hosted this party, than the baby shower we are planning for her, and another friend said she didn’t know what her family would do if I didn’t host the party… As for my own children, it’s one of their favorite days of the year!
Before we added on to our home a couple years ago, I always wished we had the extra space to host these sorts of parties. I suppose, at least in a small way, I can thank God for the blessing of the extra space by actually doing so! 🙂
To be honest, the morning of our party, I was in tears. The cleaning lady I had scheduled to come in the morning for a couple hours hadn’t shown up yet, and it was pouring, POURING outside. My house is bigger now, and I tried to keep the party “small,” but I was really counting on the party being mostly outside, especially since we were expecting around 70 guests. I can’t tell you how thankful I was when the sun started shining through the clouds, just long enough for the party!
Yes, the preparation was somewhat overwhelming and a lot of work, but in the end it was all worth it! As one friend said, in a little thank you note, “Everything you did was so appreciated. You helped to create memories for our children (and us!!) that they will remember all their lives.” And that is really what it’s all about – creating wonderful faith-filled memories and growing closer to our heavenly family! Deo Gratias!
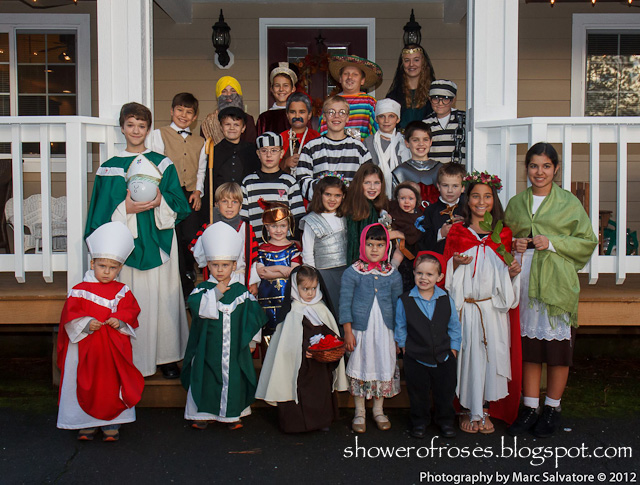
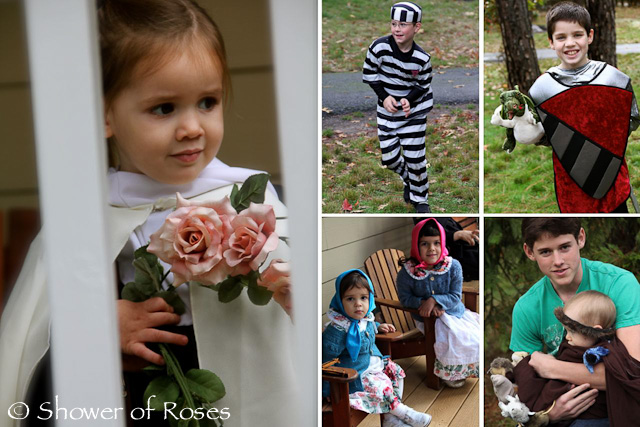
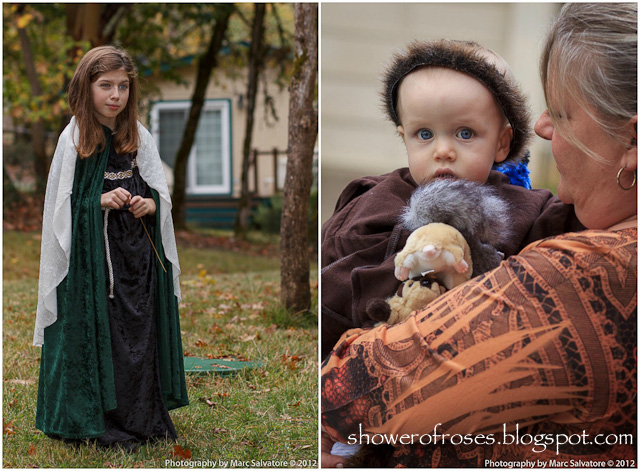
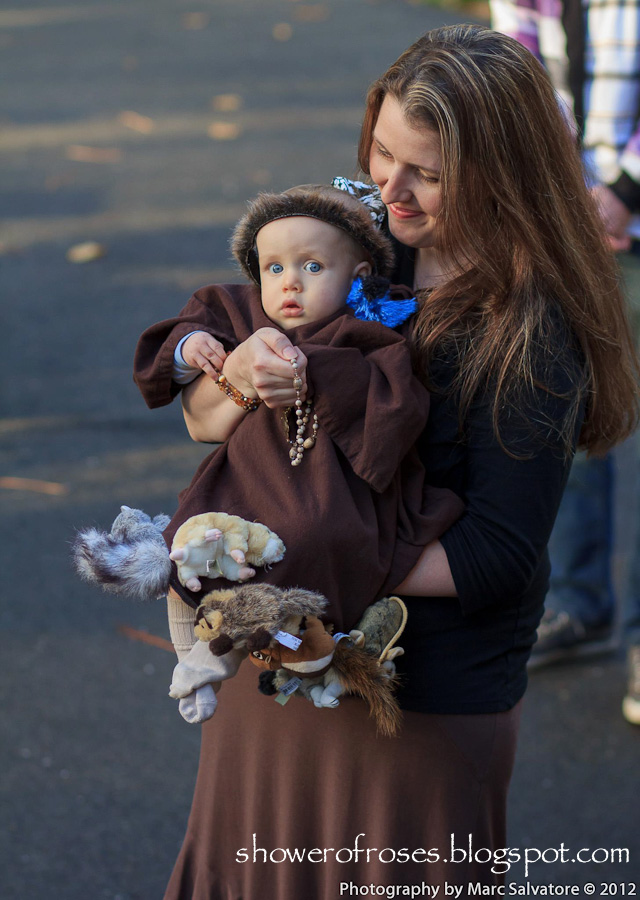
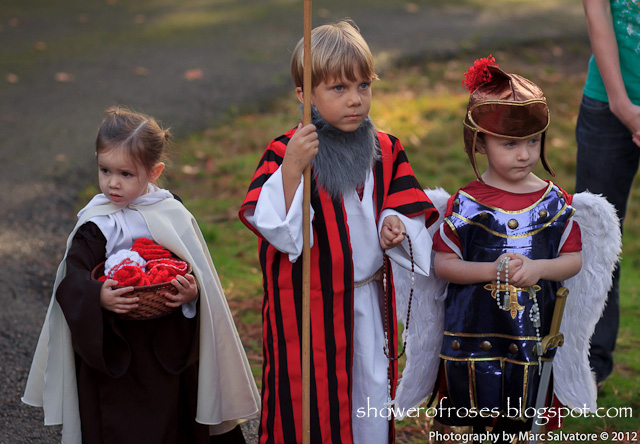
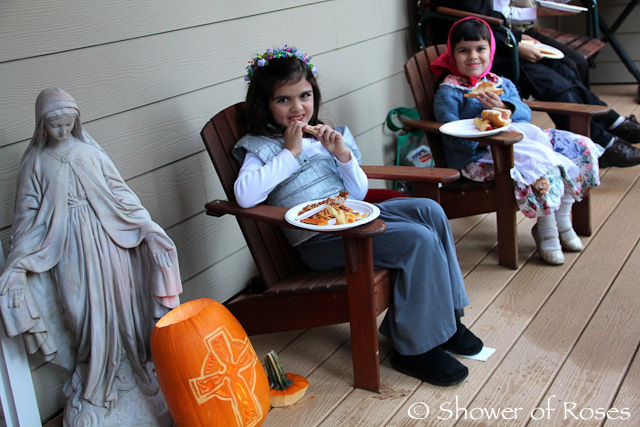
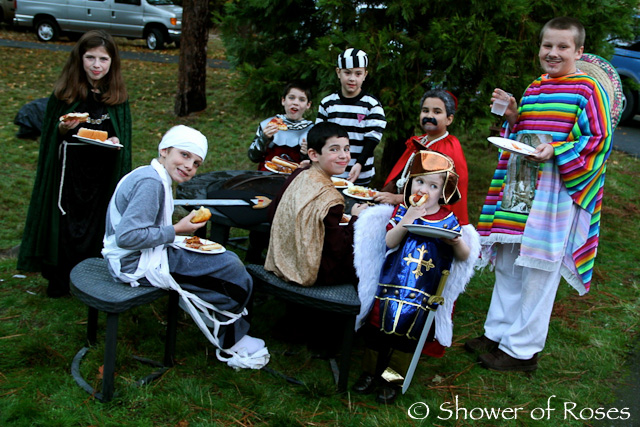
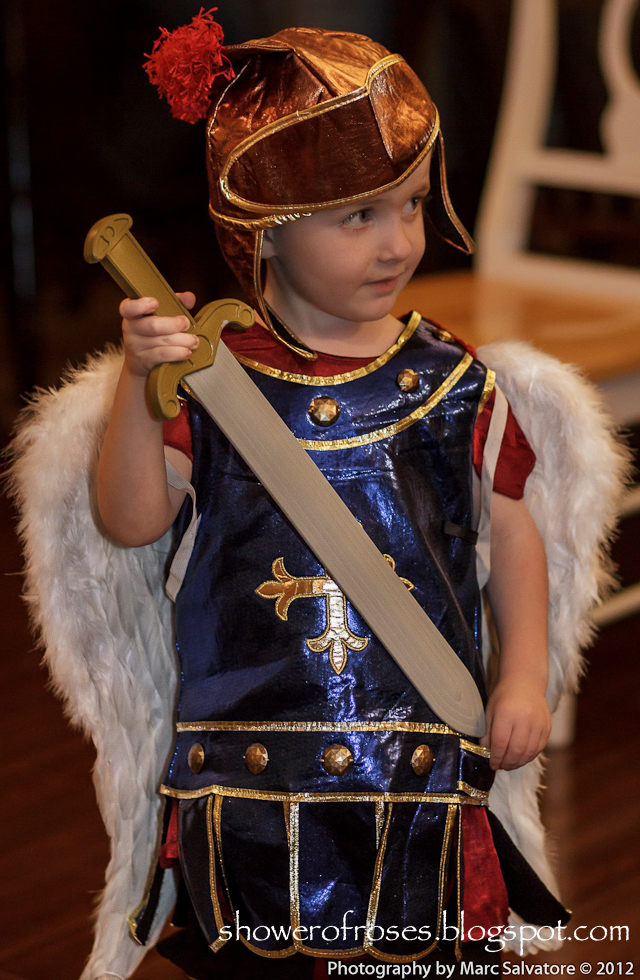
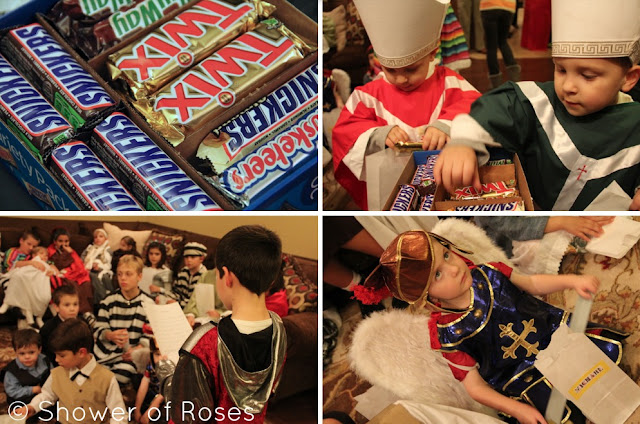
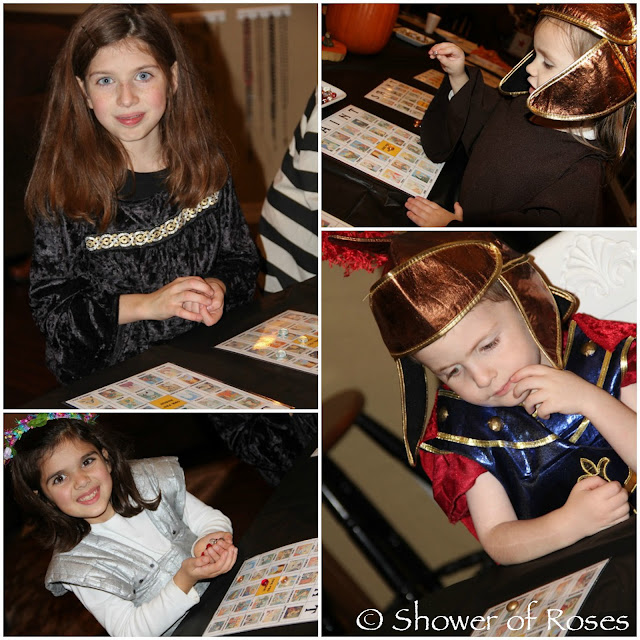
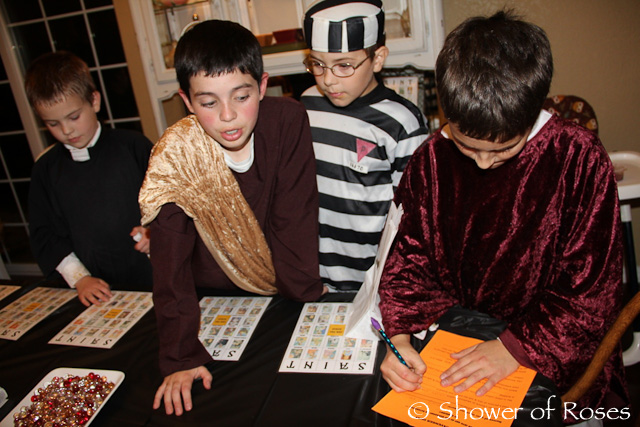
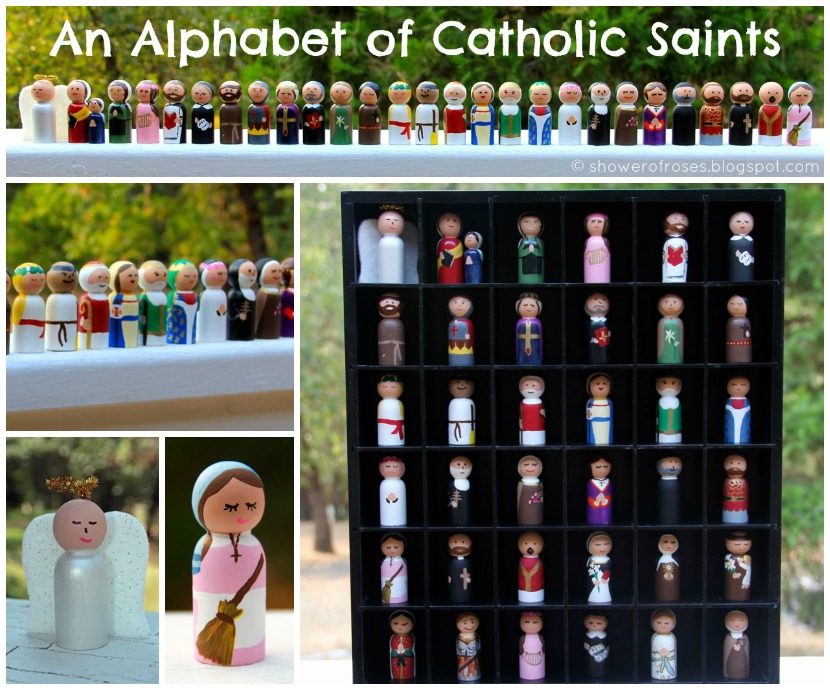
Just look at all those adorable saints! I always love seeing the creativity in our group of friends! The costumes are all so, so creative and CUTE! I’m sure the saints in heaven were smiling.
Once (most of) our guests arrived, we began the evening with the rosary. Though I didn’t make the various tombstones this year, we still prayed that all of us will one day be Saints in Heaven, for our Departed Clergy, Departed Family, Departed Friends, and for the Forgotten Dead.
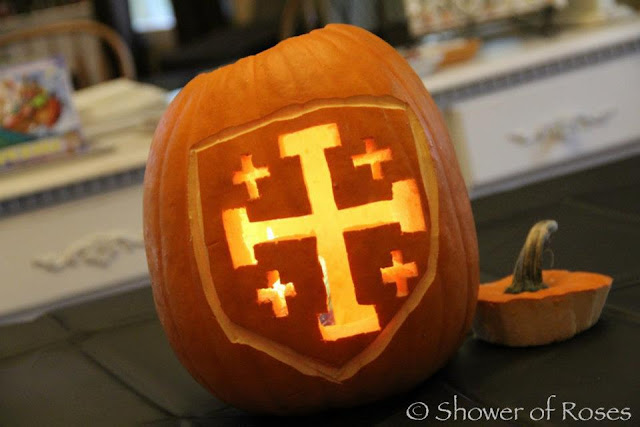
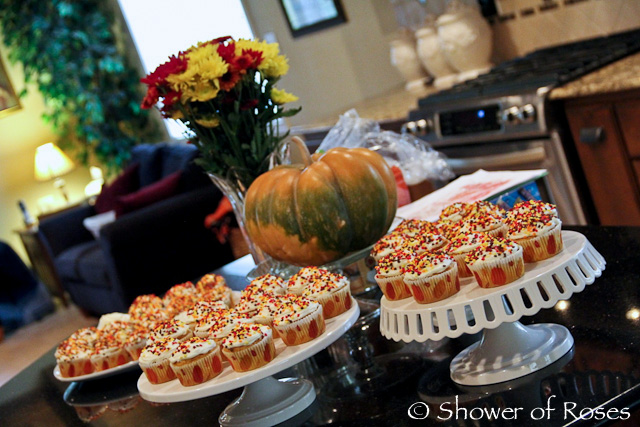
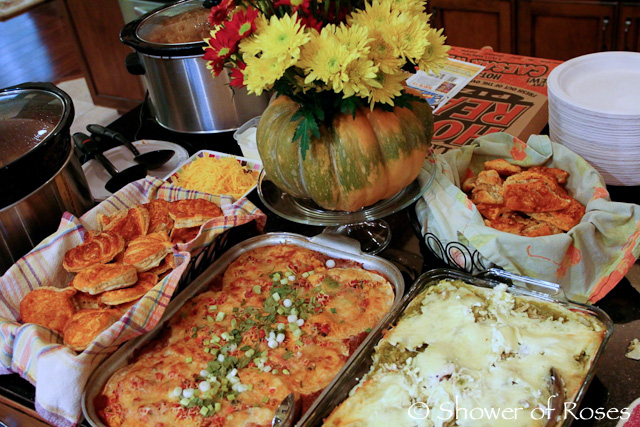
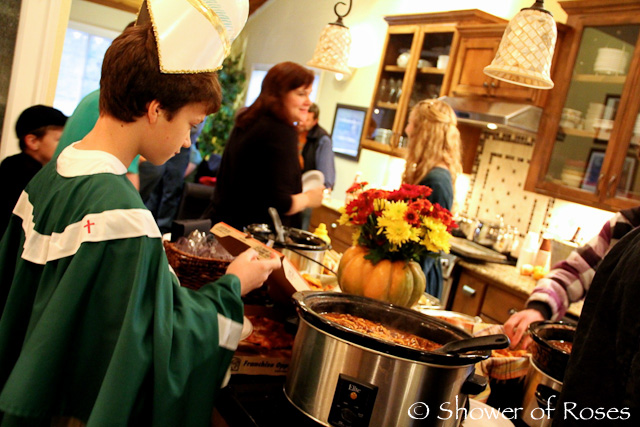
After the Rosary we had a potluck dinner. I loved how willing my friends were to humor me find ways to tie in All Hallows’ Eve themed foods! My sweet husband even carved out my fairytale pumpkin to use as a vase for the autumn flowers he picked up before the party.
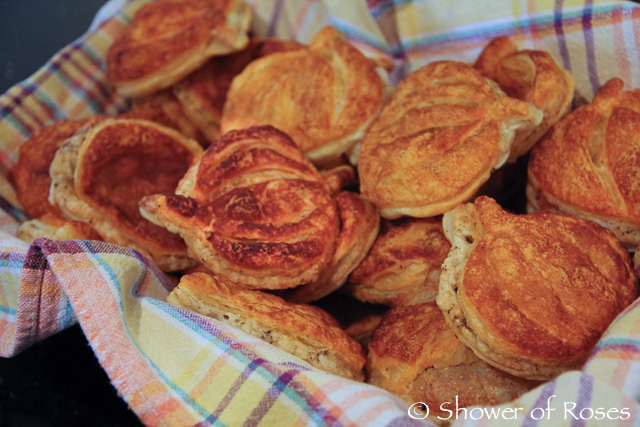
Ann-Marie brought “Juan Diego Beans.” Kristin brought “Kateri’s Indian Cake Casserole.” Michelle made the cutest little (St. Isidore the Farmer) “Savory Pumpkin Puffs.” And Amy brought “Give to Caesar what belongs to Caesar, and give to God what belongs to God Pizza!” Okay, I made that one up! 😉 There was so many yummy things to choose from!
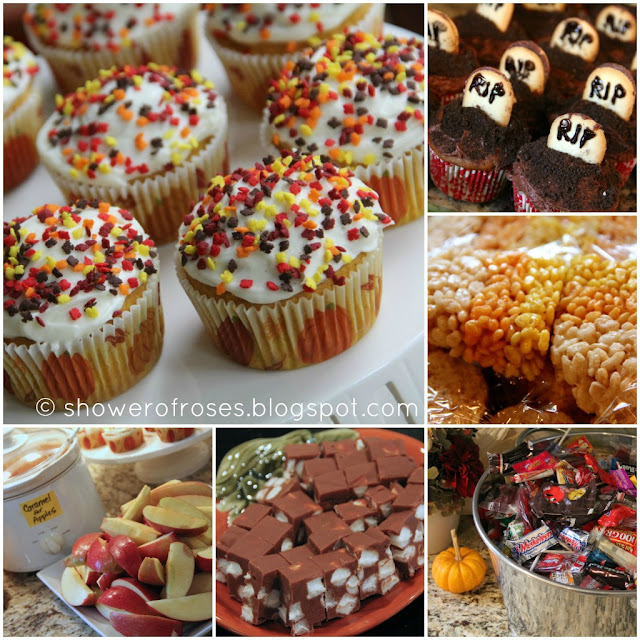
Jacinta’s “Heavenly Fudge” really was heavenly, and aren’t those (May the Souls of the Faithful Departed) “RIP Cupcakes” and Candy Corn Krispie Treats that Michelle made so cute?!
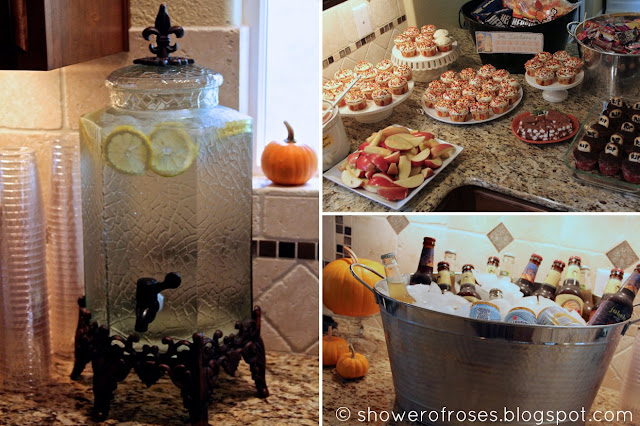
I had Pumpkin Cupcakes with Cream Cheese Frosting and autumn sprinkles (though I didn’t get around to adding pictures of all the saints this year), a delicious big pot of Hot Apple Cider simmering on the stove, along with coffee, tea, water and more!
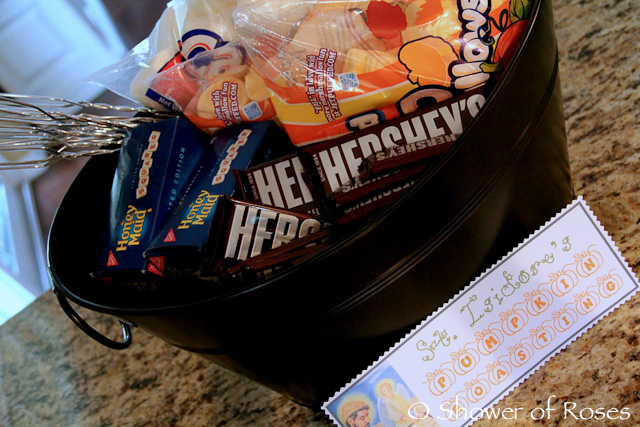
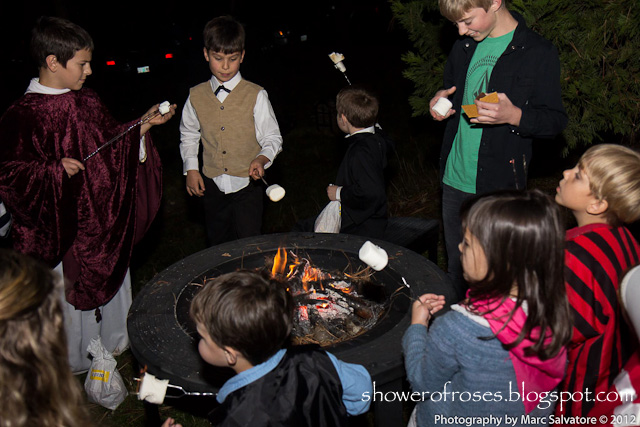
.: St. Isidore’s Pumpkin Roasting :.
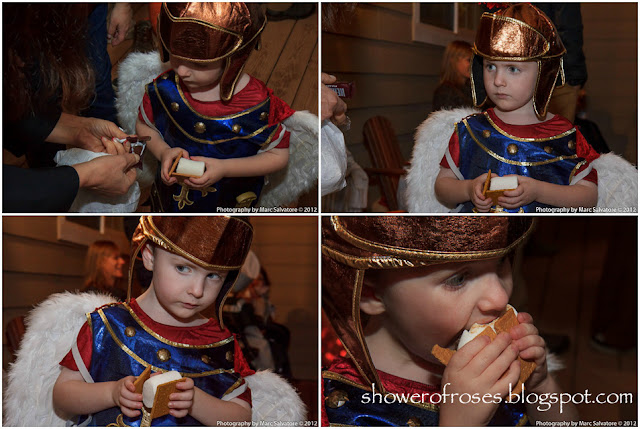
Once it got dark, my husband lit a fire in our fire pit so that everyone could roast “pumpkins!” I had picked up a couple bags of Jumbo Pumpkin Marshmallows, some regular marshmallows, and everything else needed to make s’mores!
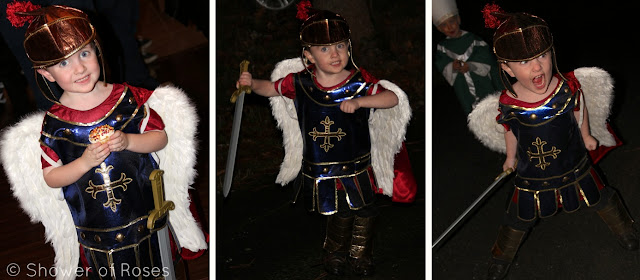
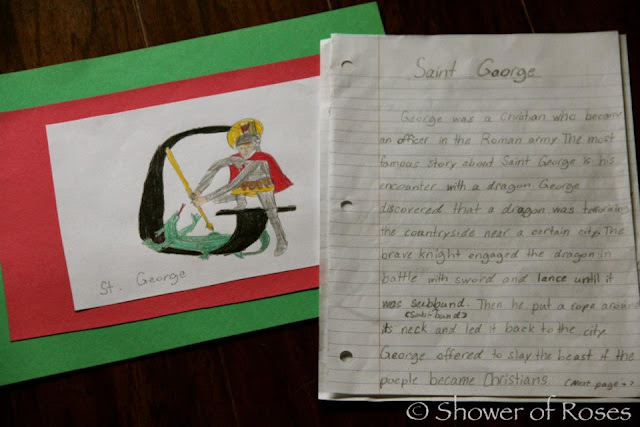
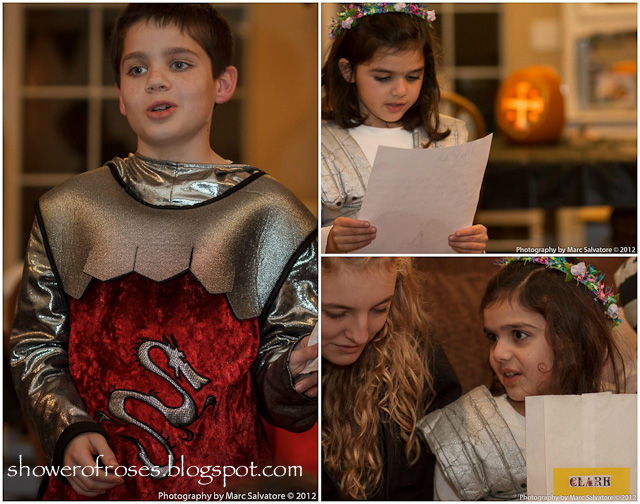
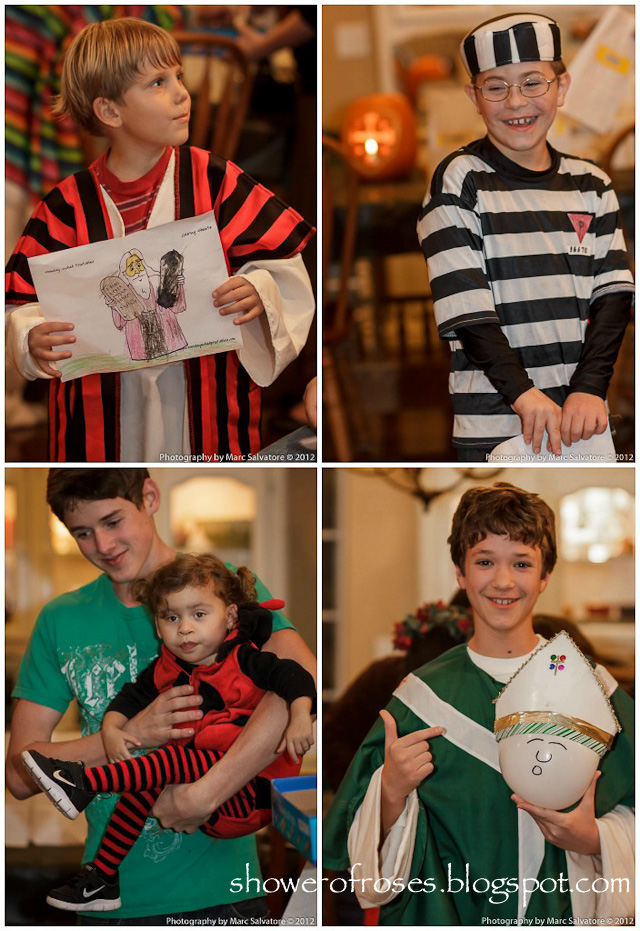
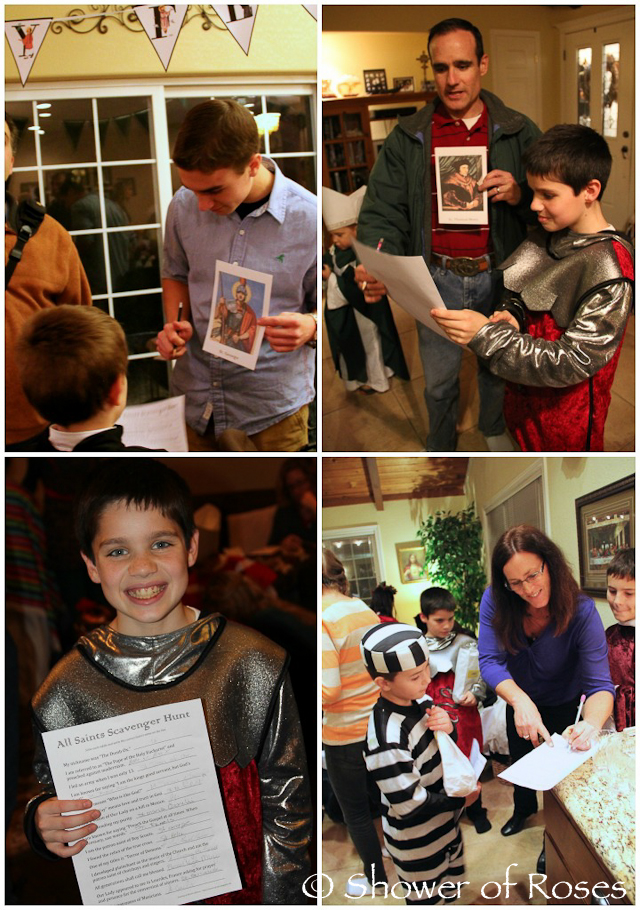
Just before we started the games we had all the children share a little about the saint they were dressed as this year.
Snuggles best friend came dressed as Moses, we had three boys dressed as St. Maximilian Kolbe, my youngest brother (and godson) was holding my niece (and hubby’s goddaughter) who came dressed as “Our Lady’s Bug” (since the Ladybug was named after Mary), and another one of our godsons came dressed as St. Dennis (who was said to have picked up his head and continued to preach after it was cut off)!
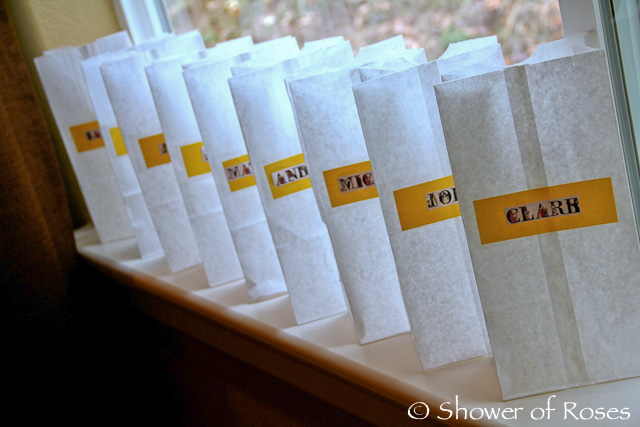
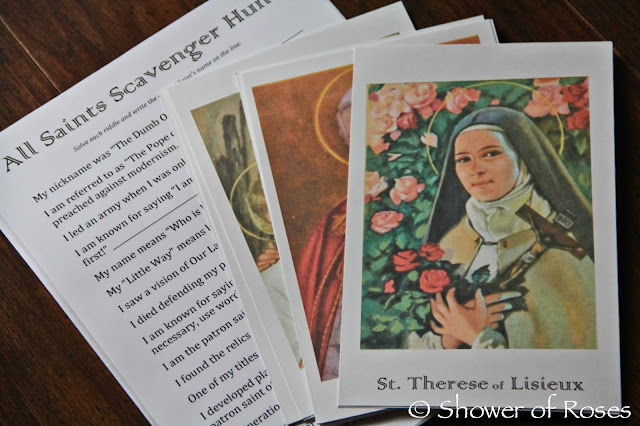
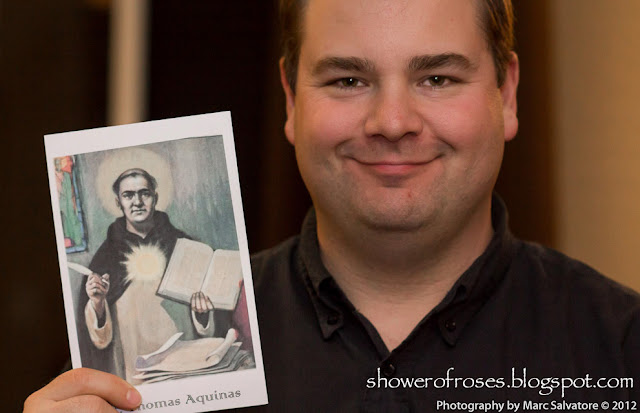
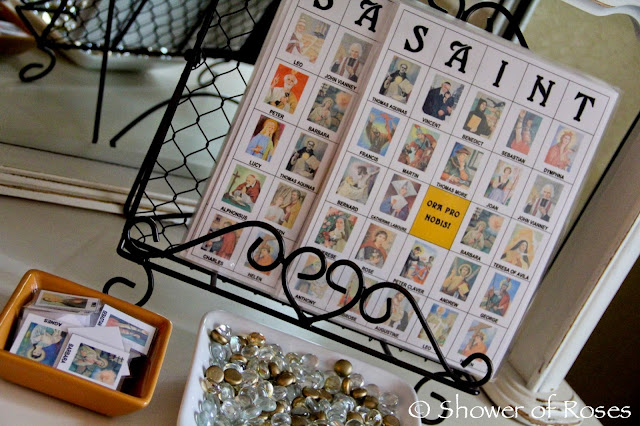
Even though the All Saints Scavenger Hunt I made was challenging, all the kids (and even the adults and priest!) learned something new about the saints! Really, who would have guessed that gentle St. Joseph is “The Terror of Demons.” Those are the types of questions you get when you ask my husband to help put together a game!
We also had a second scavenger hunt, looking for different religious items around our home…
I’m sure I’ll be hosting the party again next year!
All Saints in Heaven, Pray for us!
Caramel Apple Turkey
My online Pampered Chef party will be ending Saturday evening, so there is still a couple days to place an order!
Also, each person that shares a recipe, cooking tip or a blurb about their favorite Pampered Chef product either over on the Facebook event page, or in the comments here, will be entered into a drawing to win a prize, and it doesn’t require placing an order!
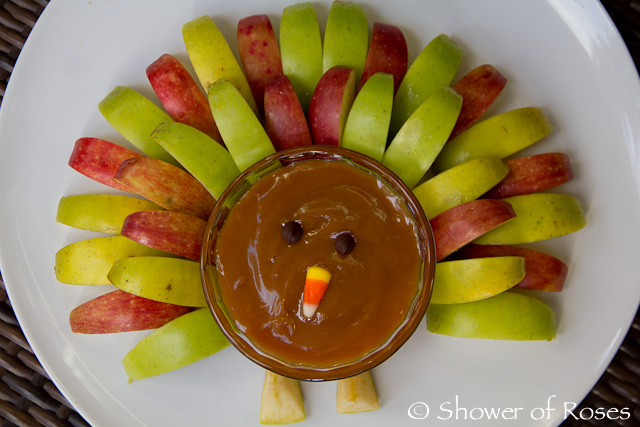
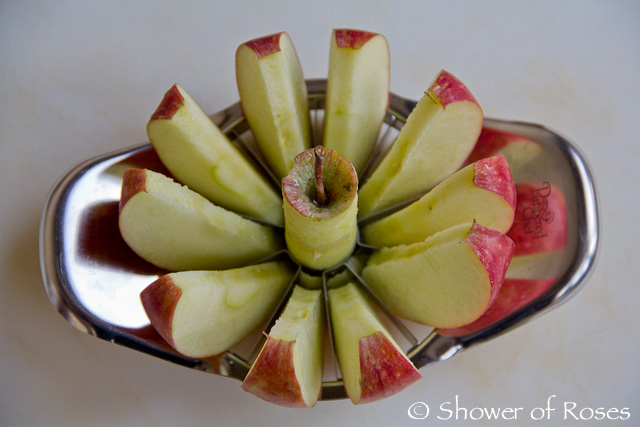
I have so many favorite Pampered Chef products I couldn’t possibly list them all, but I thought I’d share a picture of one of the kitchen tools I used today to make a fun snack for my kiddos.
It only took me about 5 minutes to make this fun Caramel Apple Turkey (inspired by an image I saw on Pinterest, but I was unable to find the original source) for an afternoon snack with my Apple Wedger! (And even less time for my kiddos to gobble it up!)
St. Joan of Arc, Maid of Lorraine :: All Saints’ Day Costume
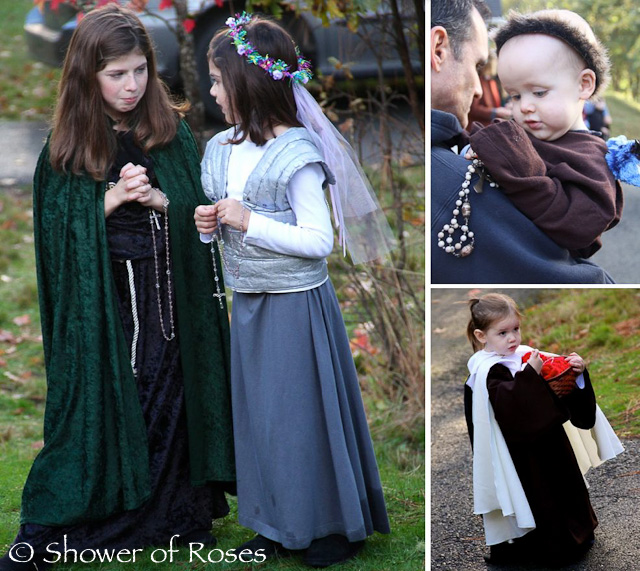
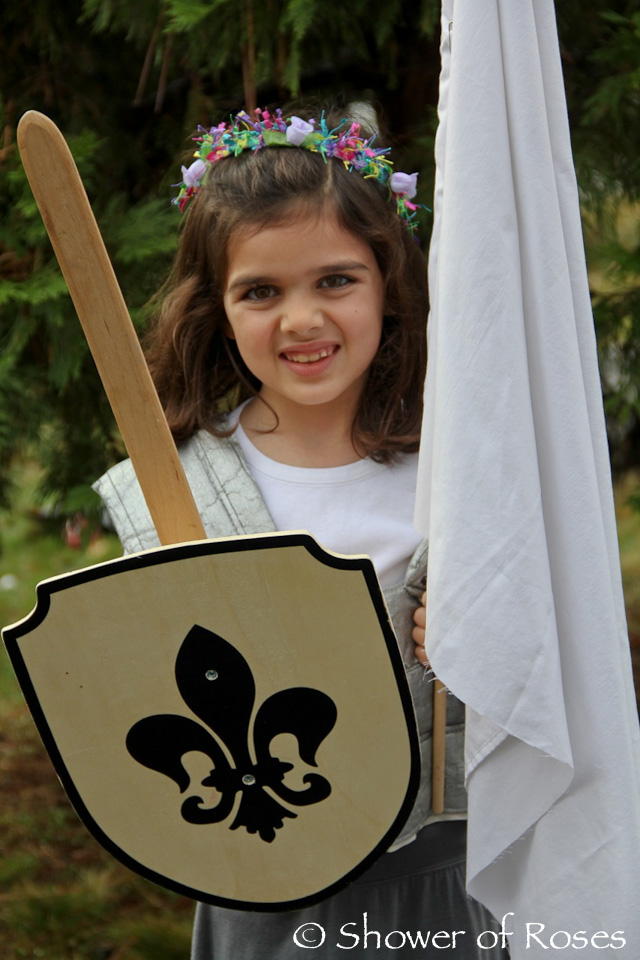
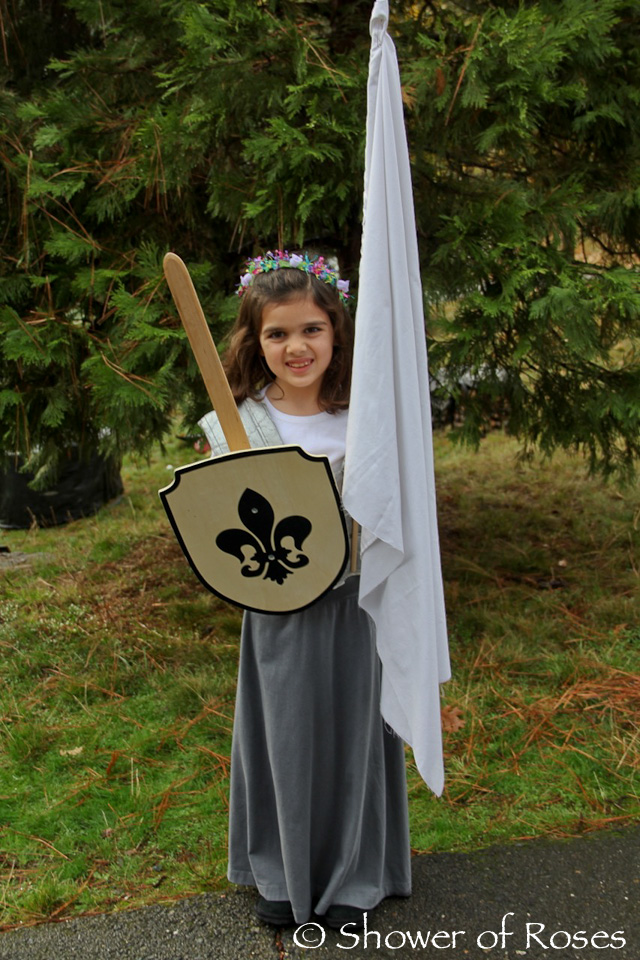
Even though Chiquita dressed as Mother Teresa for our Parish Party, she had been planning on dressing as St. Joan of Arc on All Hallows’ Eve.
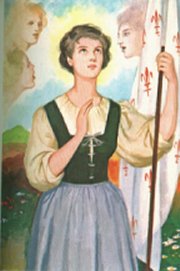
Originally I thought she would just wear one of the boys’ knight costumes, but that was not exactly what she had in mind. She wanted to dress as “The Maid of Lorraine” looking more like the picture in our Picture Book of Saints.
We actually didn’t even put together her costume until an hour or so before the party, but we were both very pleased with how it turned out!
She wore a simple white shirt, the breastplate that my brothers used when we were younger, and one of my gray knit knee-length fold-over skirts, pinned to fit her tiny little waist.
The white flag was simply a piece of an old sheet pinned to a wooden dowel, and she pulled out our Fleur-di-lis Sword & Shield Set made by Schylling. We finished her costume with a ring of flowers similar to this one (thanks for the suggestion, Charlotte!) and that was it!













0 Comments