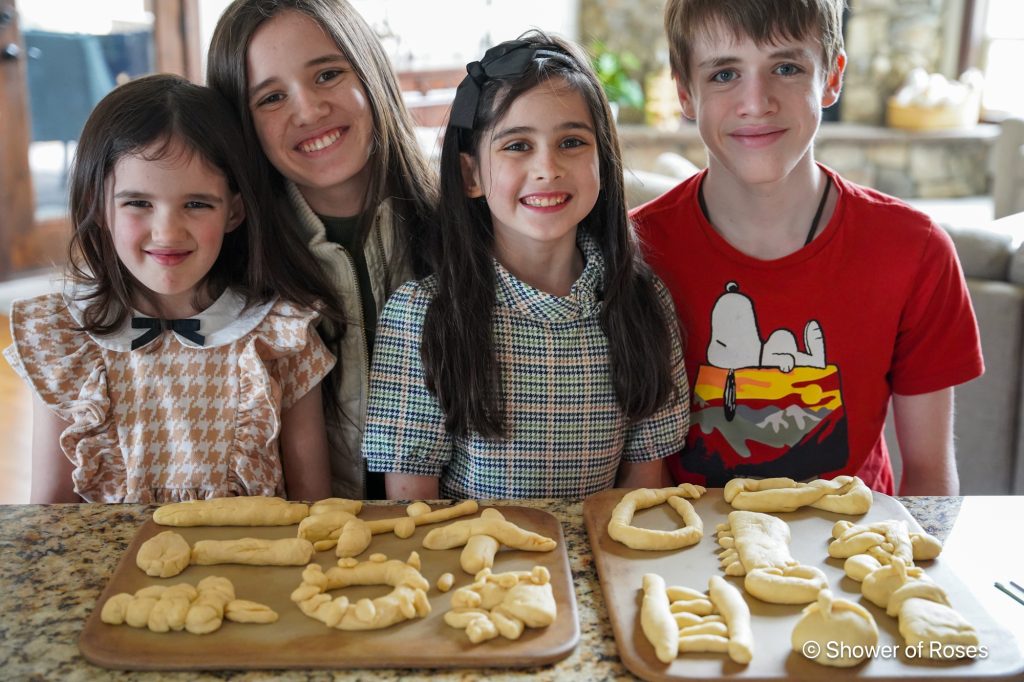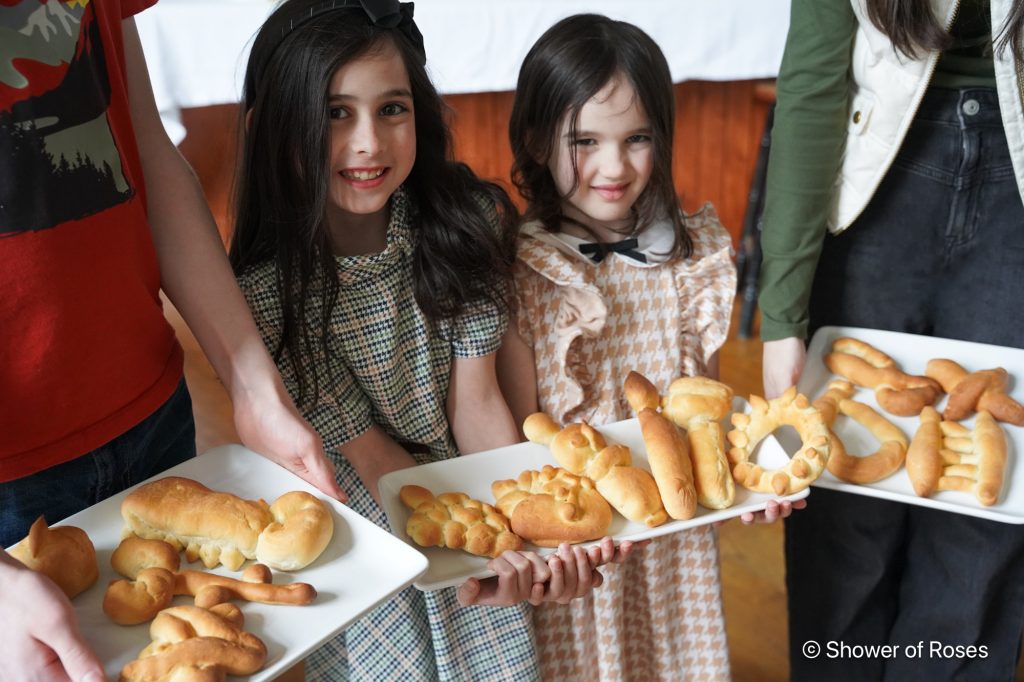
We did it!🌹 I had been hoping to pull together another Little Flowers Girls' Club for years...
If you've read the blog long enough, you might remember that I ran a club for our oldest two daughters back in 2008-2012. When we hosted our last meeting I told "Rose" that "in a few years it would be her turn." Just look at how sad she was that she didn't get her own sash!
A few years later I was trying to survive hyperemesis gravidarum, followed by an interrupted SIDS scare and very little sleep for the next 18 months. Then an out of state move, another surprise baby, and just when I was finally thinking about starting a club again, I broke my leg.
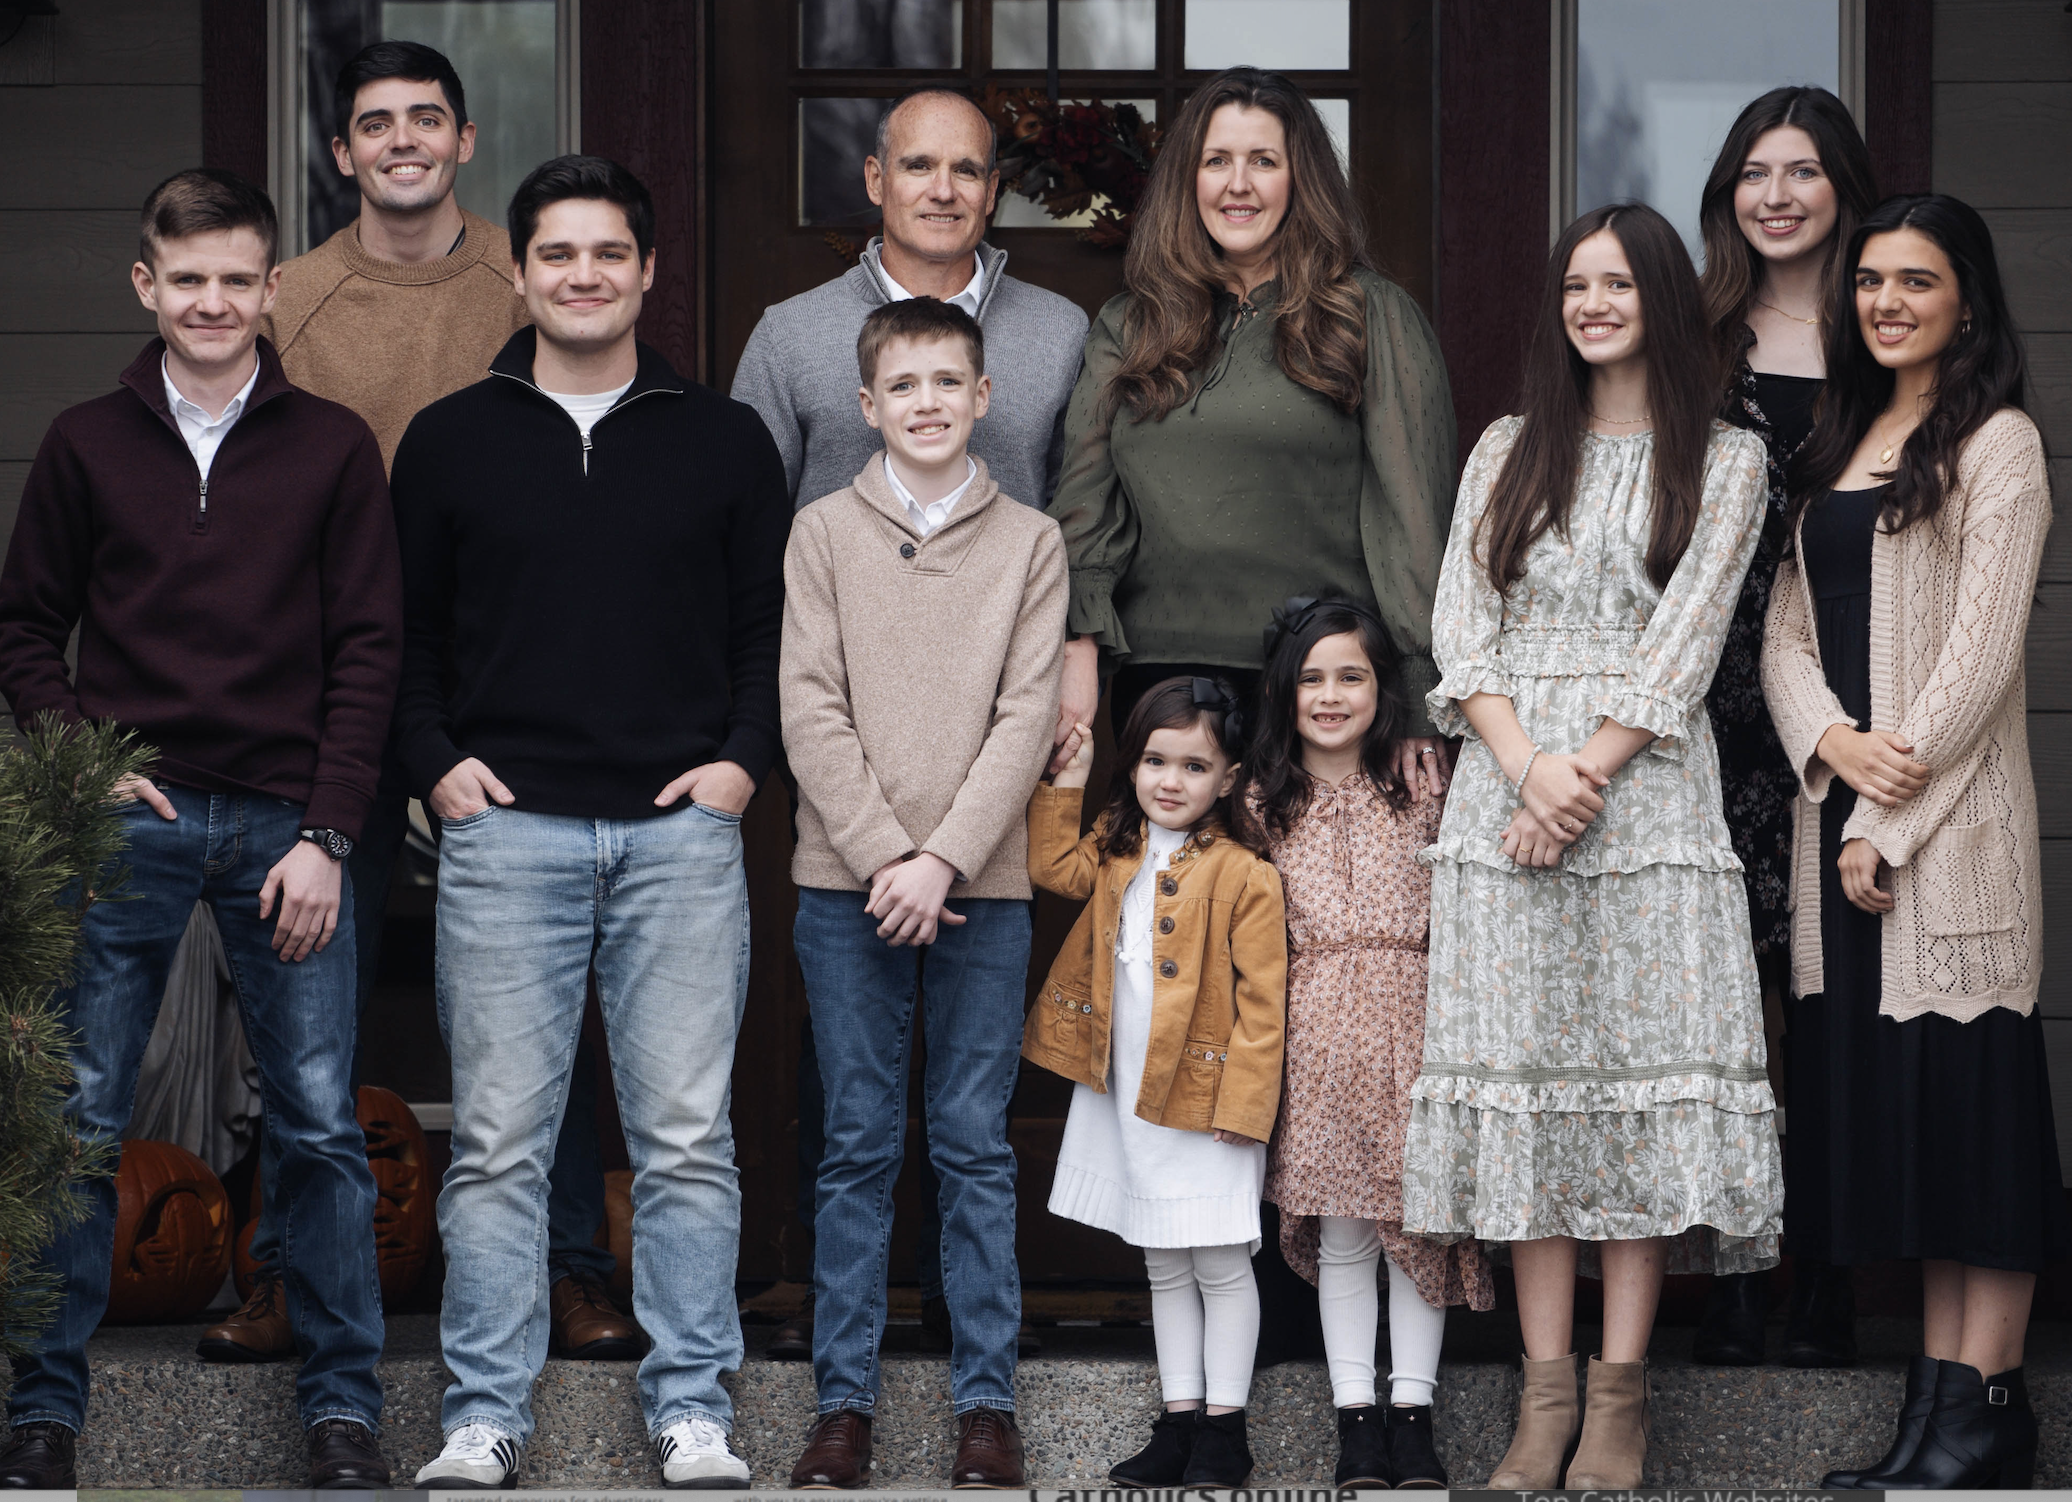
Somehow that "few years" turned into over fourteen years! Instead of hosting a group for "Rose" who is now 16, she is helping me run a group for her younger sisters!
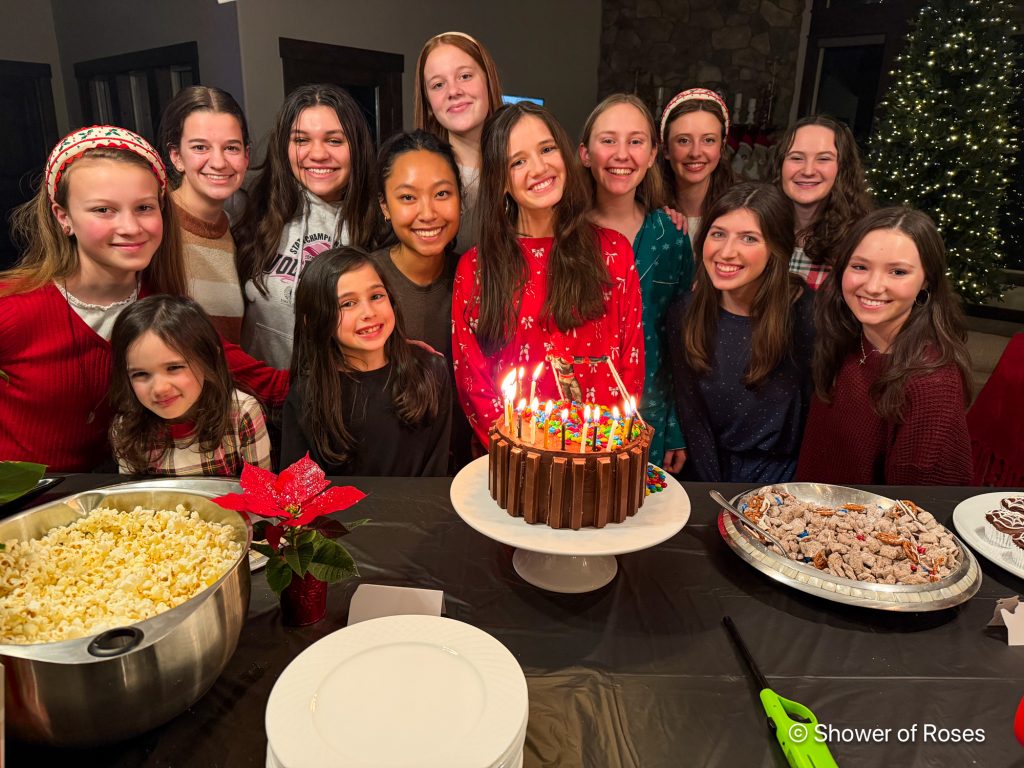
We asked a few friends and almost immediately we had our new group of twelve girls ages 5-11. I wish I could have opened it up to even more of their friends, but I decided to limit it to twelve (mainly 7-9 year olds, but including older and younger siblings/sisters) since I'm hosting the meetings in our home and to hopefully keep the planning and prep to a minimum since I am still trying to juggle too much.
I loved blogging about our original Little Flowers Girls’ Club, sharing our notebook pages (which are now available directly from Behold Publications if you search for Crafting Pages), saint-inspired crafts, themed snacks, and more. I'm looking forward to reusing some of those ideas once again.
What is Little Flowers Girls' Club?
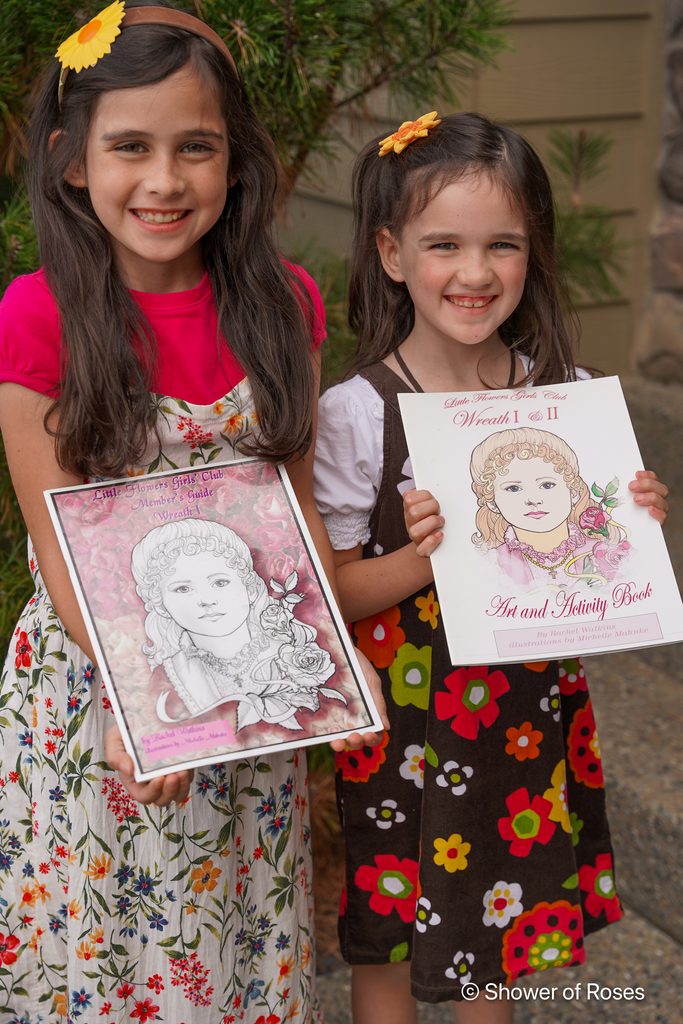
"Little Flowers Girls’ Club® is a Catholic program for girls ages 5 and up based on learning Catholic virtues through the lives of Catholic saints, Scripture and the Catechism of the Catholic Church. Developed by a Catholic mom of nine, Rachel Watkins, and based on Fr. Lasance’s Catholic Girls’ Guide, the Club strives to bring the Catholic faith alive and inspire the girls to become authentic Catholic women…” - You can visit Behold Publications for more information and to order Member's Guides and other supplies!
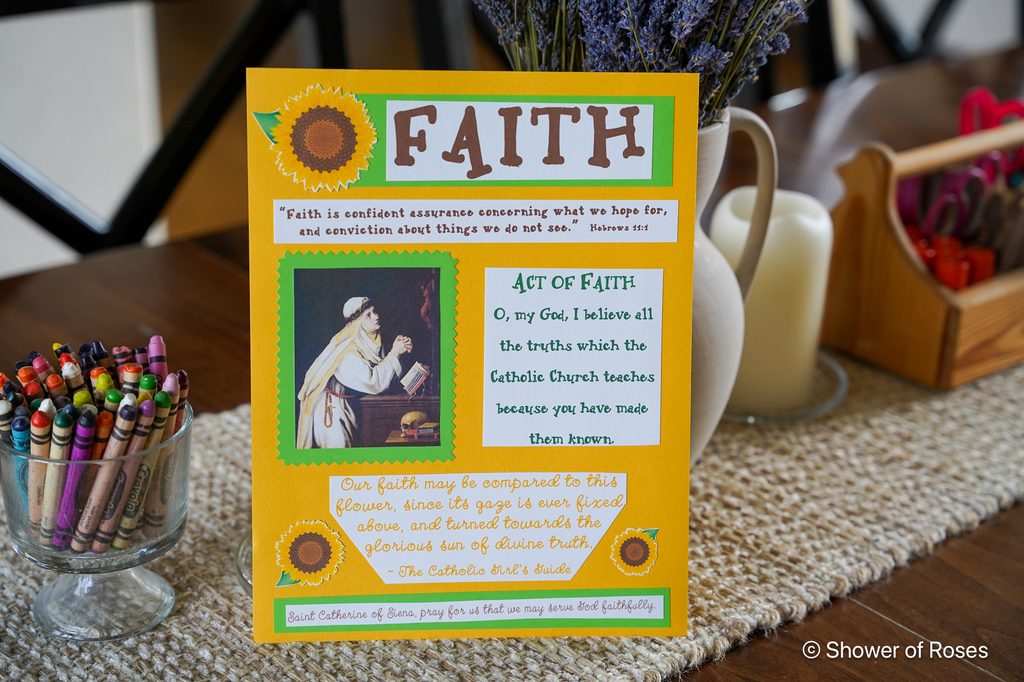
For our first Wreath I meeting, which we hosted last month in September, we focused on the virtue of Faith, Saint Catherine of Siena, and the Sunflower. 🌻
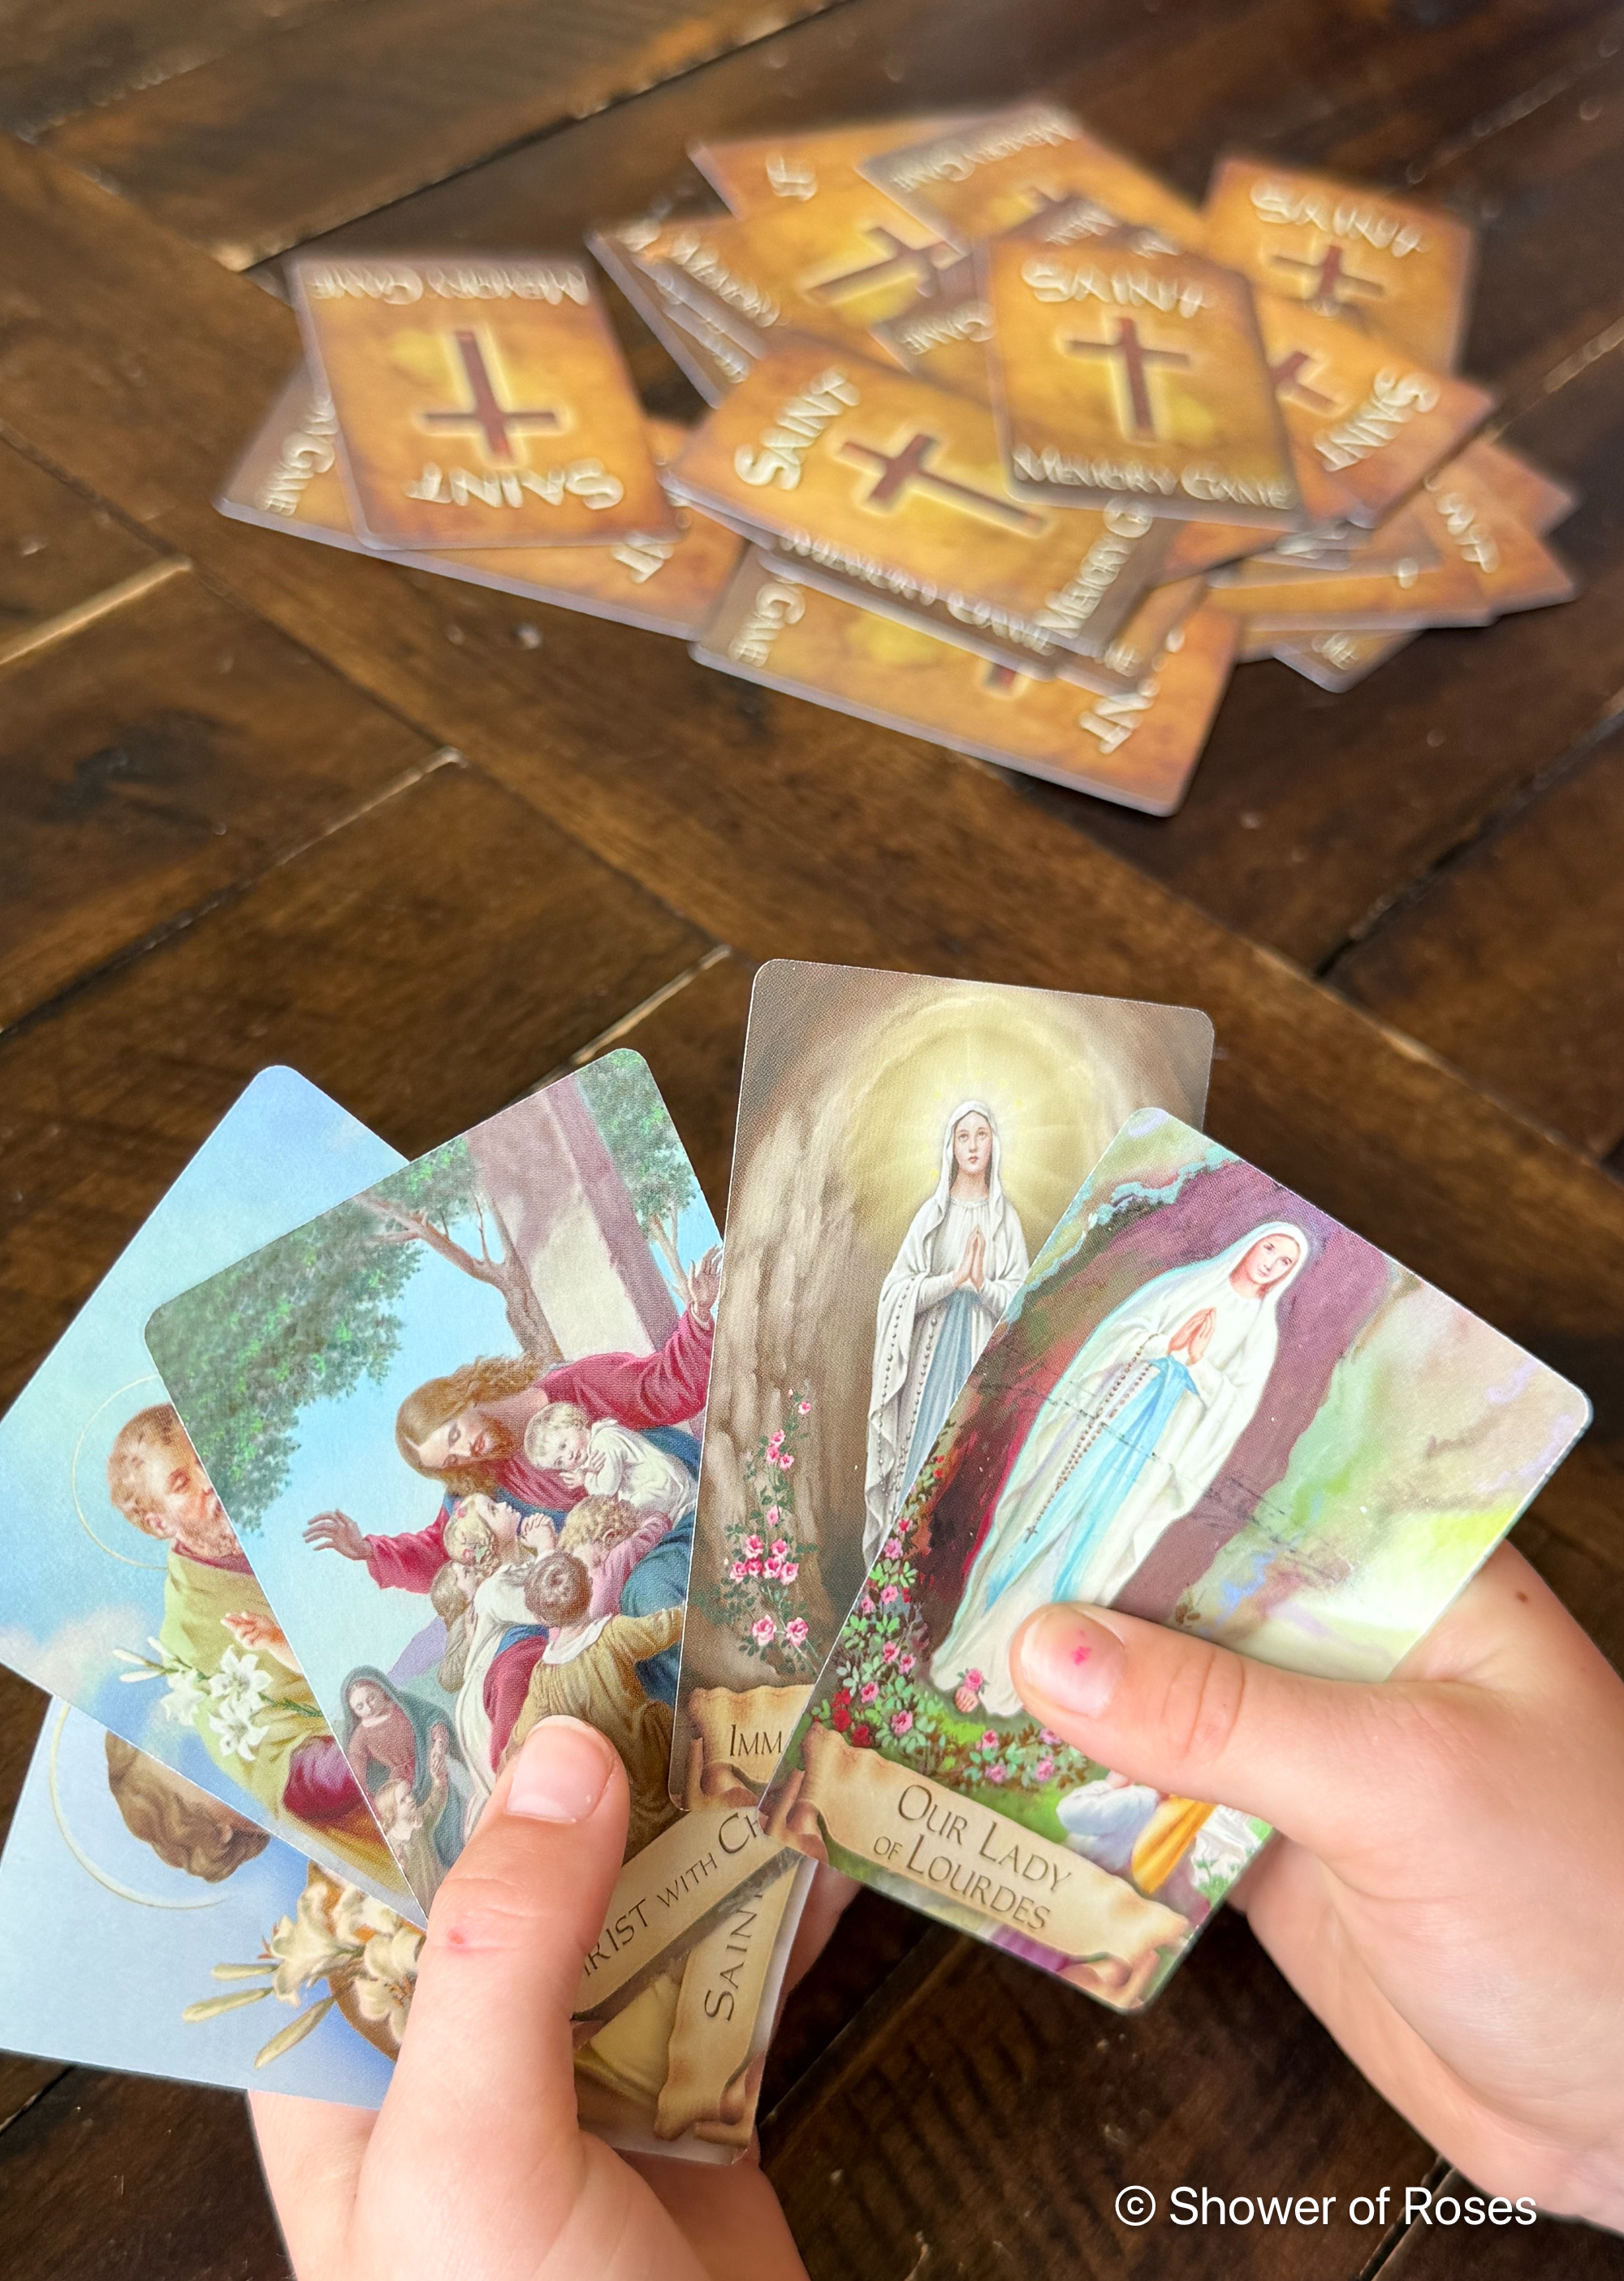
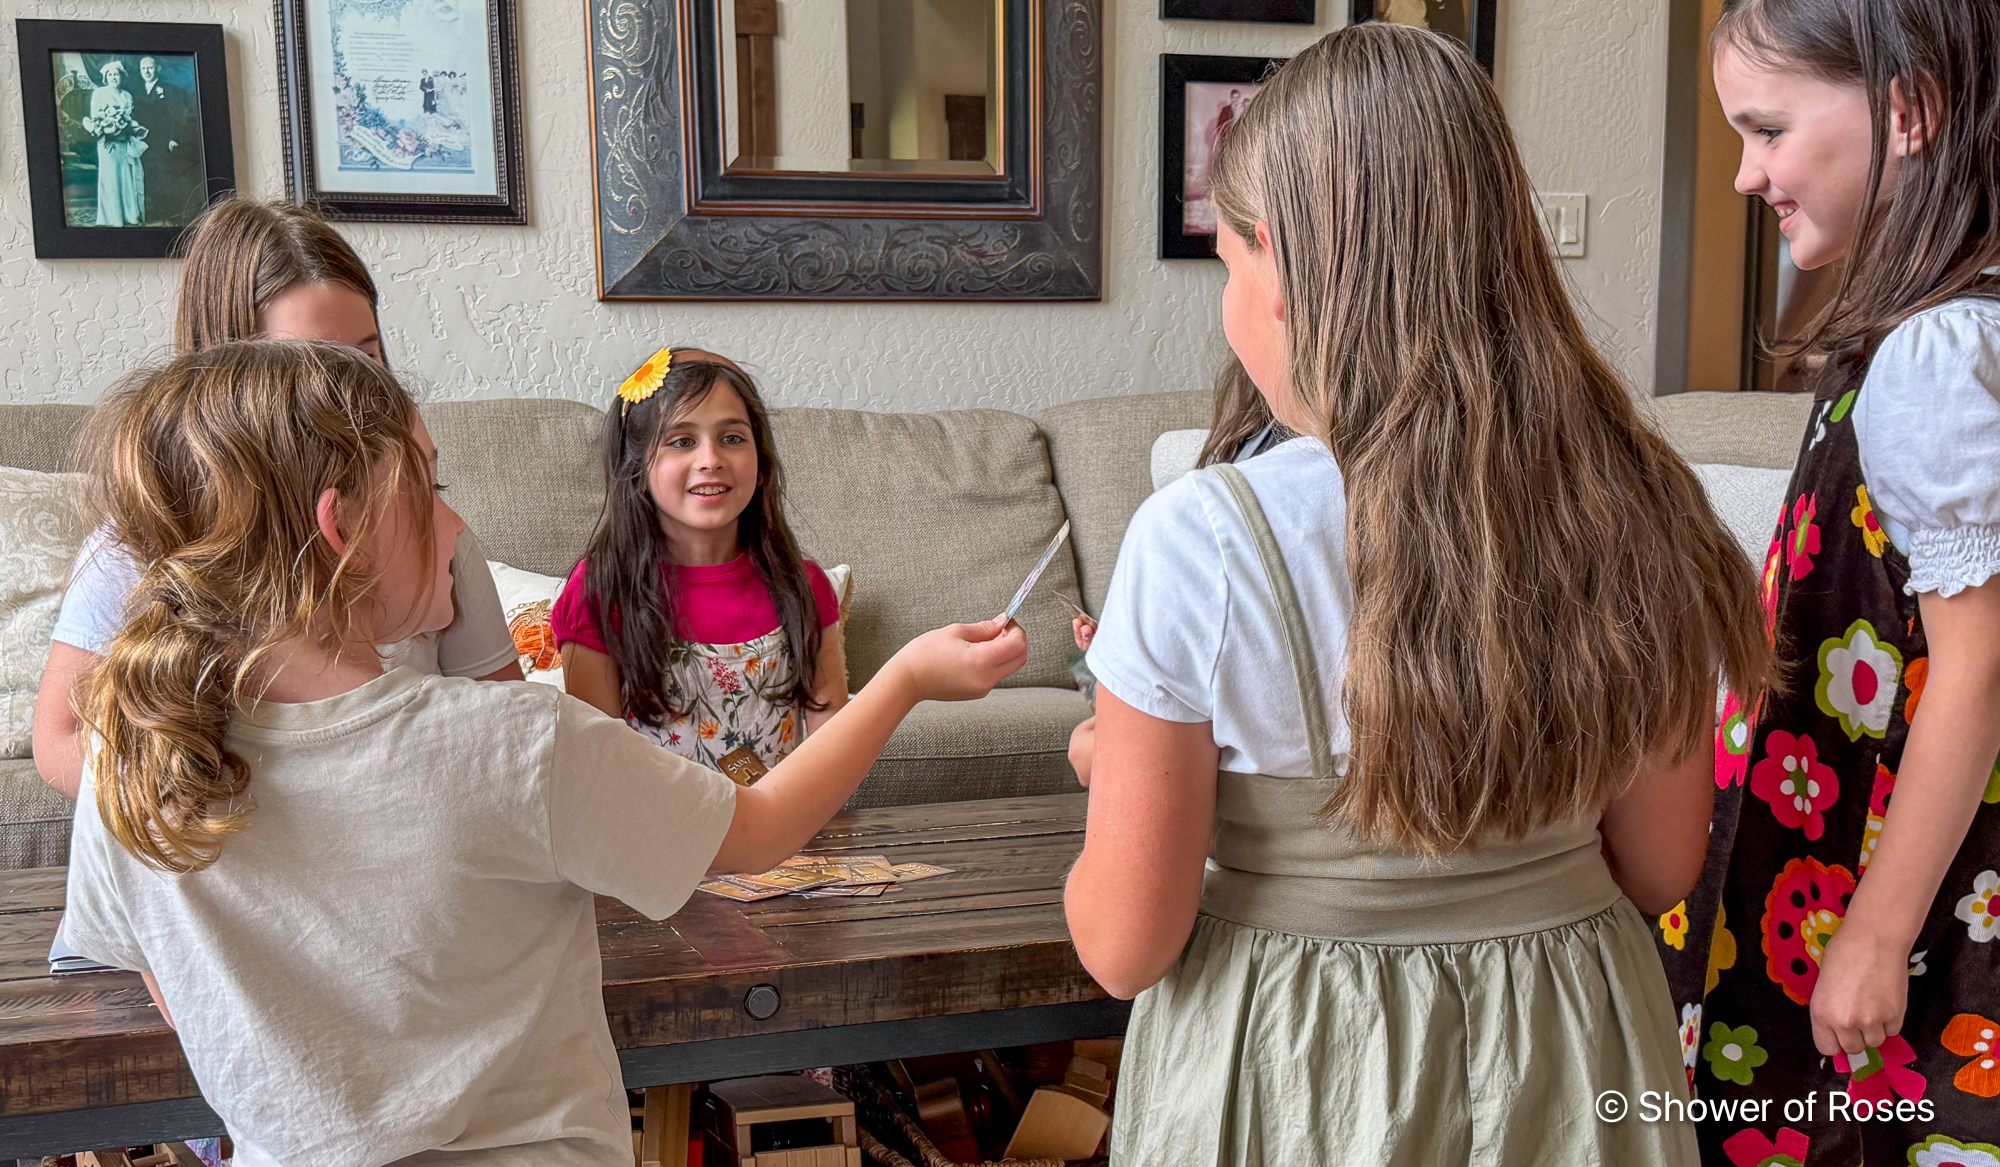
As we waited for everyone to arrive, I pulled out some card games to give the girls something to do including Saint Memory Game, Super Saints and Flower Families: A Go Fish Game, similar to Pick a Flower. Playing Go Fish with the Saint Memory Game was definitely their favorite this month! It was a fun way to break the ice and start out the afternoon with a little saint themed playtime!
Coloring Pages
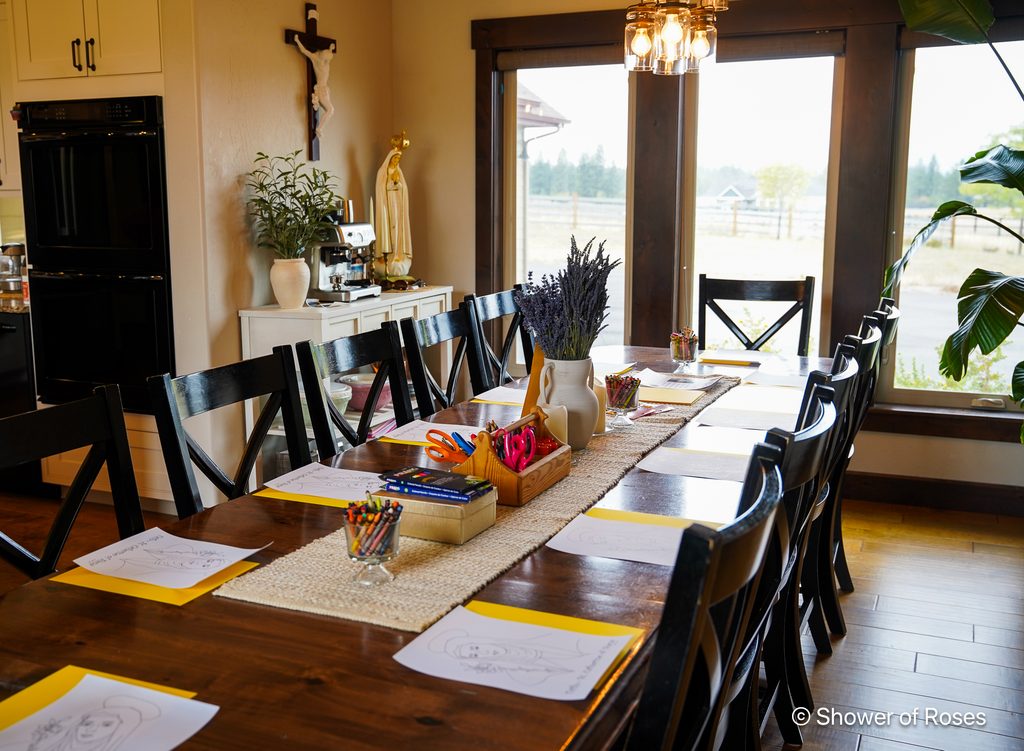
We used the same beautiful coloring page Charlotte made me back in 2008 for that first meeting I hosted!
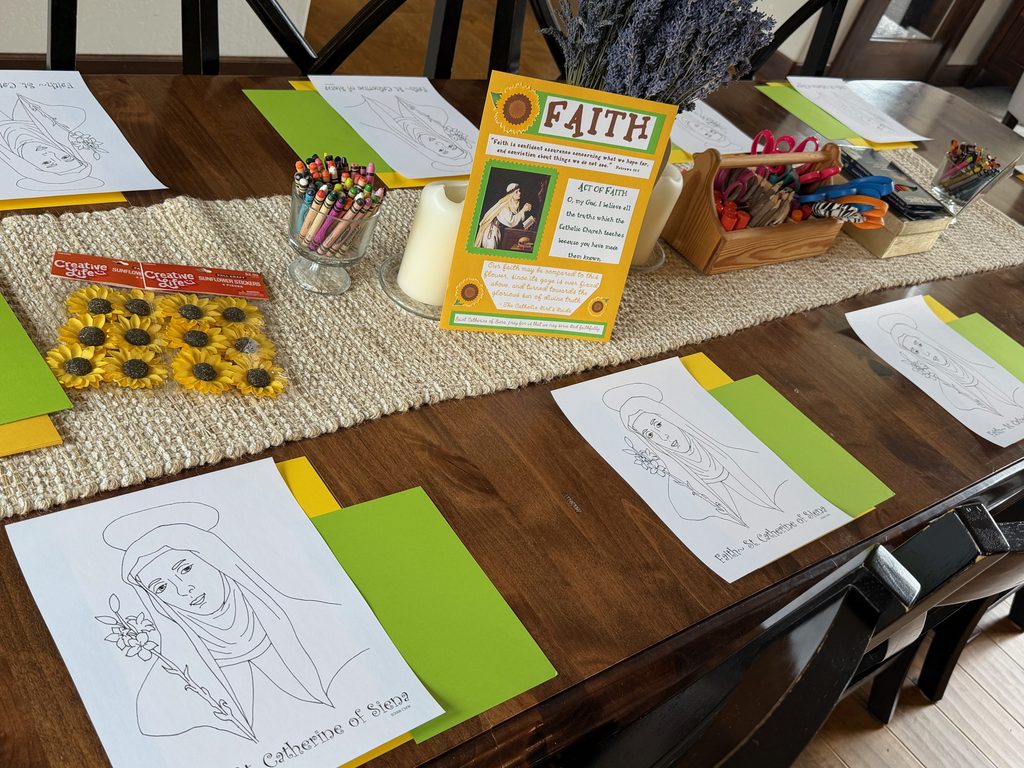
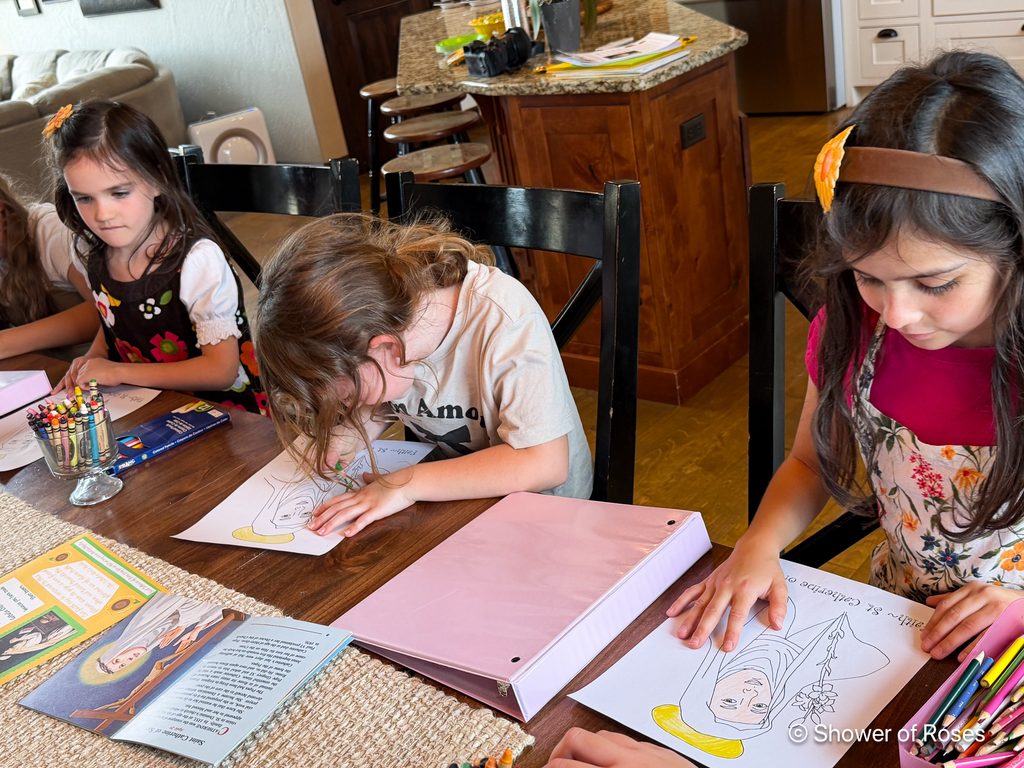
As the girls colored I read them a story about St. Catherine of Siena, and then we discussed the memory verse for the month, the virtue of faith, what faith looks like, how St. Catherine of Siena put Faith into action, and how just like a sunflower turns towards the sun, our faith should help us keep our eyes turned towards God. We ended with discussing ways we can put our faith into action. I loved hearing all of their ideas!
Crafting Pages
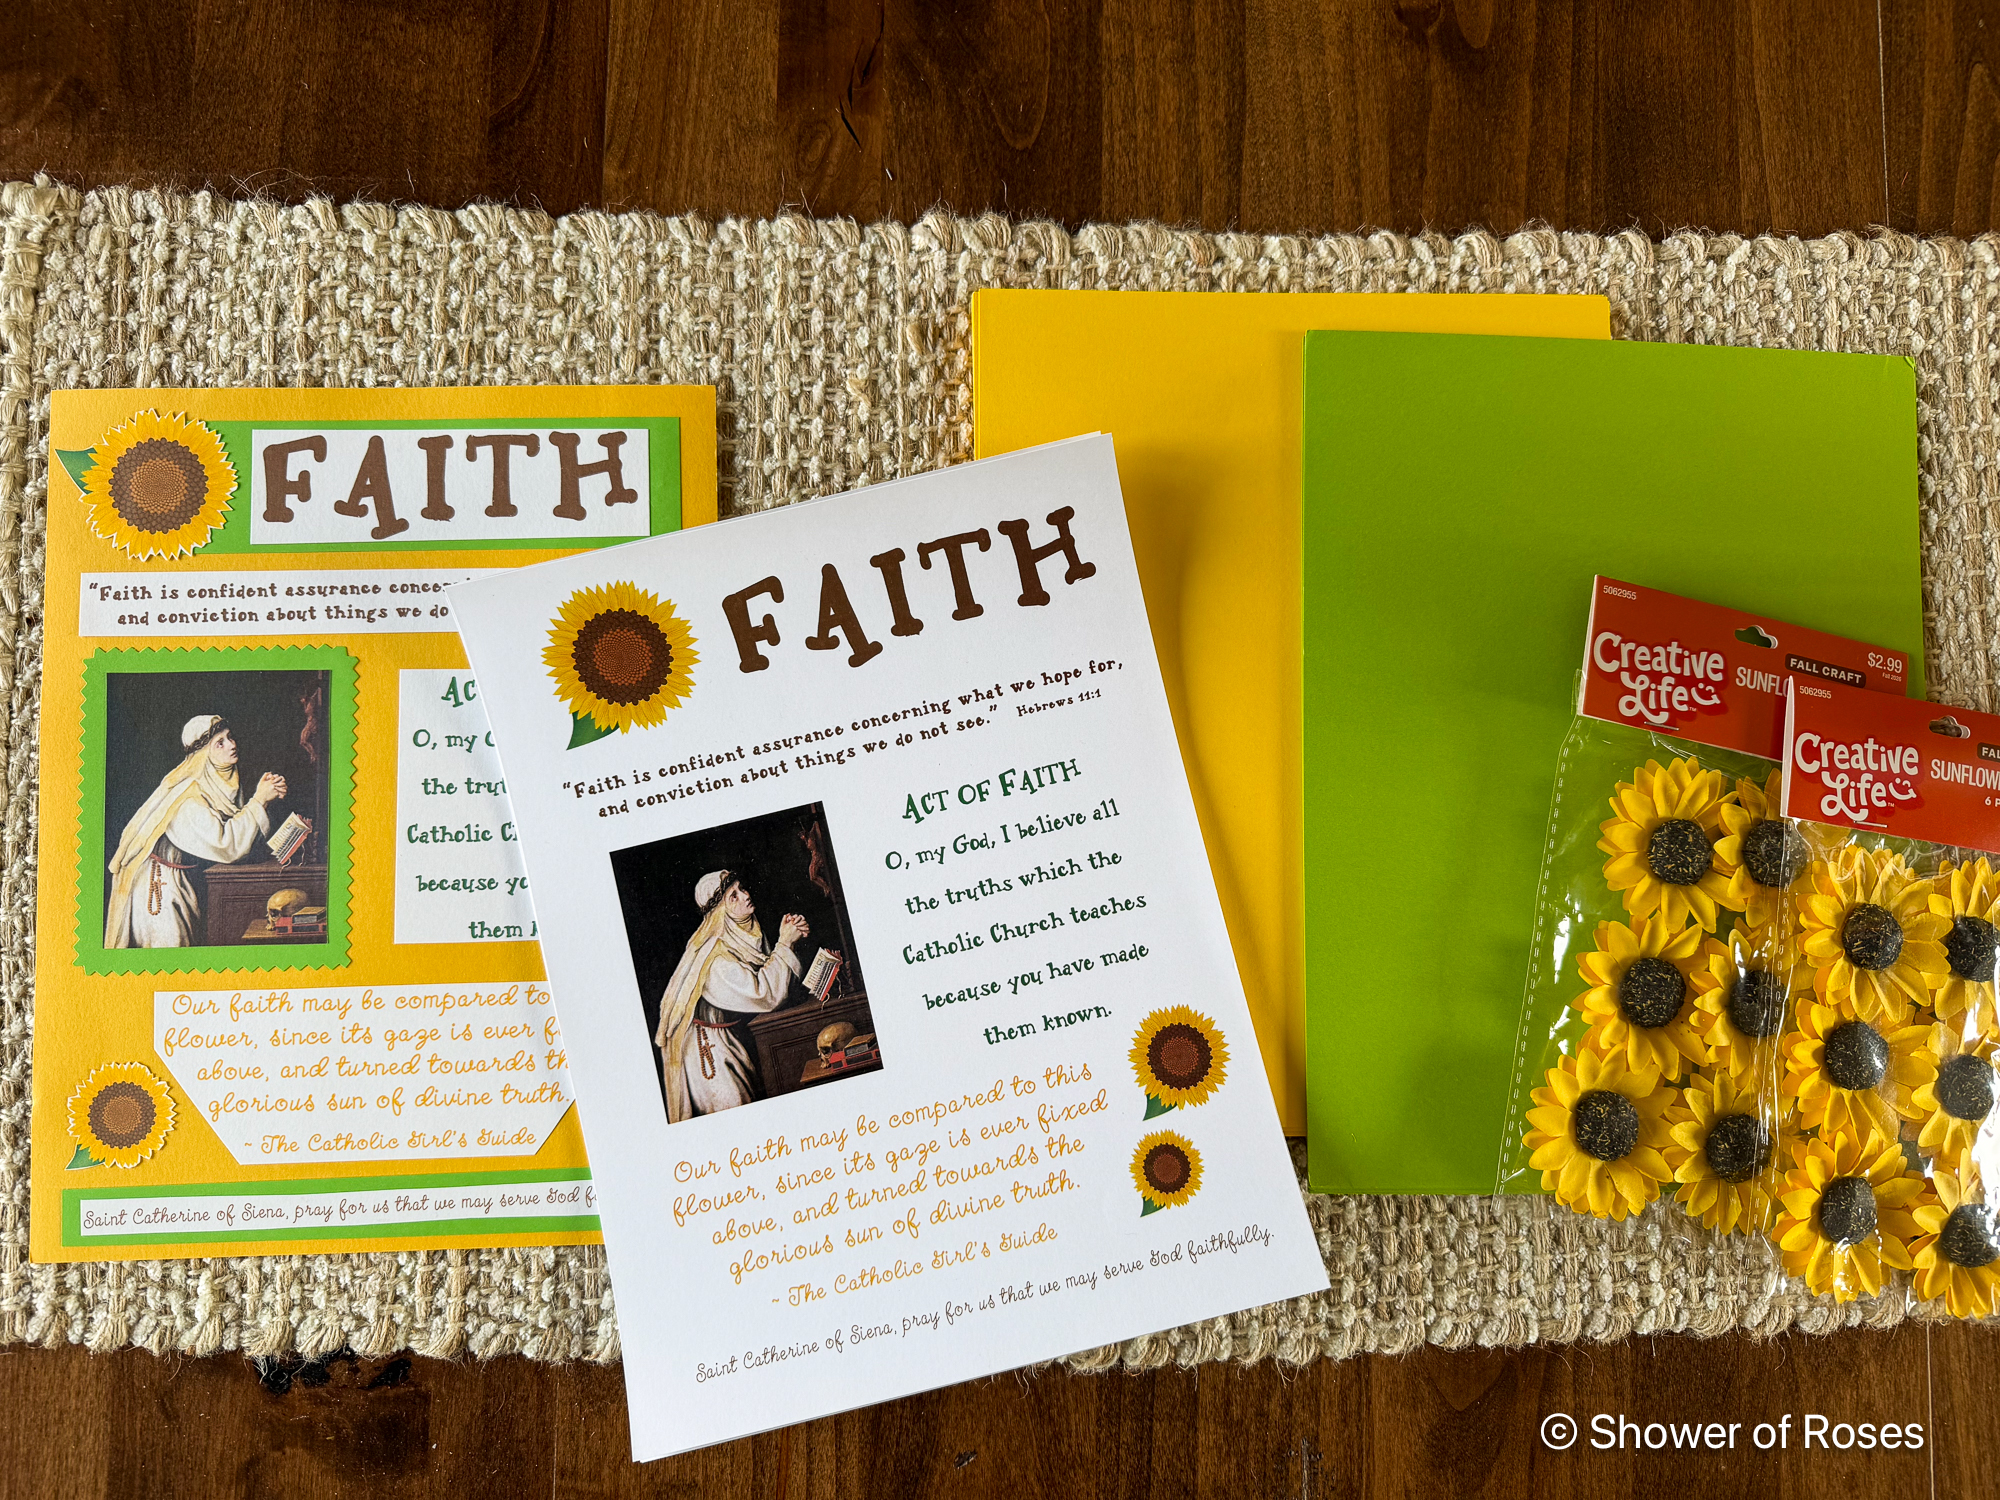
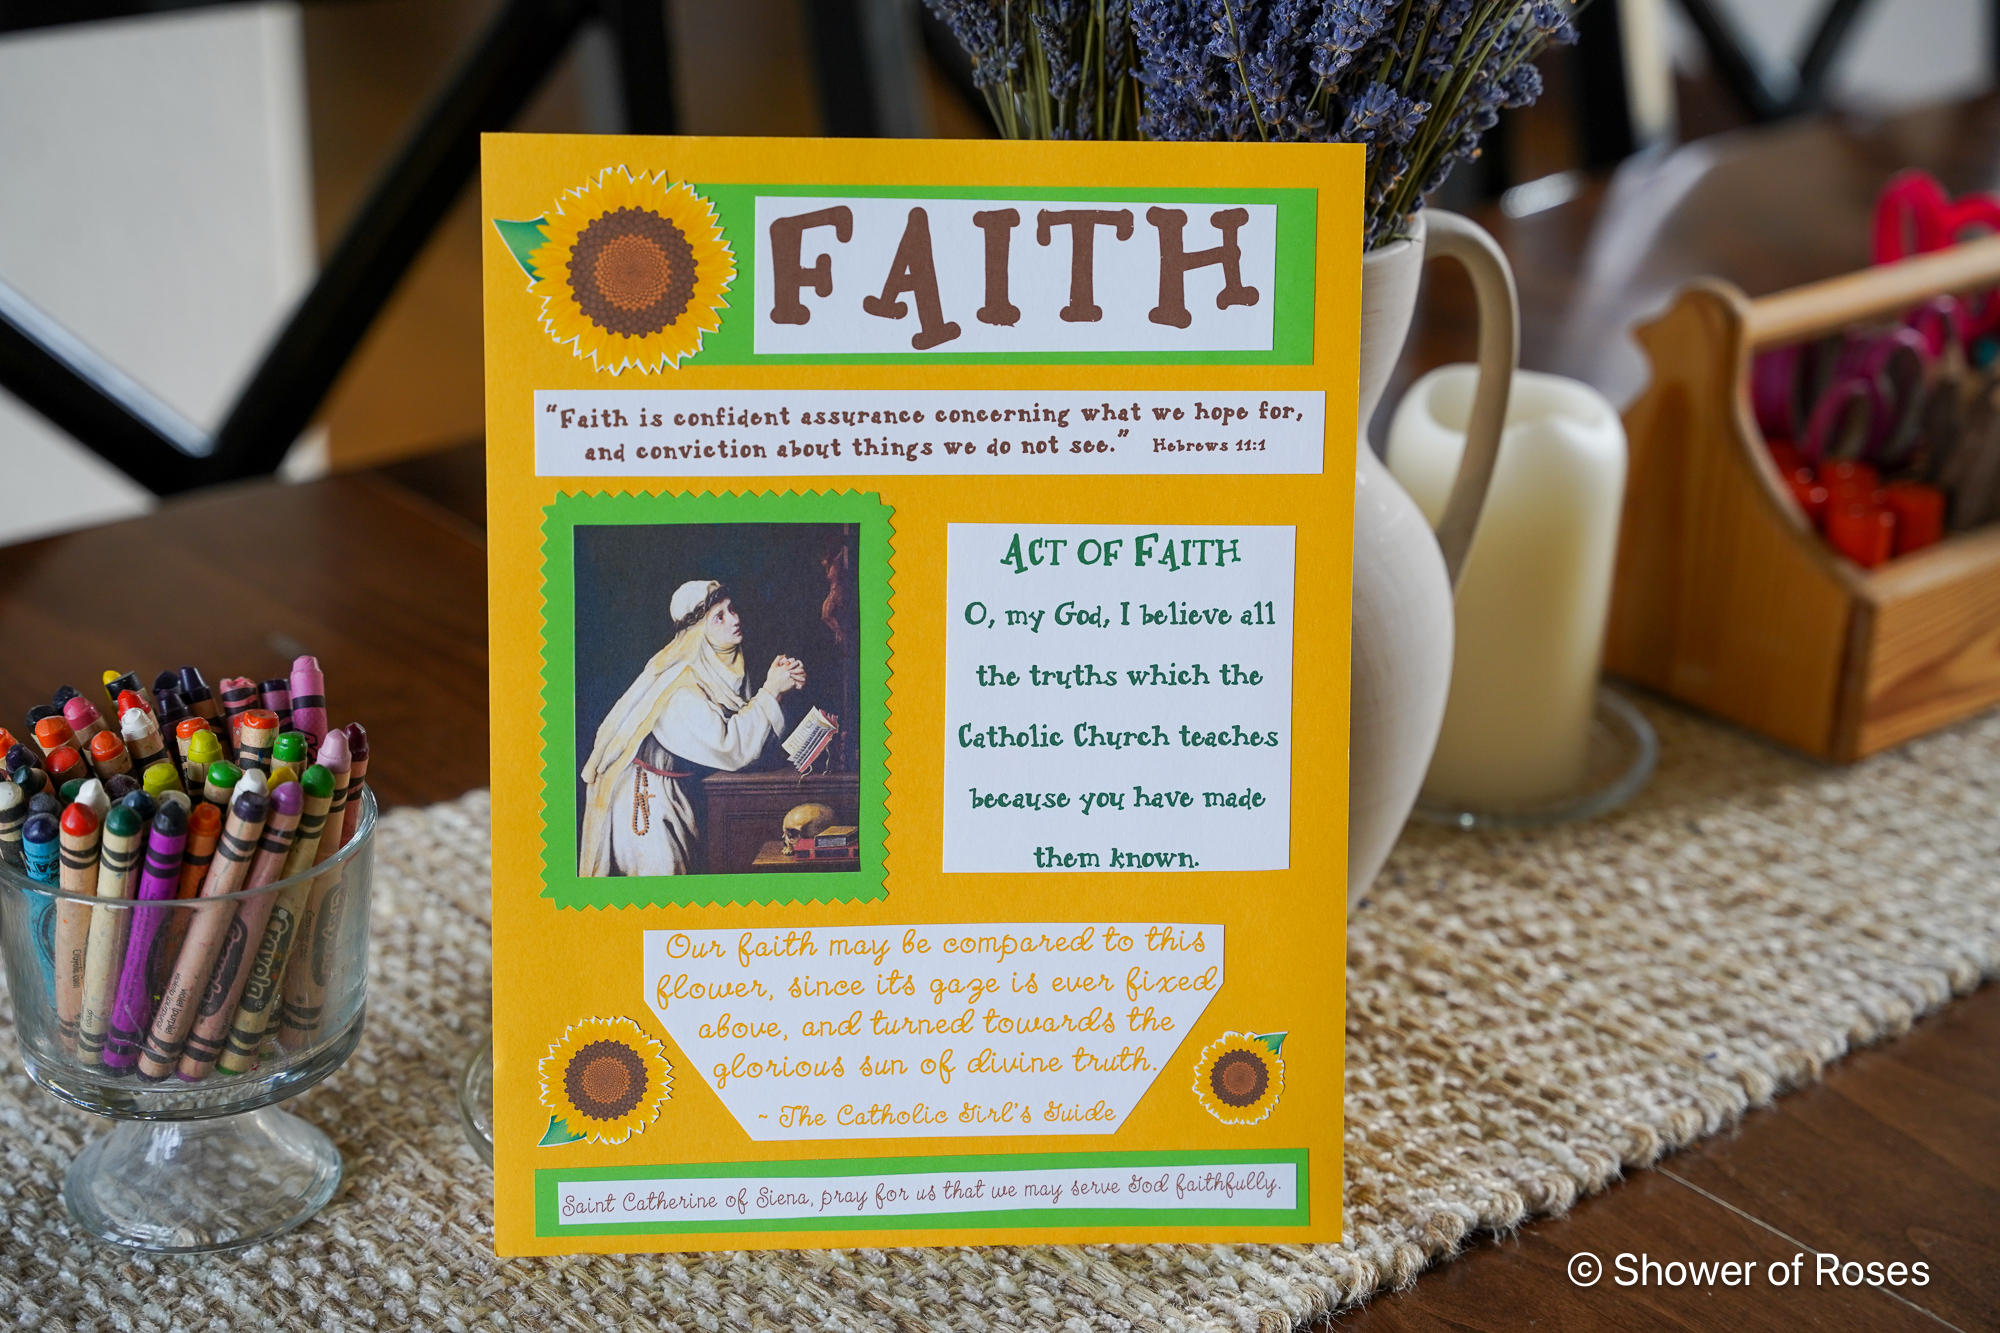
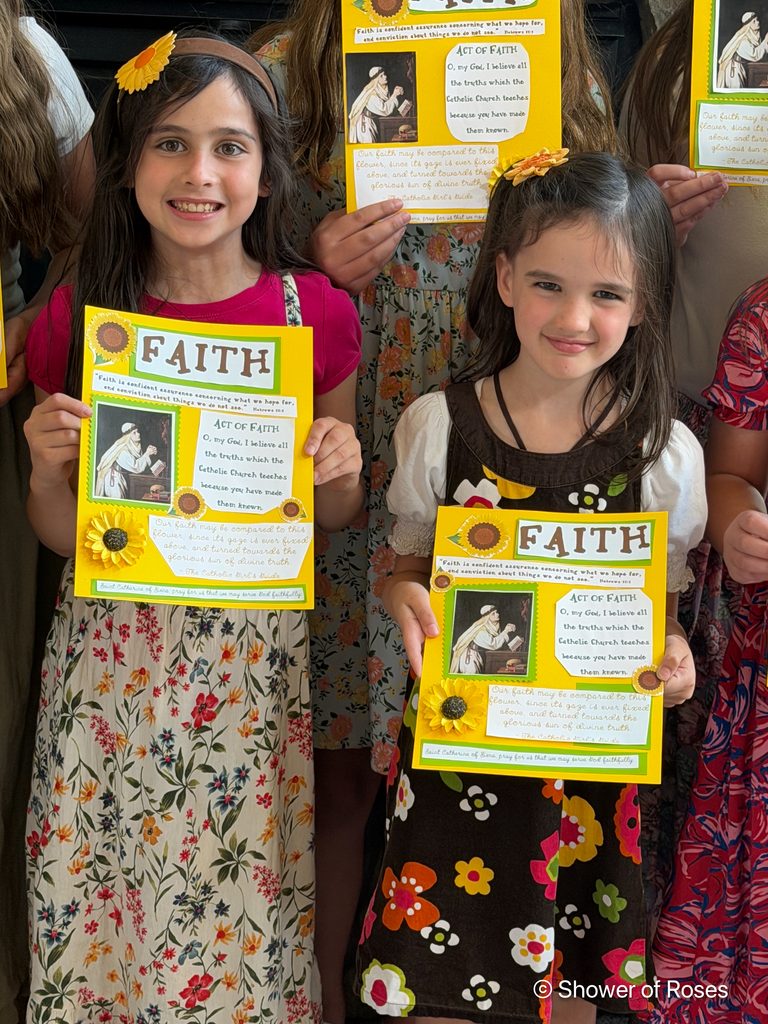
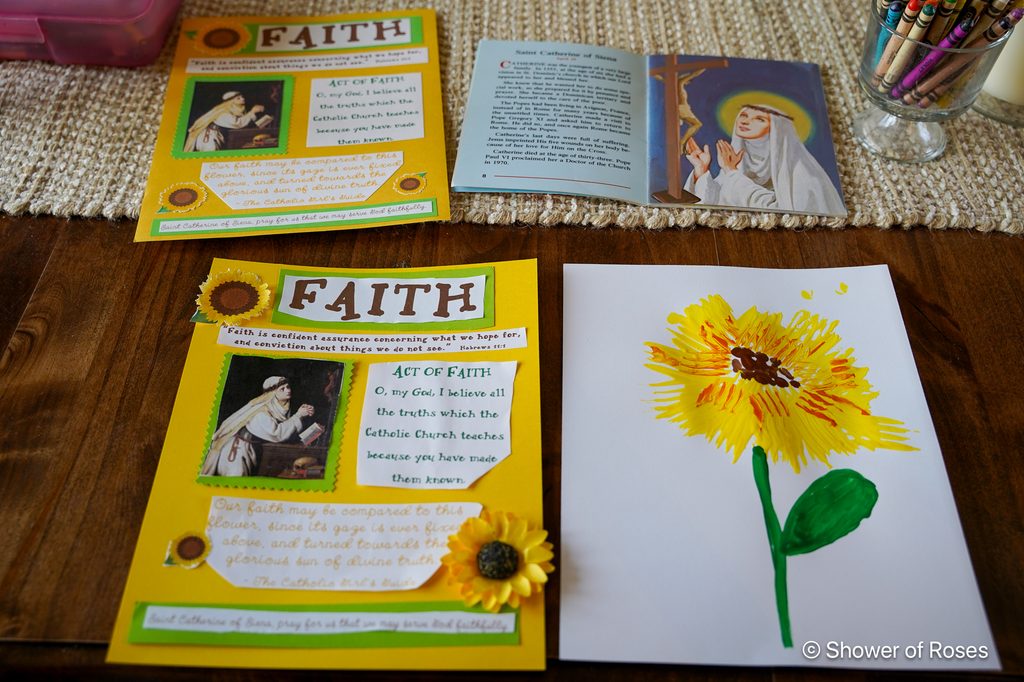
Next we moved on to scapbook pages to add to their notebooks! I had each girl bring a 3-ring binder with some clear sheet protectors inside to fill up as we work through the various Wreaths.
You can purchase the printable download for Wreath I Crafting Pages here.
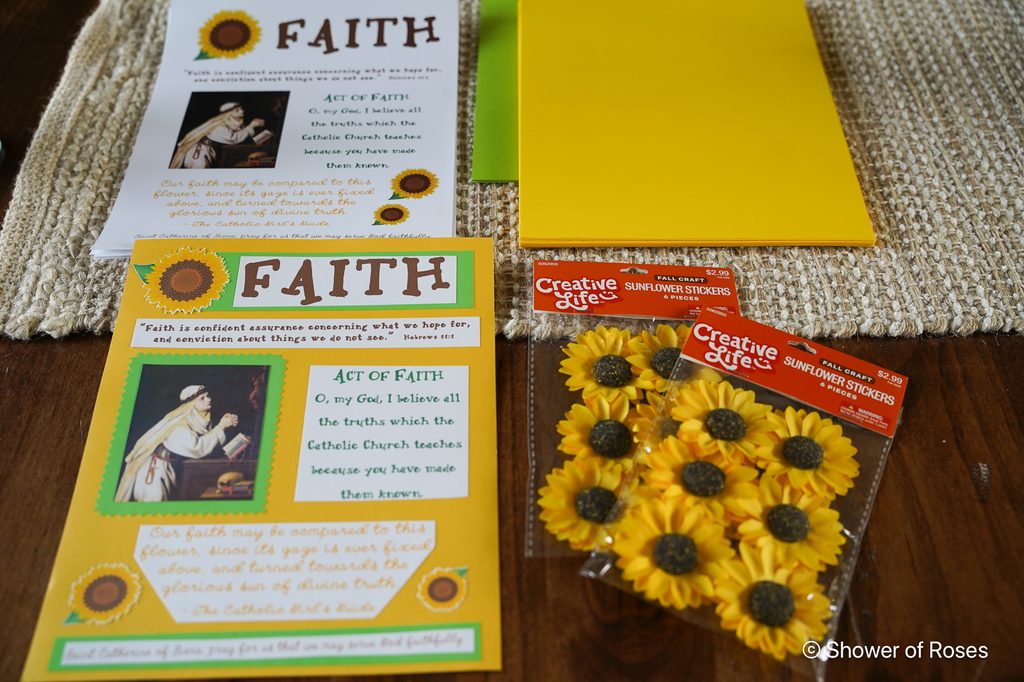
I had picked up some 3D Sunflower Stickers at Hobby Lobby for the girls to add a extra special touch to their pages. You can find lots of options over at Amazon as well.
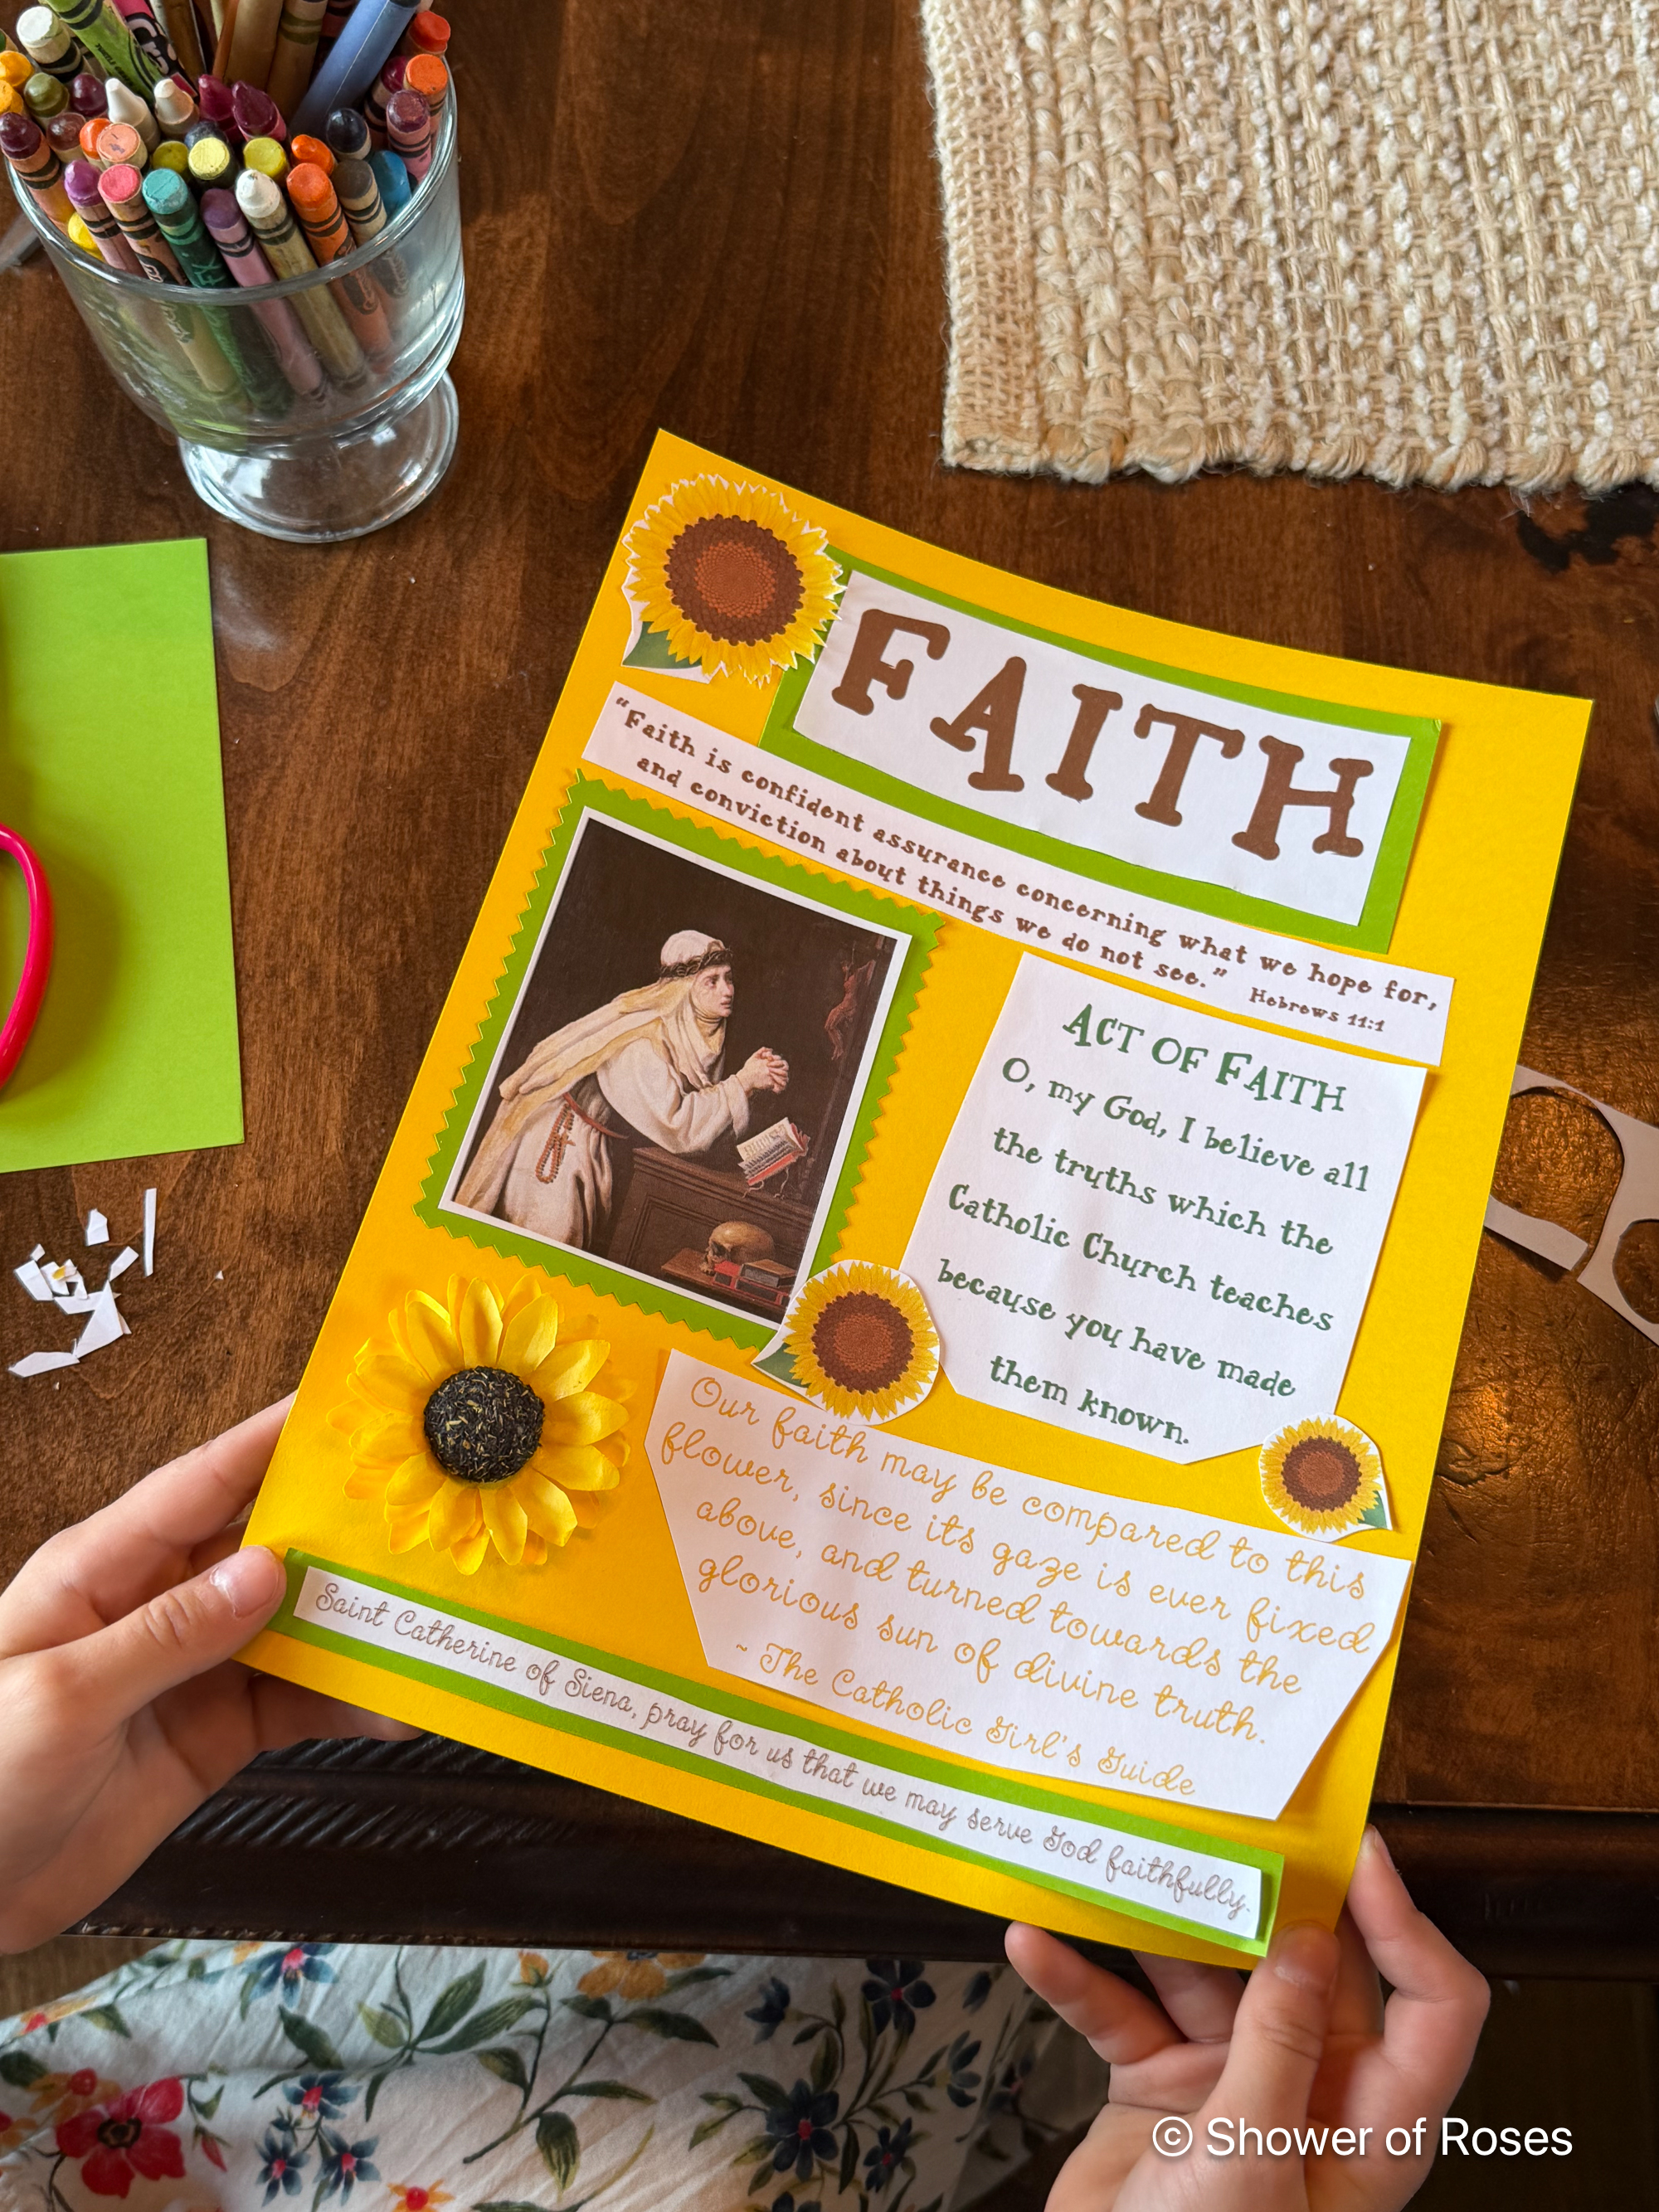
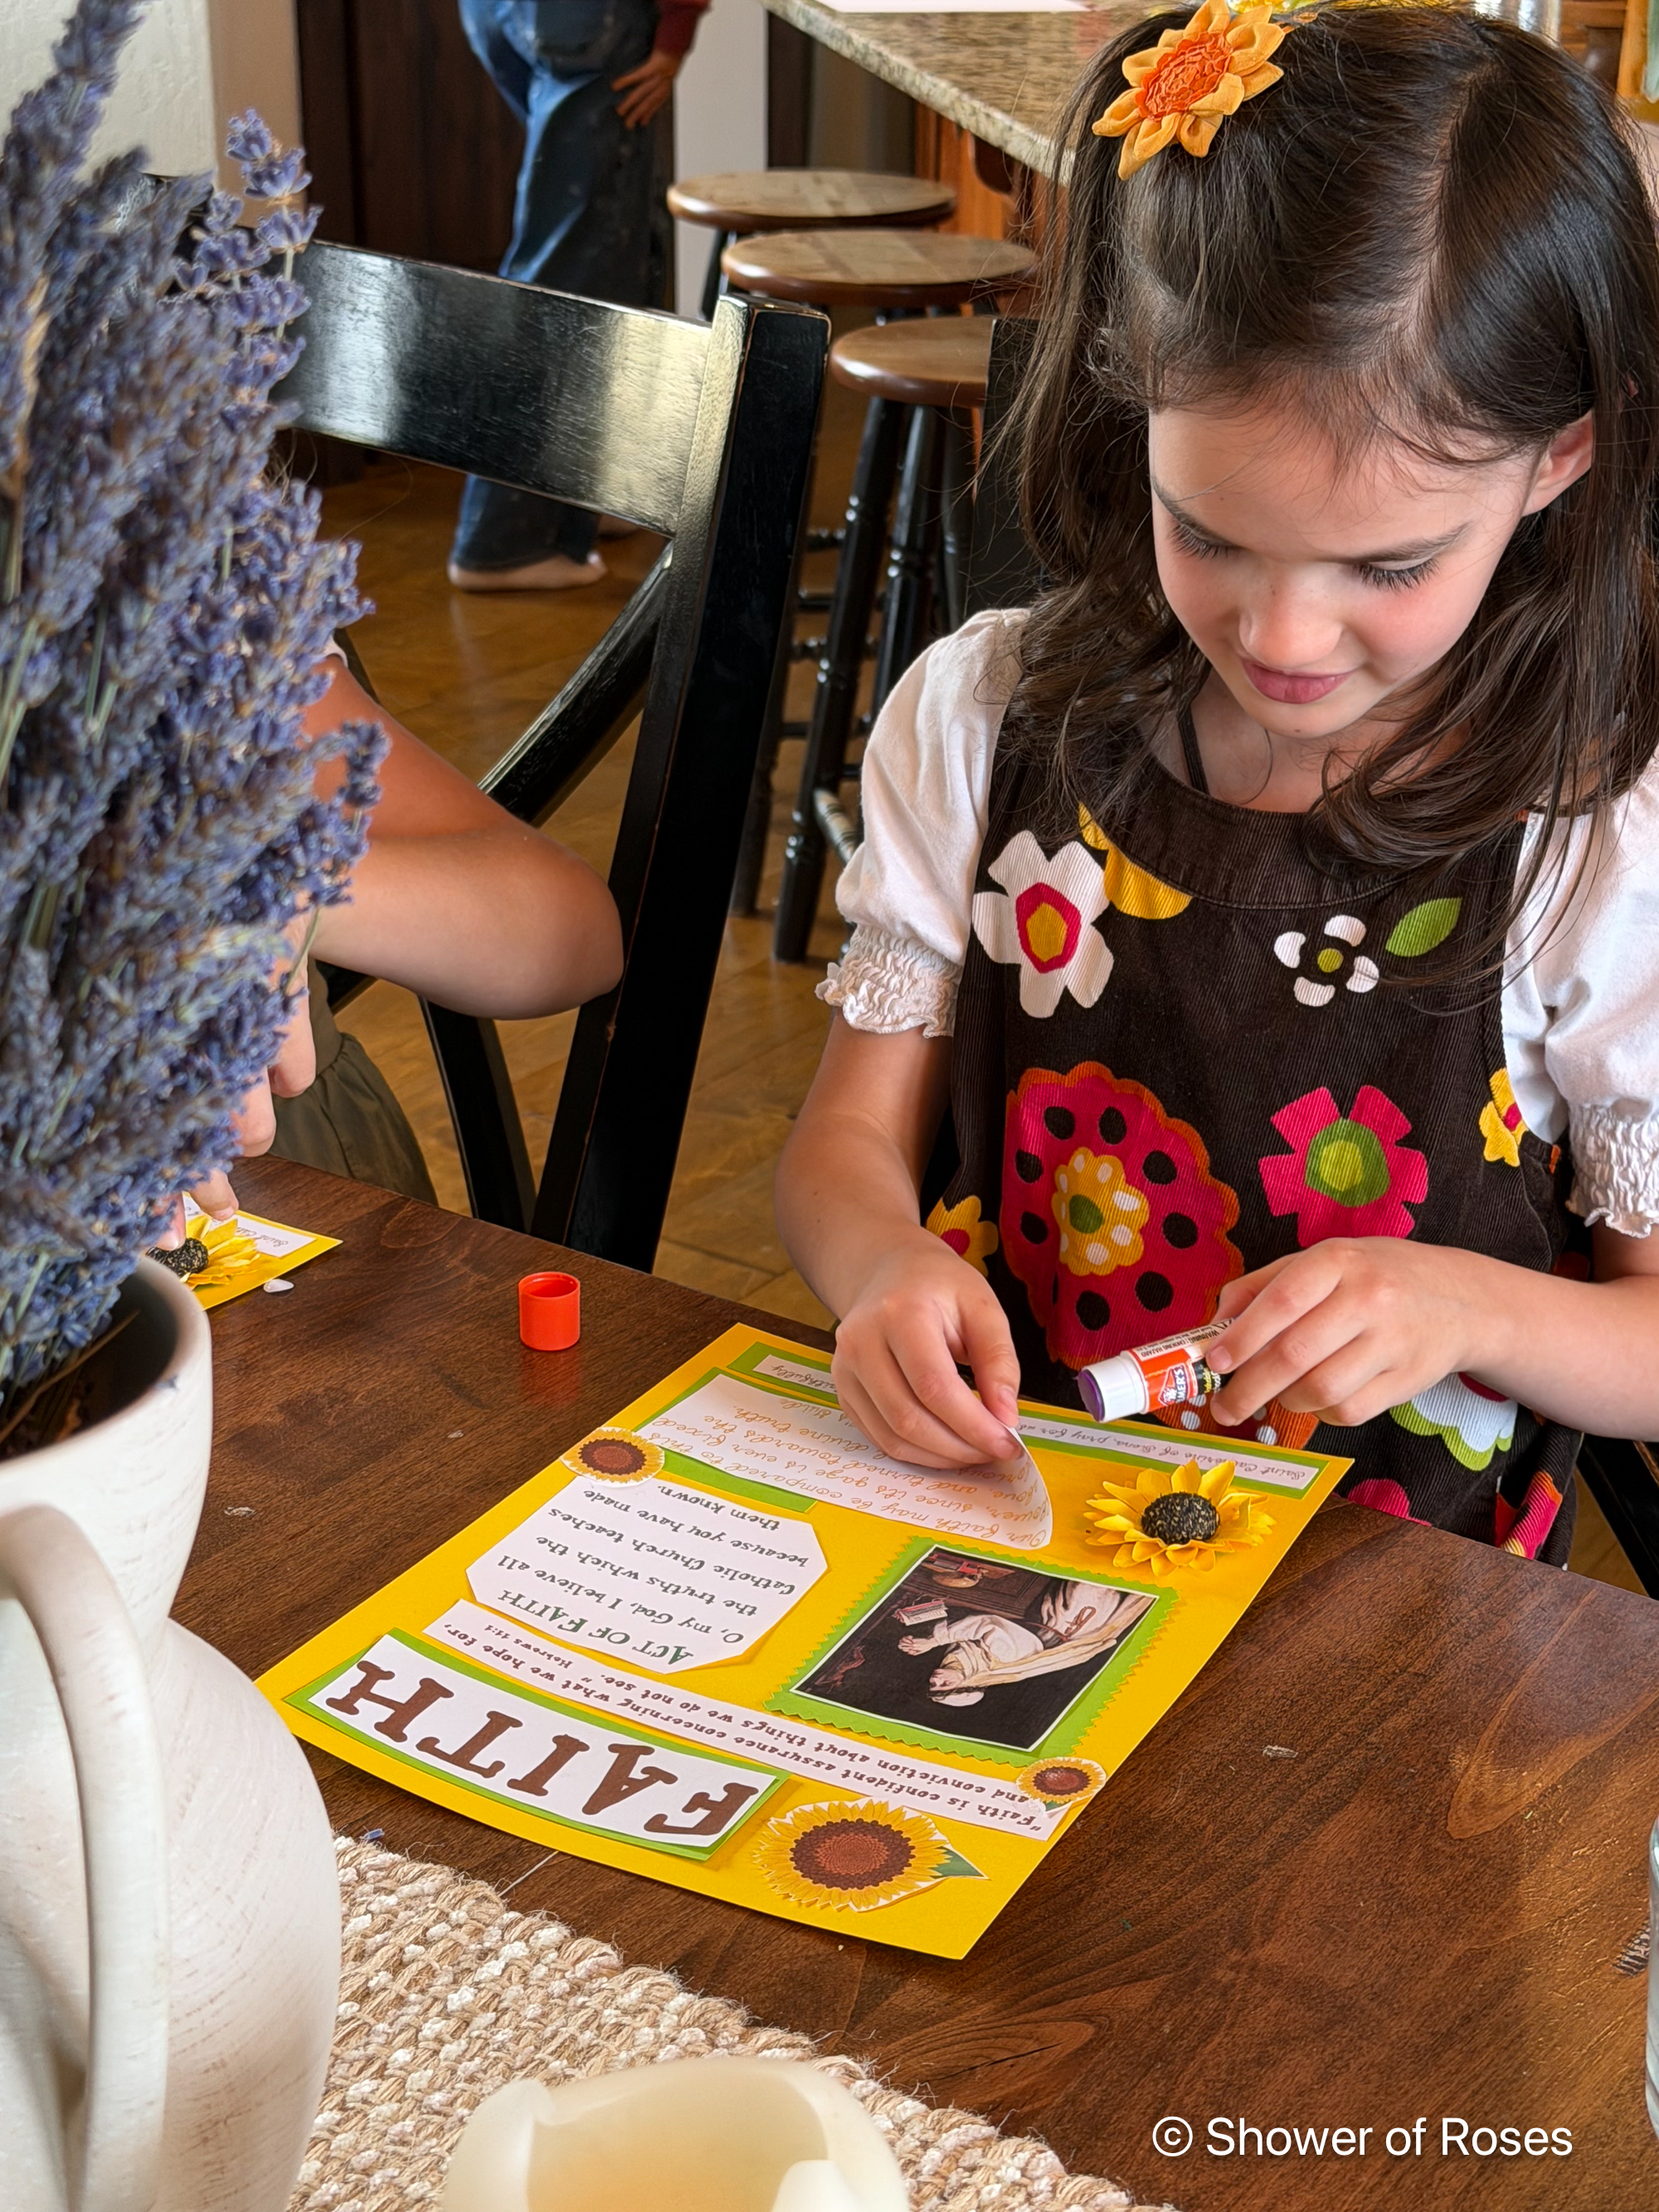
Their pages all turned out beautifully!
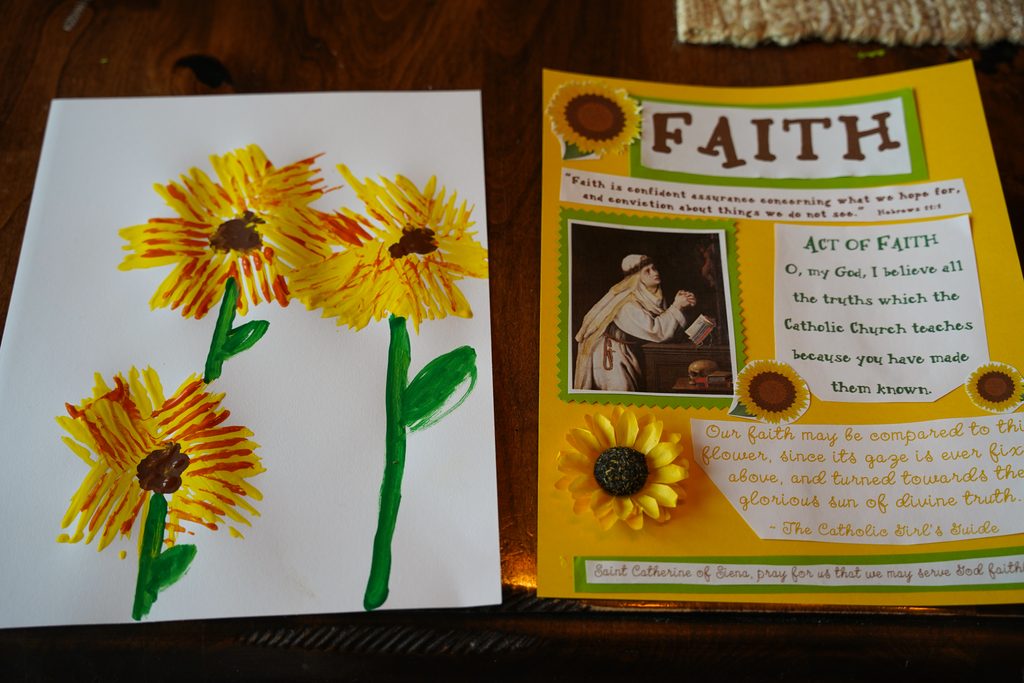
Craft: Fork-Painted Sunflowers
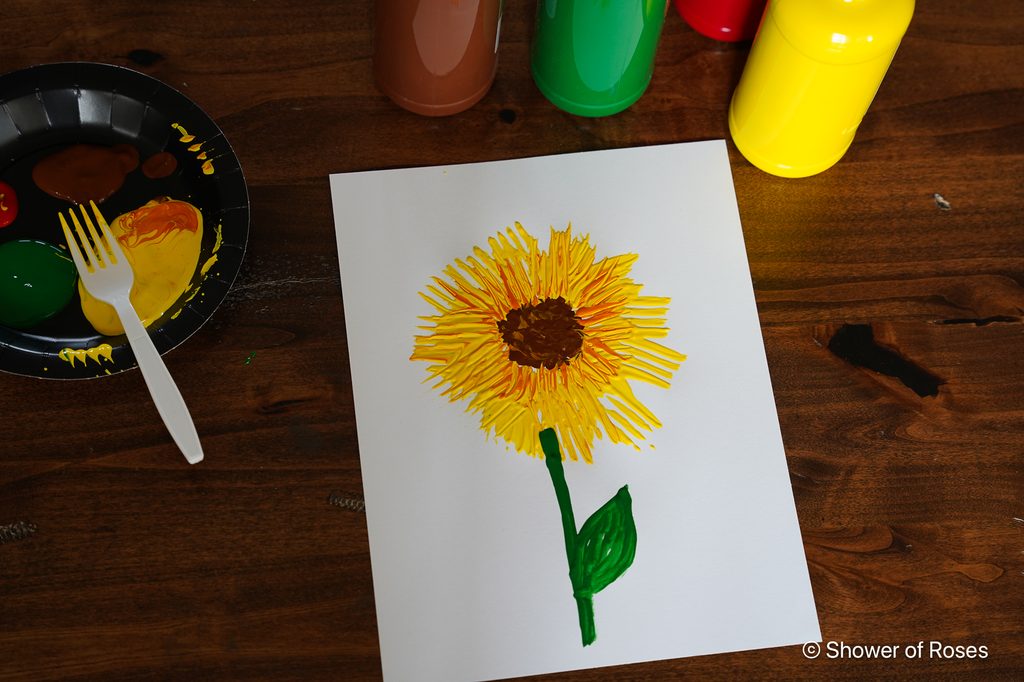
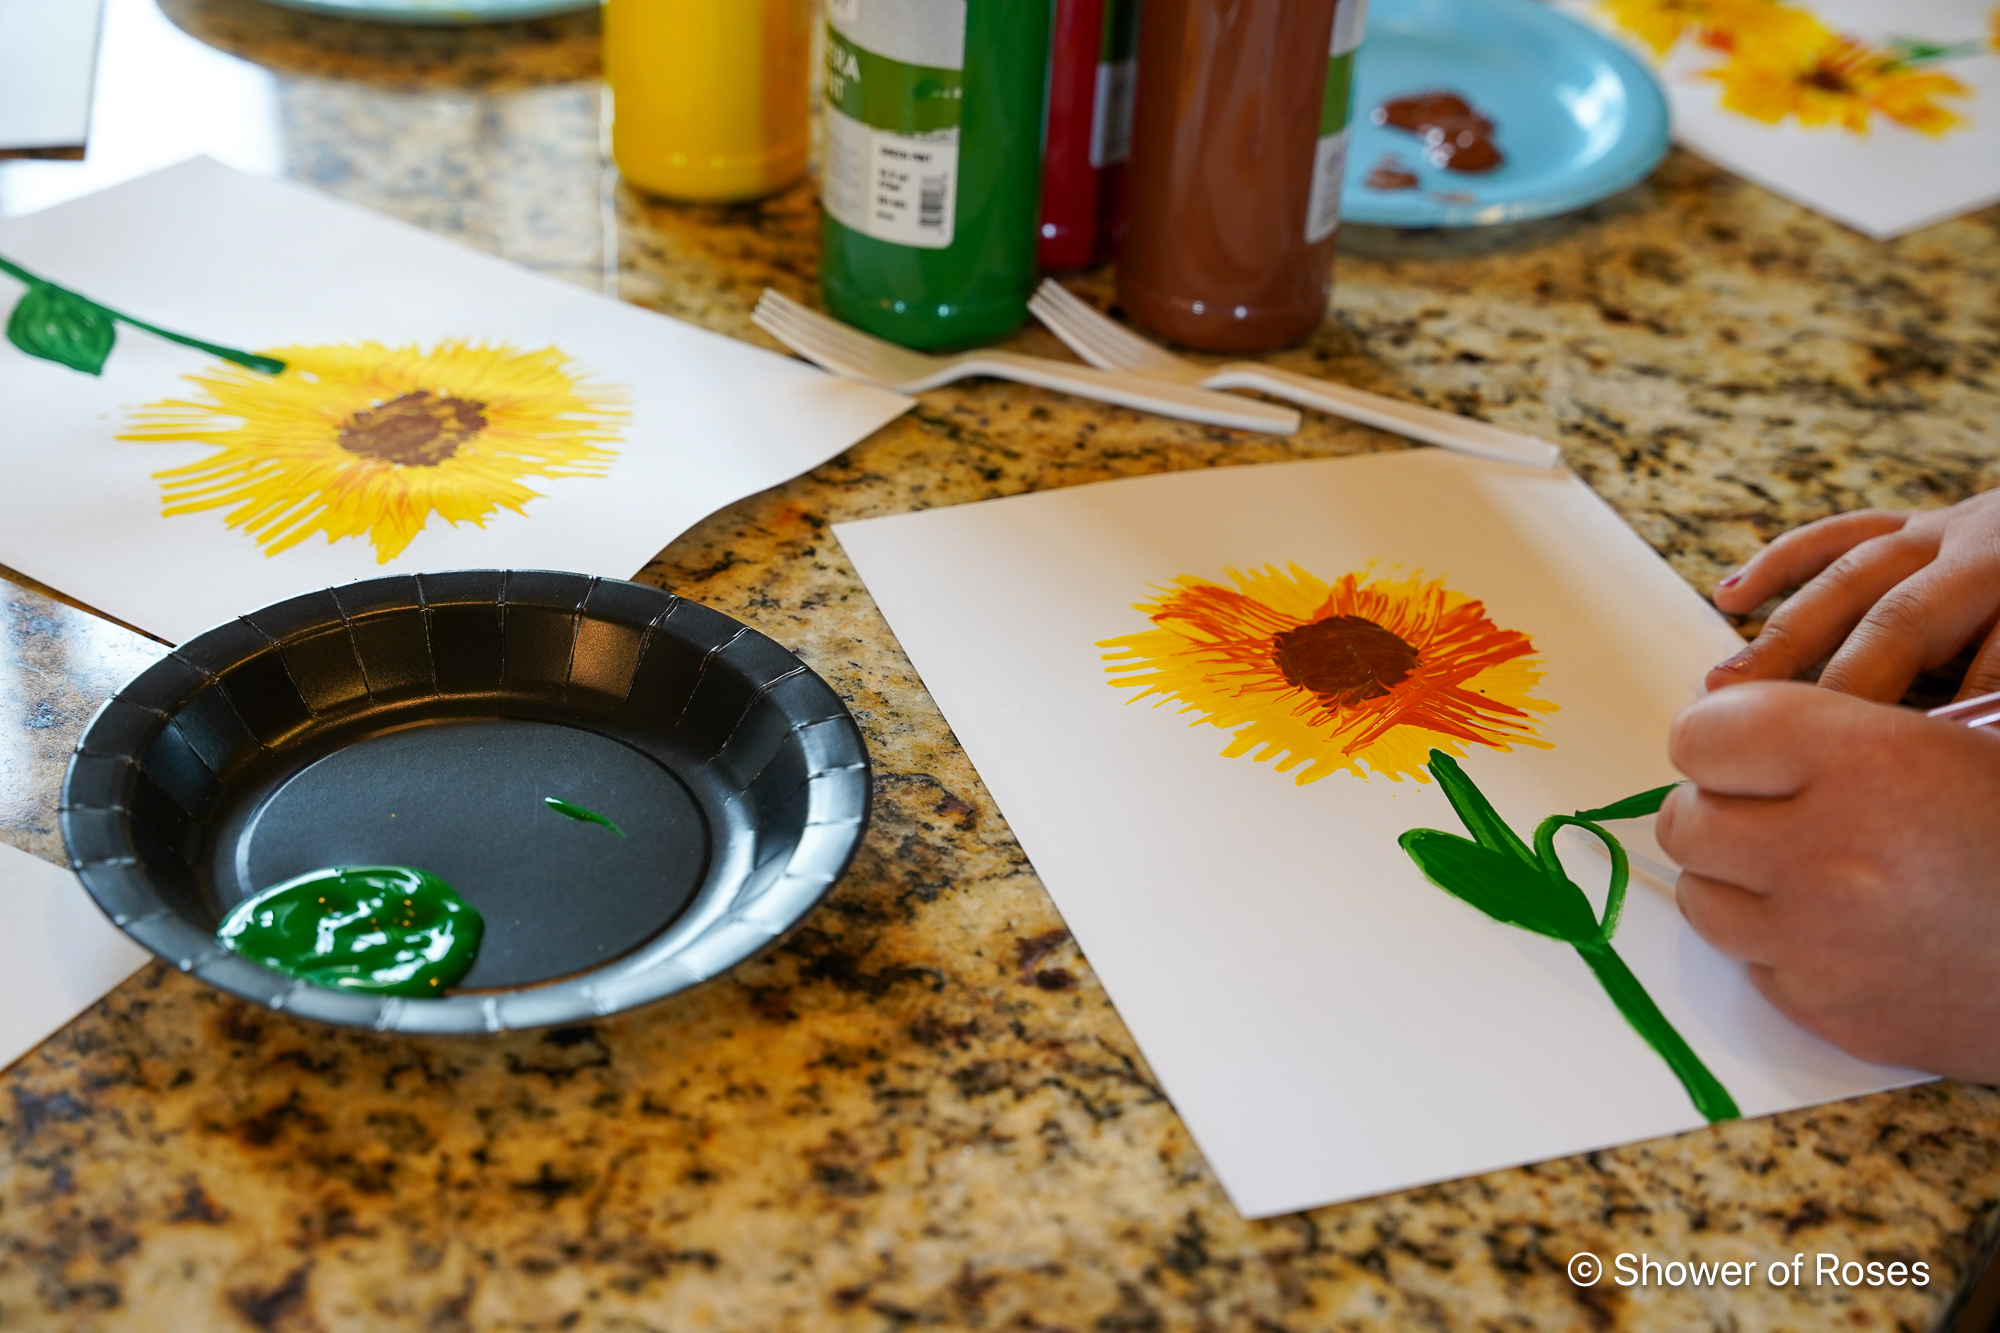
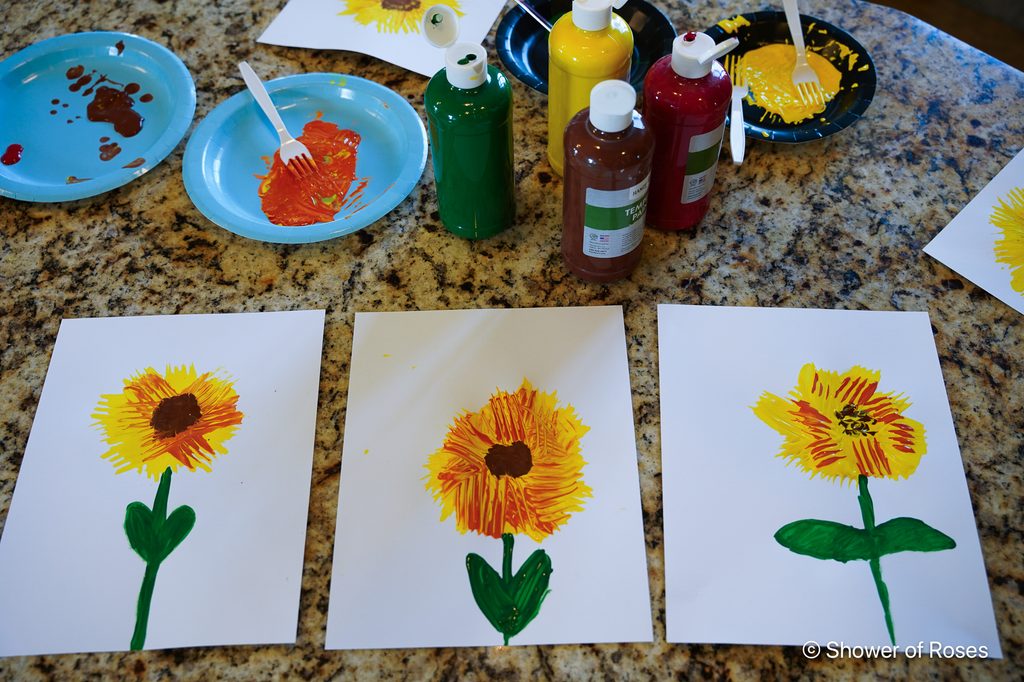
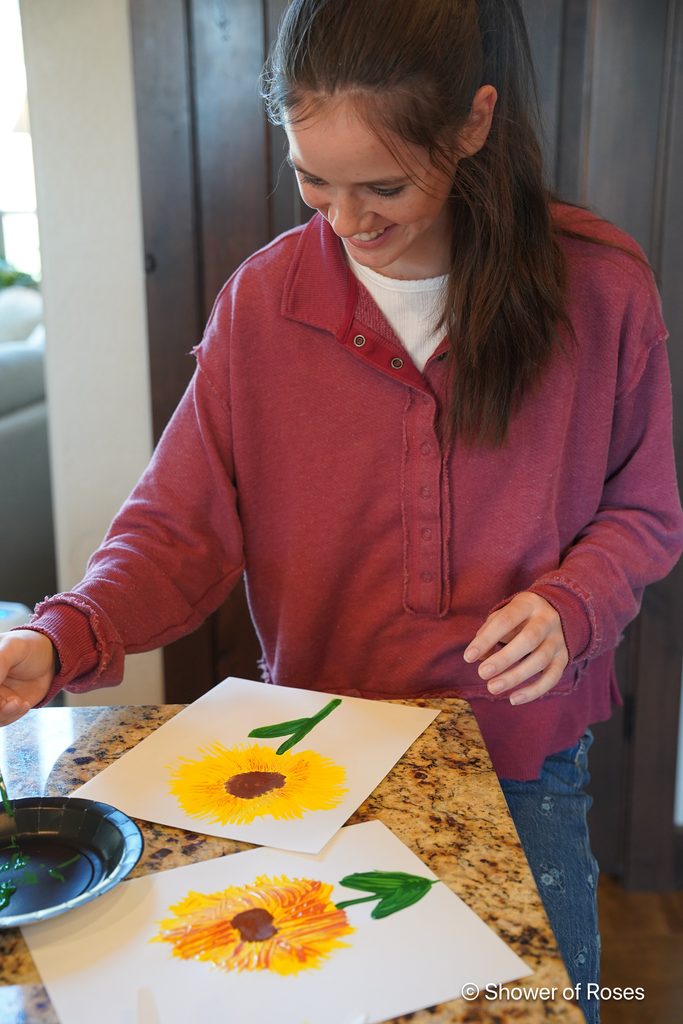
For our craft this month, the girls used forks to paint yellow sunflower petals, finger-painted the brown centers, and then added green stems and leaves with a brush or their fingers. 🌻
Supplies:
- Forks (I used a few plastic forks)
- Paper Plates for easy clean up
- Paintbrushes (optional)
- Tempera Paint in Yellow, Red (to make some orange), Brown and Green
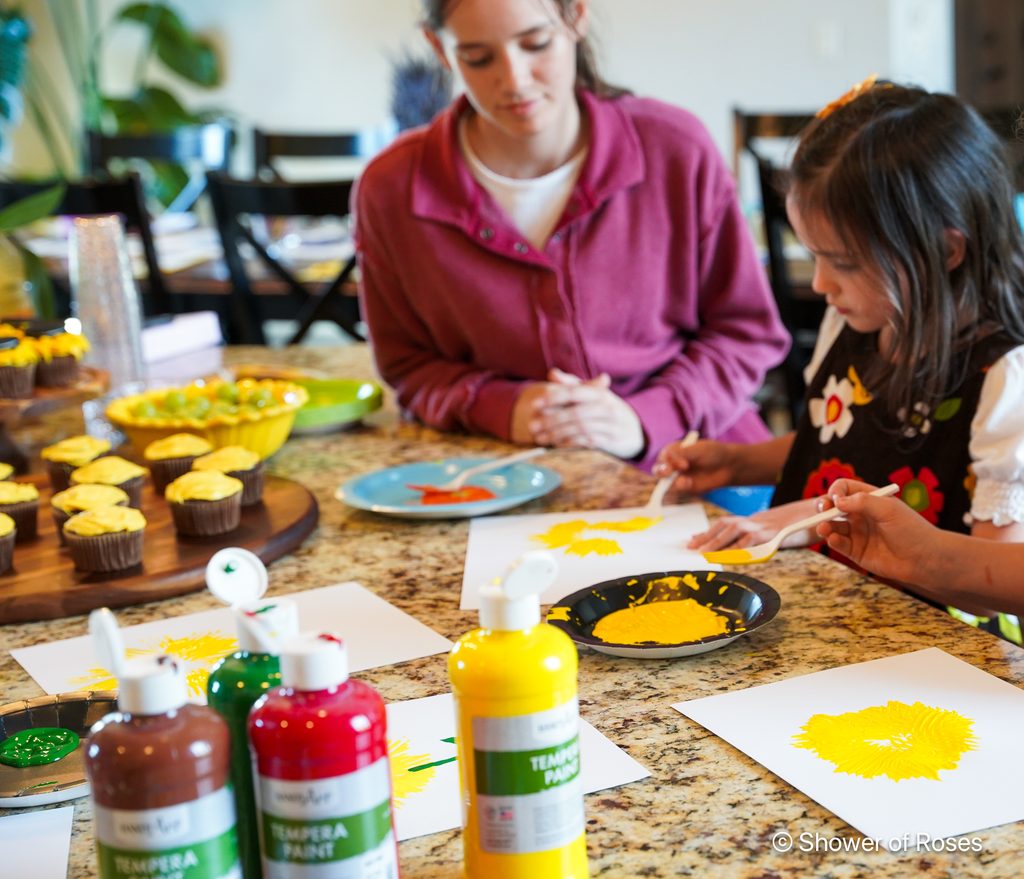
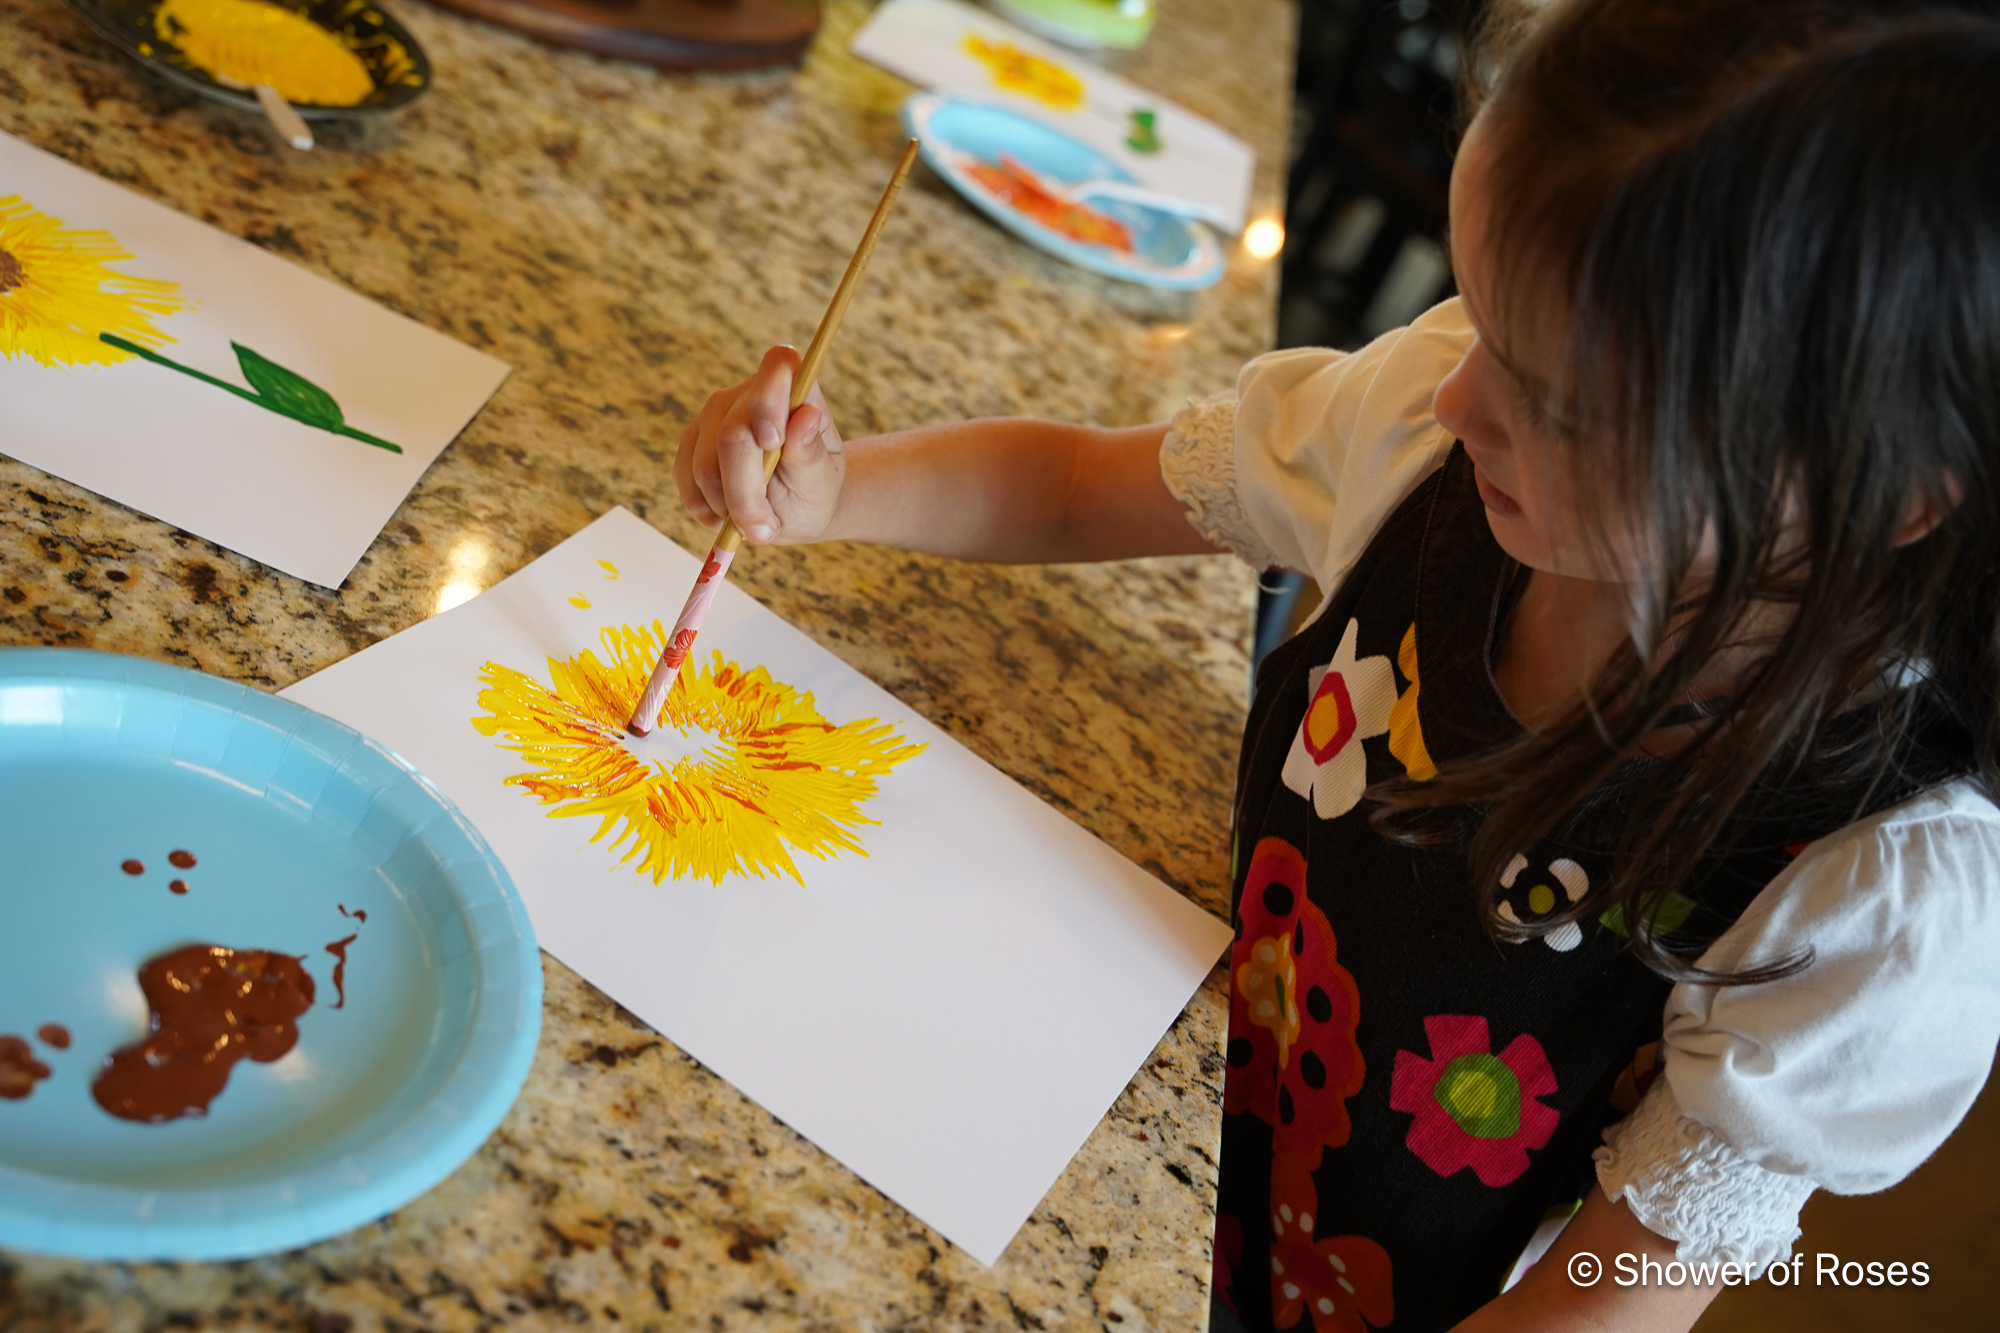
Our youngest really doesn't like to finger-paint so she used the end of one of her sisters chopsticks to create the brown dots in the center of her sunflower.
Snack Time: Wreath I Sunflower Cupcakes
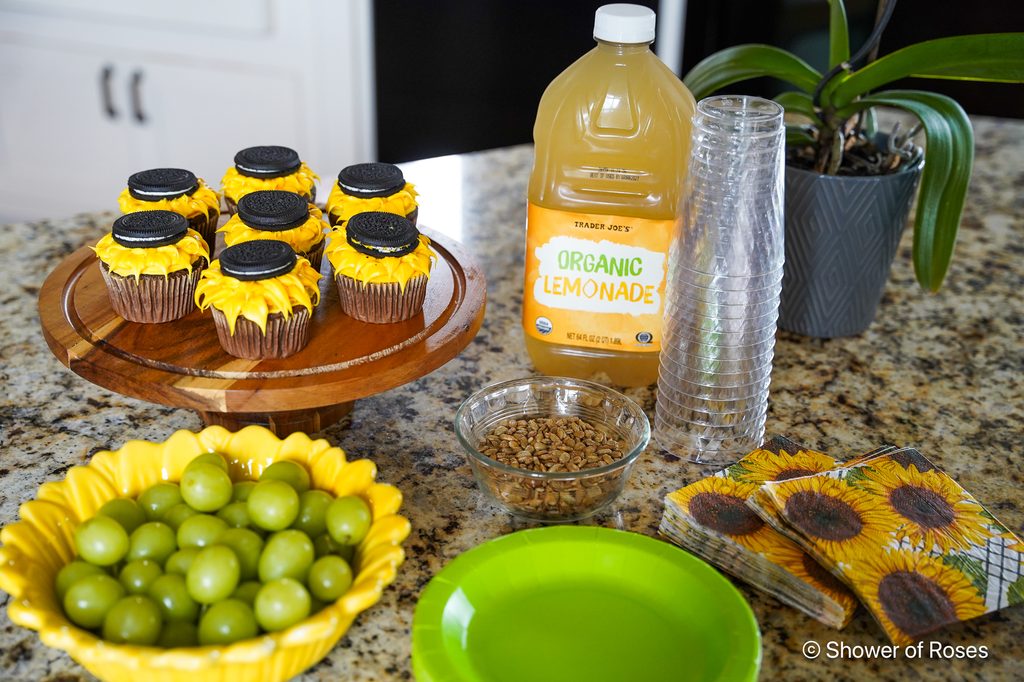
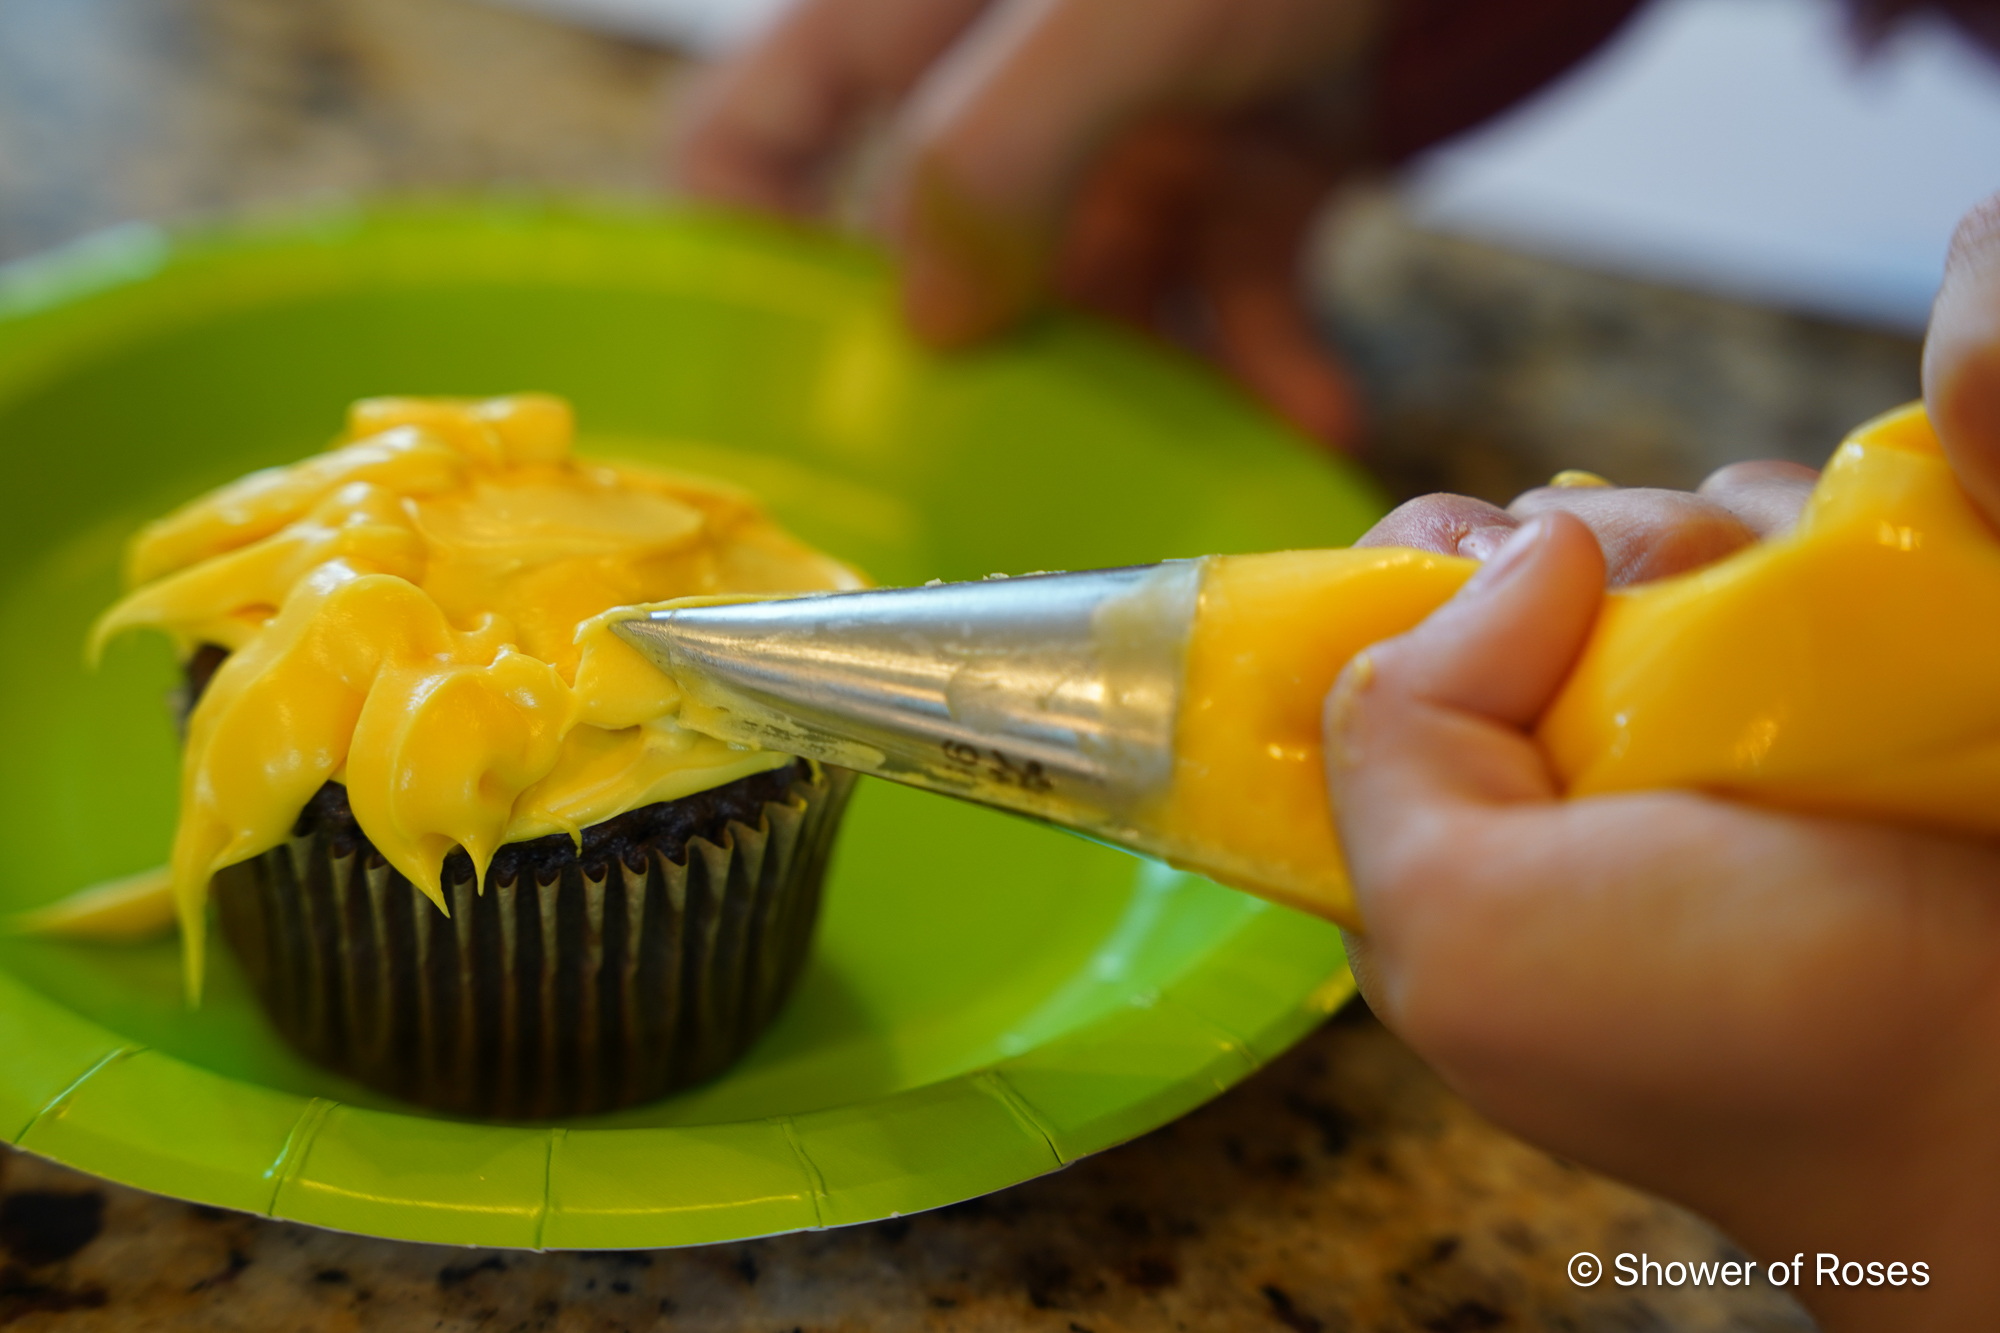
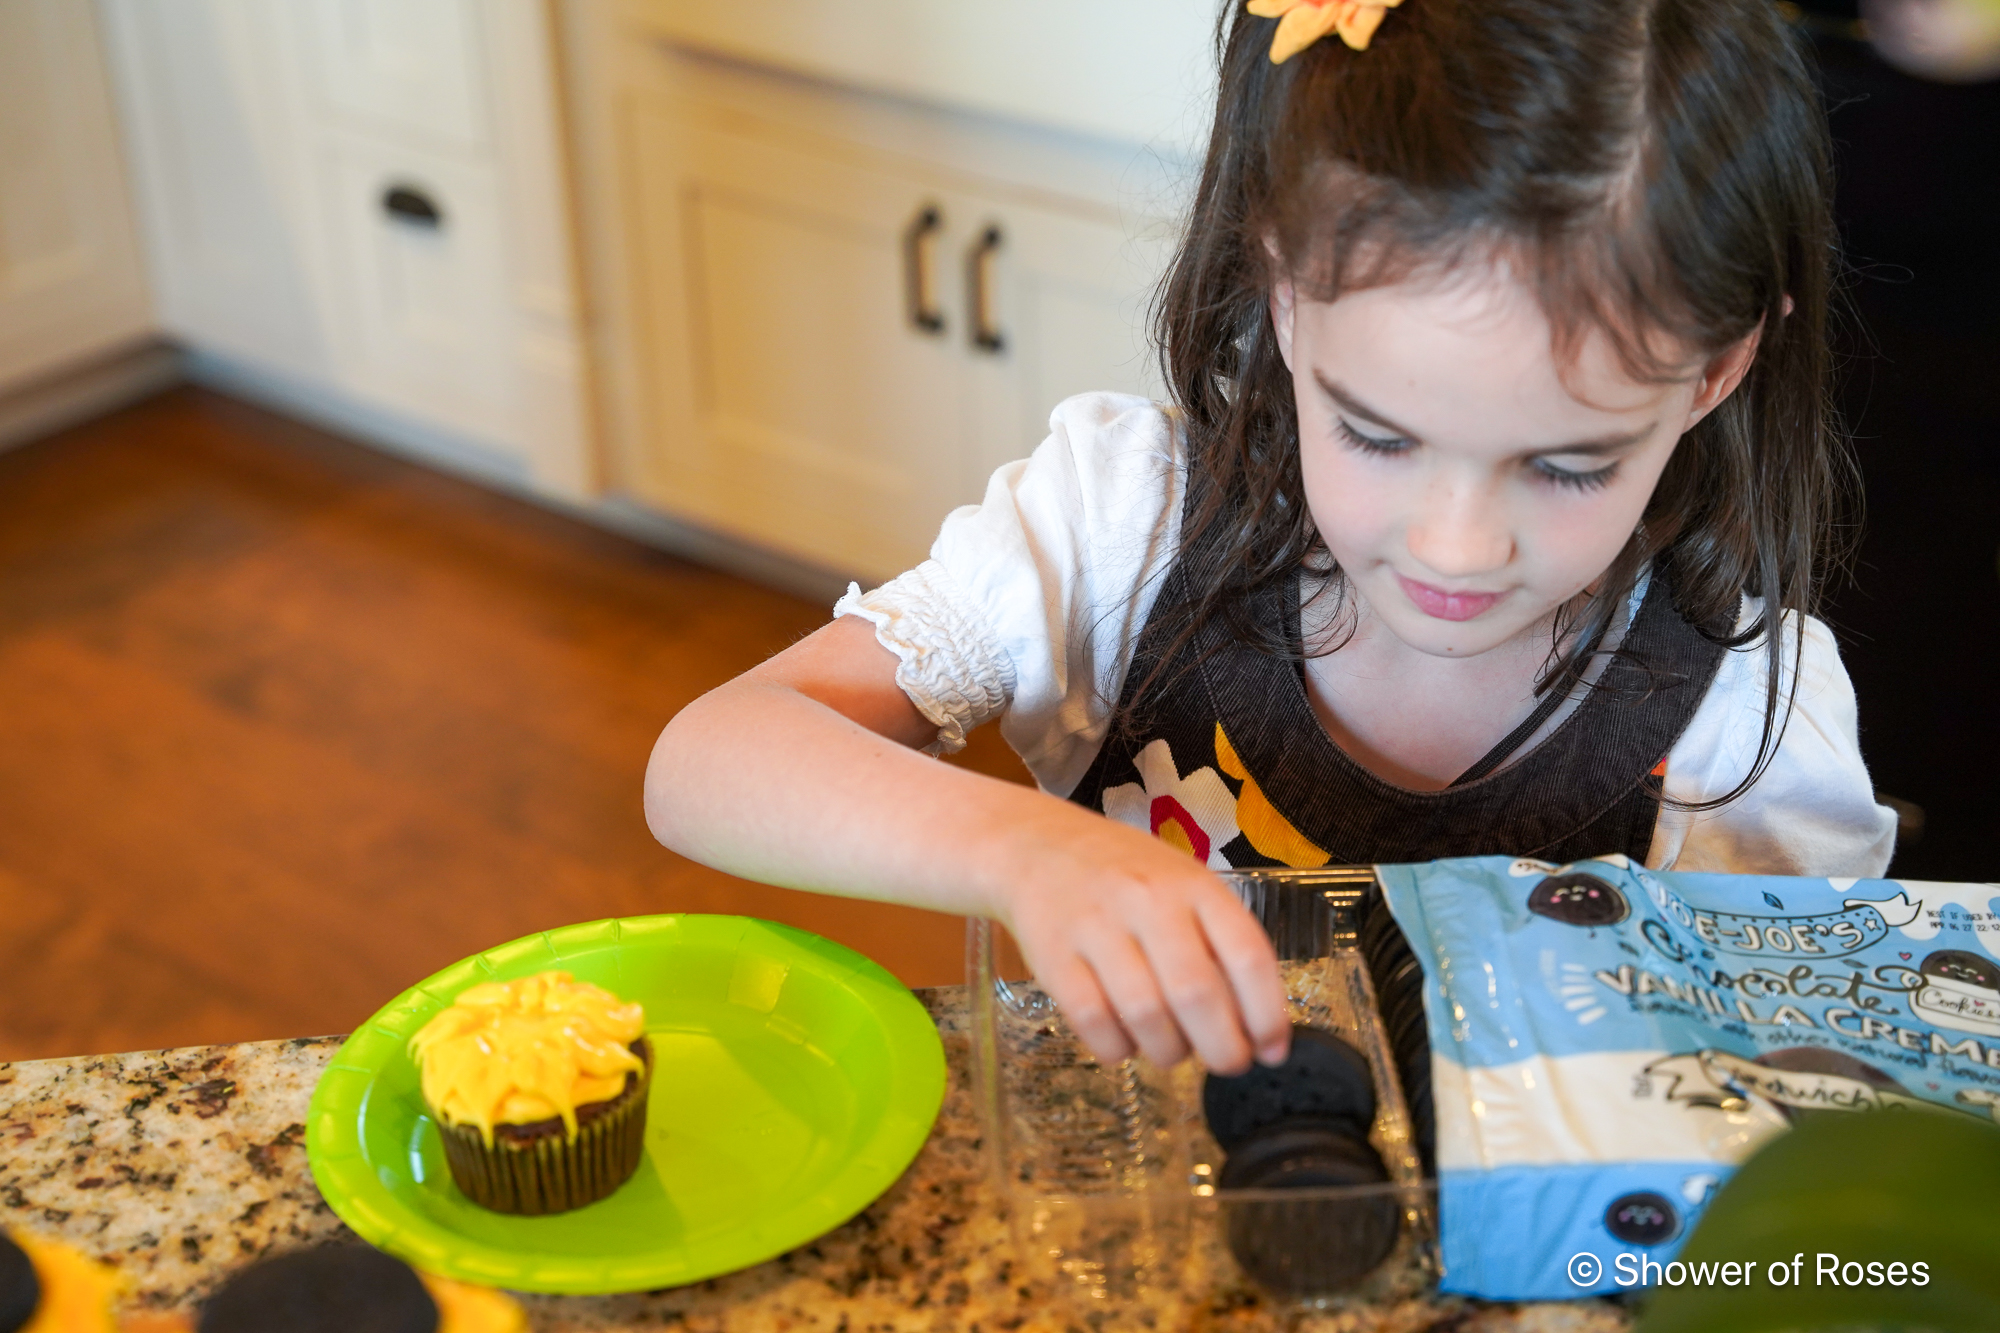
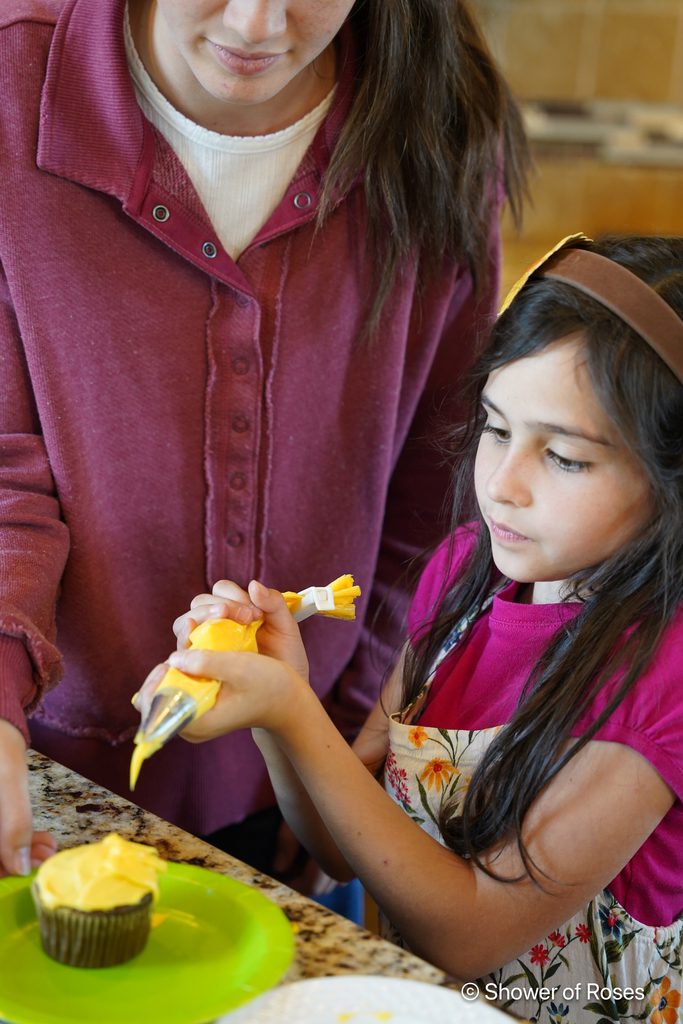
For snack time, the girls decorated their own Wreath I Sunflower Cupcakes! They used a frosting tip to pipe yellow petals, then placed a cookie in the center to complete their sunflowers. Trader Joe’s Sunflower Seed Butter Cups would be perfect for this as well, and I had a bag, but the girls were all super excited about Oreo's, or rather Joe-Joe's!

They LOVED getting to decorate their own cupcakes! 🌻🧁
I'm so happy to have Little Flowers back in our lives after all these years! And even though it might not be how I originally planned, I'm glad "Rose" finally gets to participate while helping her younger sisters and some of their friends grow in faith and virtue.
The girls have been counting down the days till our October meeting which happens to be later this afternoon! 🌹
St. Catherine of Siena, pray for us that we may serve God faithfully! St. Therese, the Little Flower, pray for us!