
Aurelius Cabrini {Sponsored Giveaway}
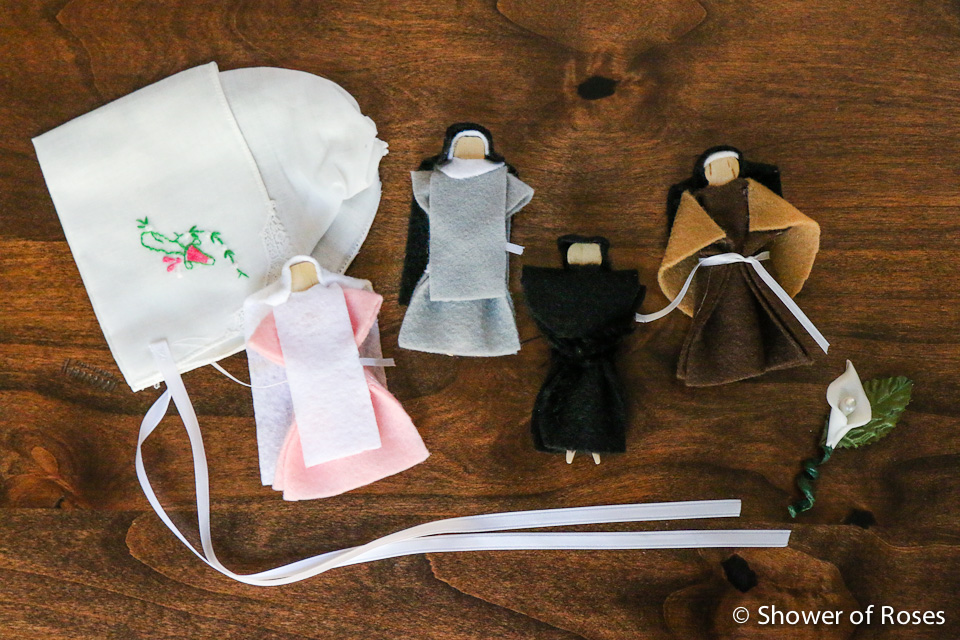 |
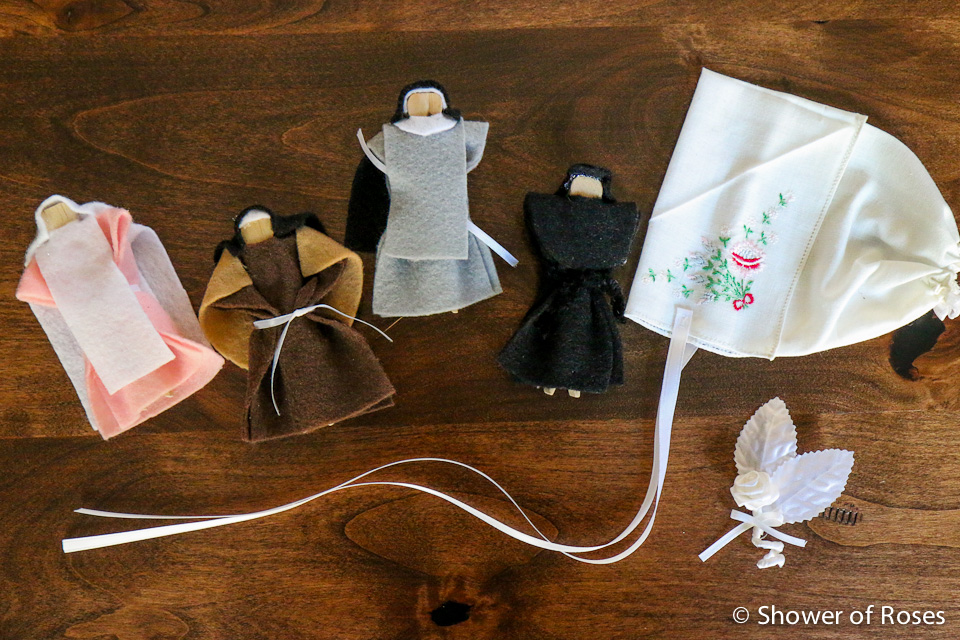
| Prize #1 – Vintage Handkerchief Bonnet, four Holy Sisters Vocation Dolls, and a Calla Lily Boutonniere |
As we work on settling back in and catching up after being away from home for most of the month, I have a couple giveaways for all of my visitors here at Shower of Roses!
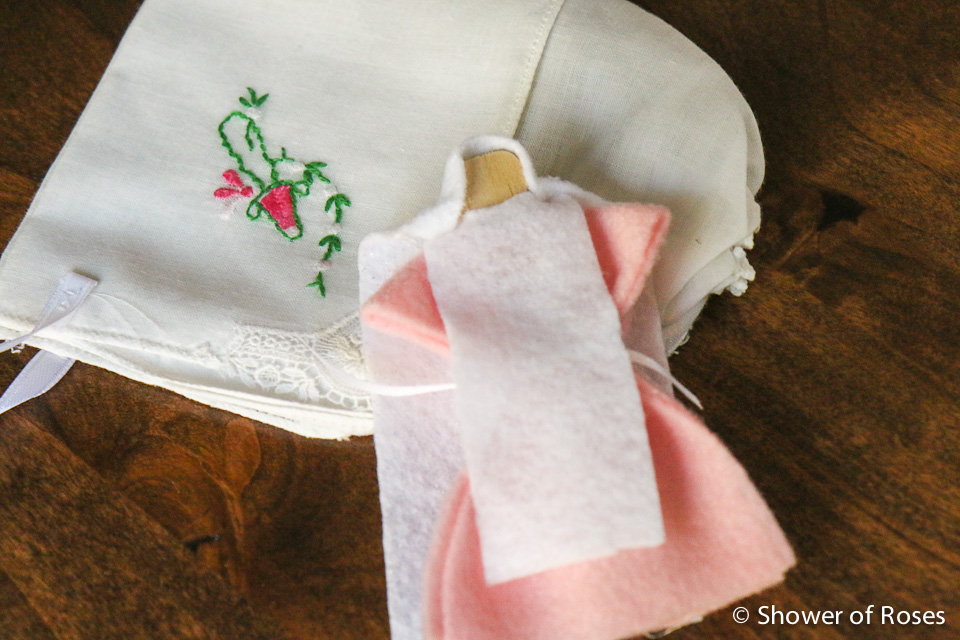
The first giveaway is sponsored by Aurelius Cabrini, an Etsy shop created by my sweet friend Jennifer over at Veils and Vocations, which specializes in baby boutonnieres, handkerchief bonnets, and “Holy Sisters” peg dolls!
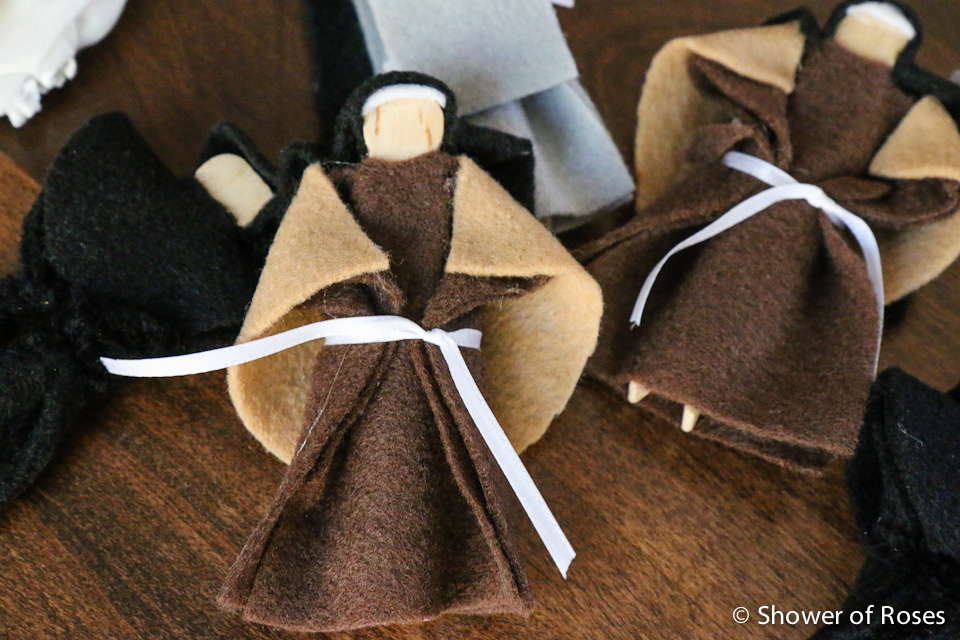
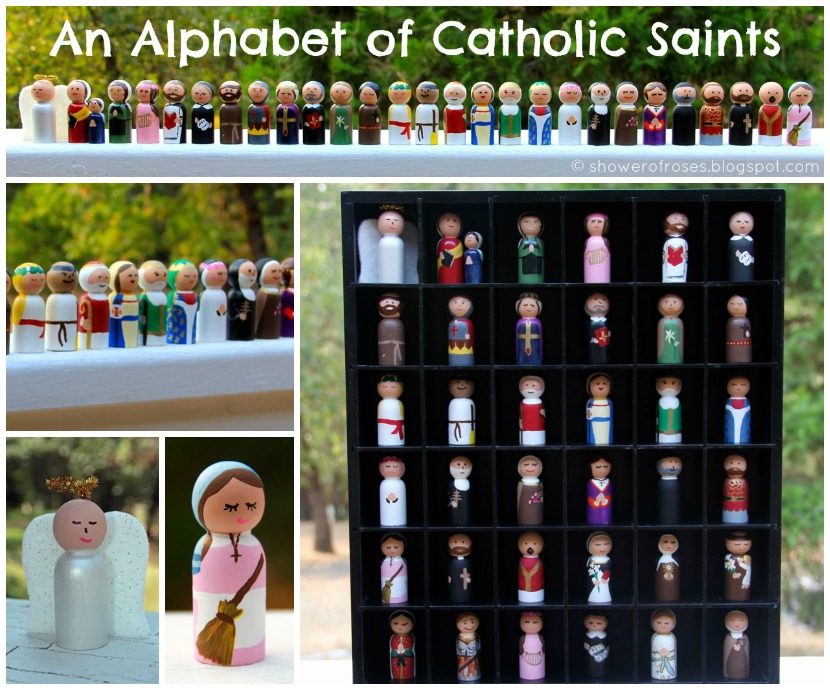
Holy Sisters Vocation Dolls
Nurture vocations and delight your little ones with Holy Sisters dolls. Each one is handcrafted with love and includes the name of the order on her “leg.” The pictures above are suggestions, any order is available. Please tell me which order you would like or just say, “Surprise me!” Either way, all dolls are custom made and built for gentle play. Buy four dolls, get one free!
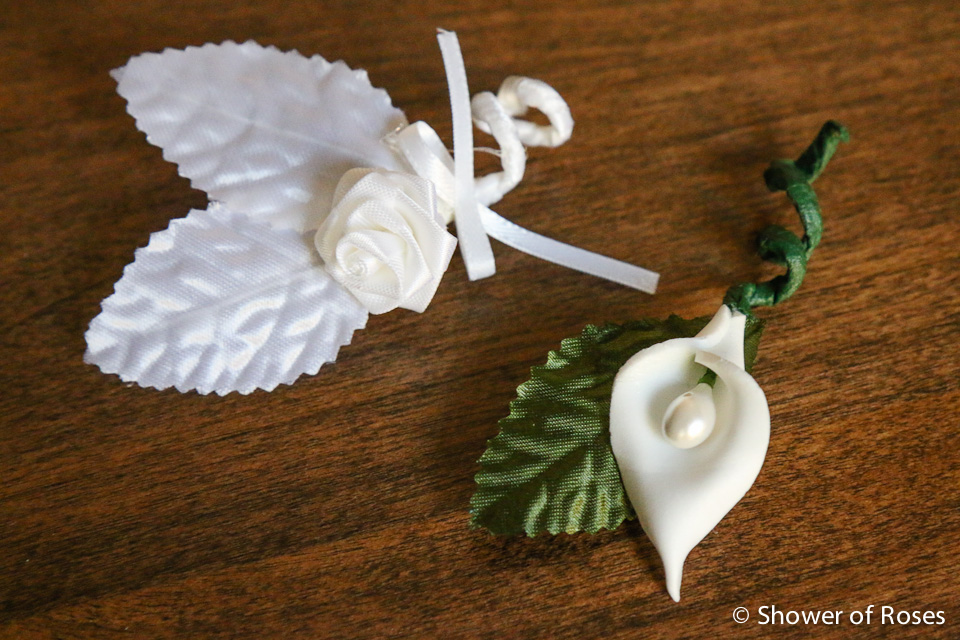
Baby Boutonnières
These tiny treasures will make any special occasion even more special. Designed for babies to wear under adult supervision, these will quickly become family heirlooms. All corsages/boutonierres have wrapped stems and feature durable pin backs with safety latch. White stems are hand wrapped in white satin ribbon. Green stems are hand wrapped in green floral tape. Custom orders welcome.
 |
| Prize #2 – Four Holy Sisters Vocation Dolls, a Vintage Handkerchief Bonnet, and White Rose Baby Corsage |
On the Feast of St. Christopher
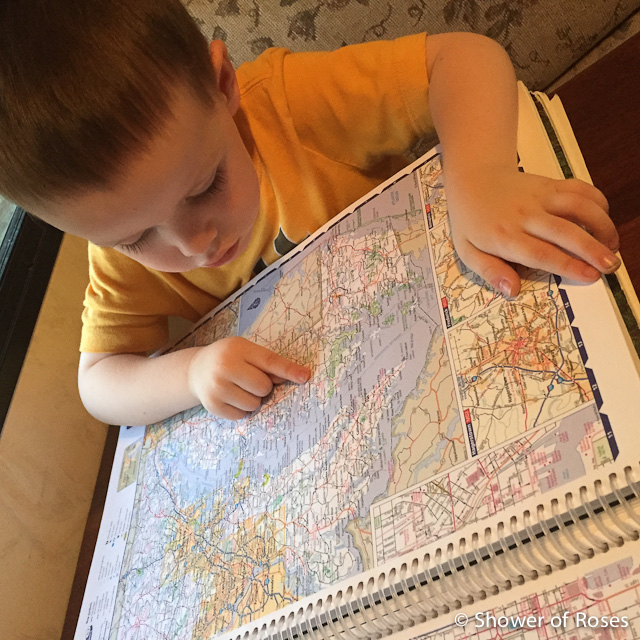 |
| “There’s another river!” |
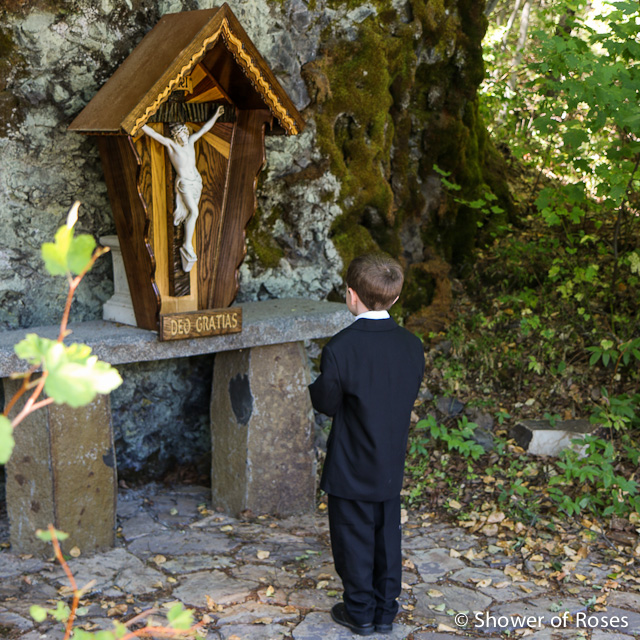
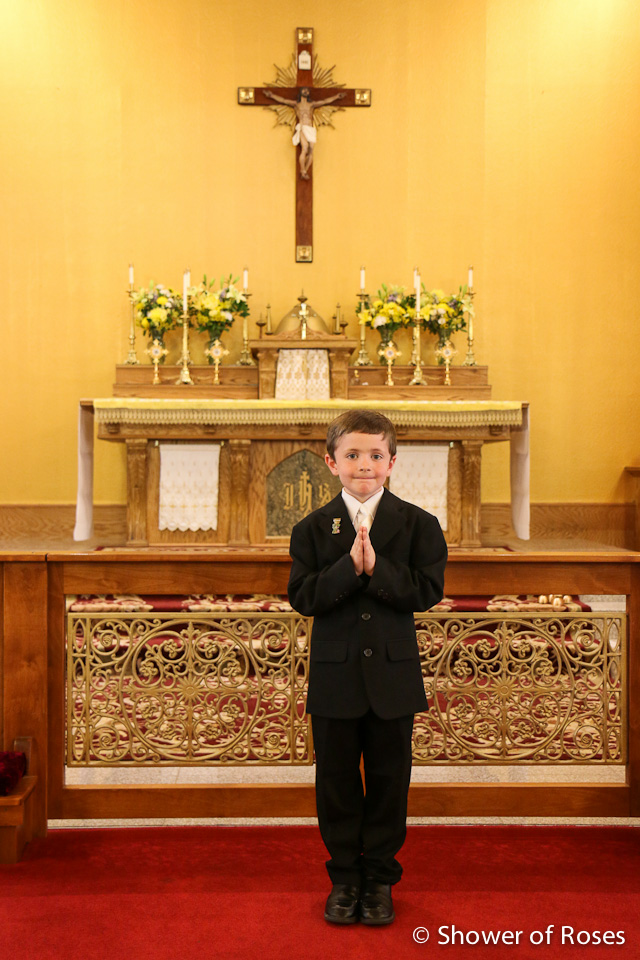
First Communion Day

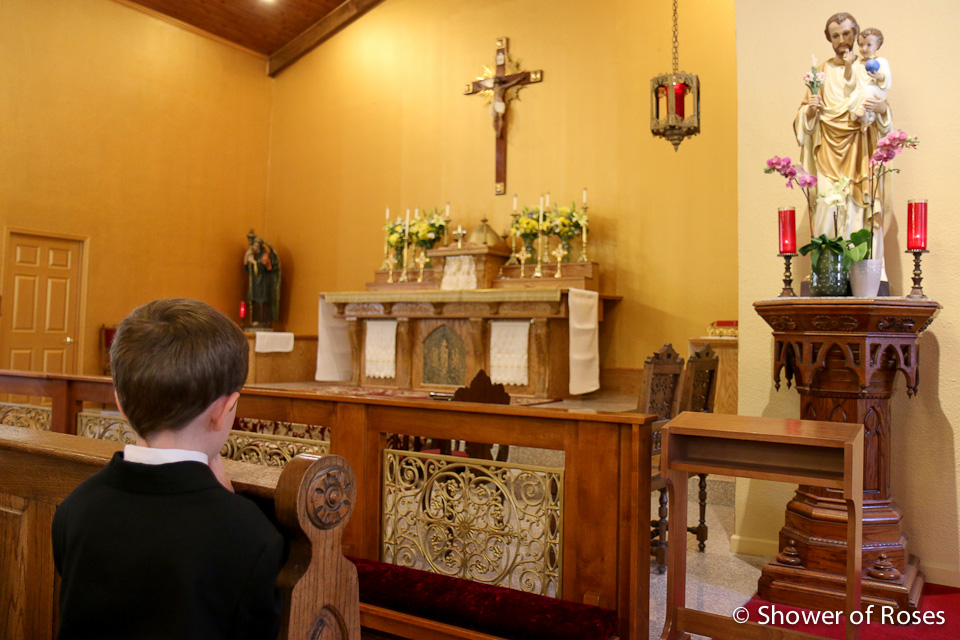 |
| Prayers after his First Confession |



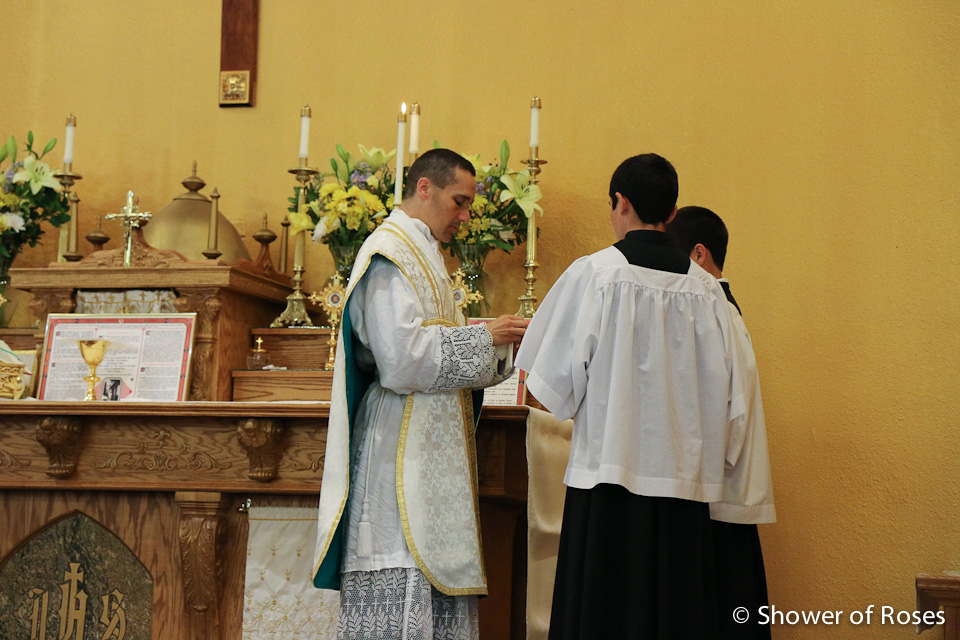
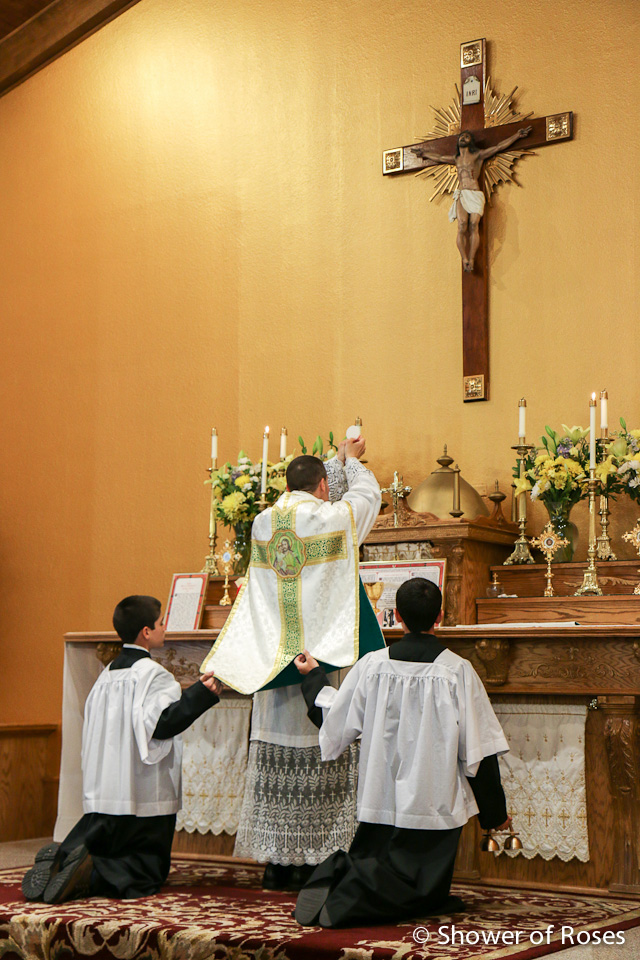
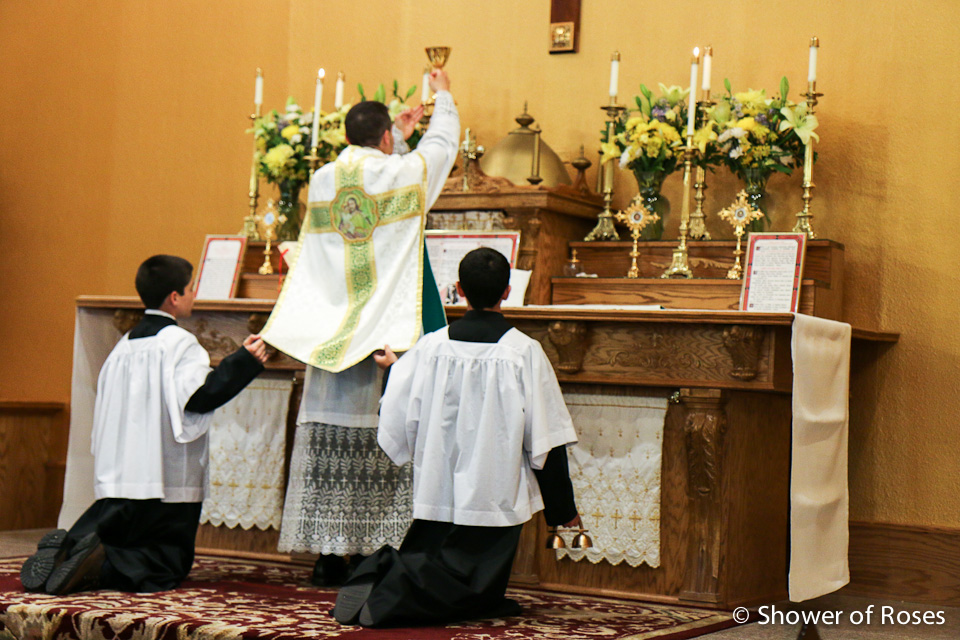

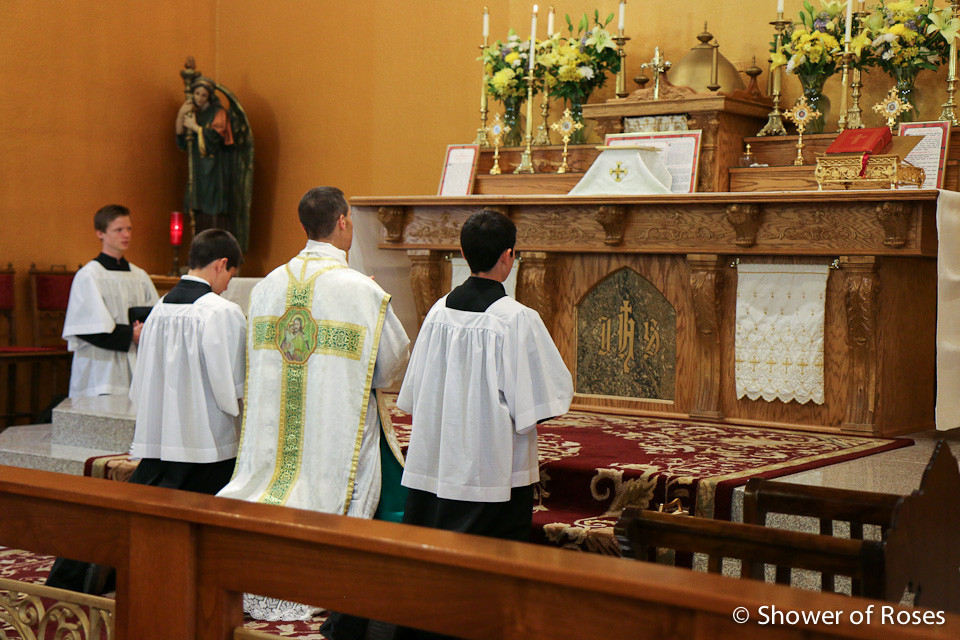


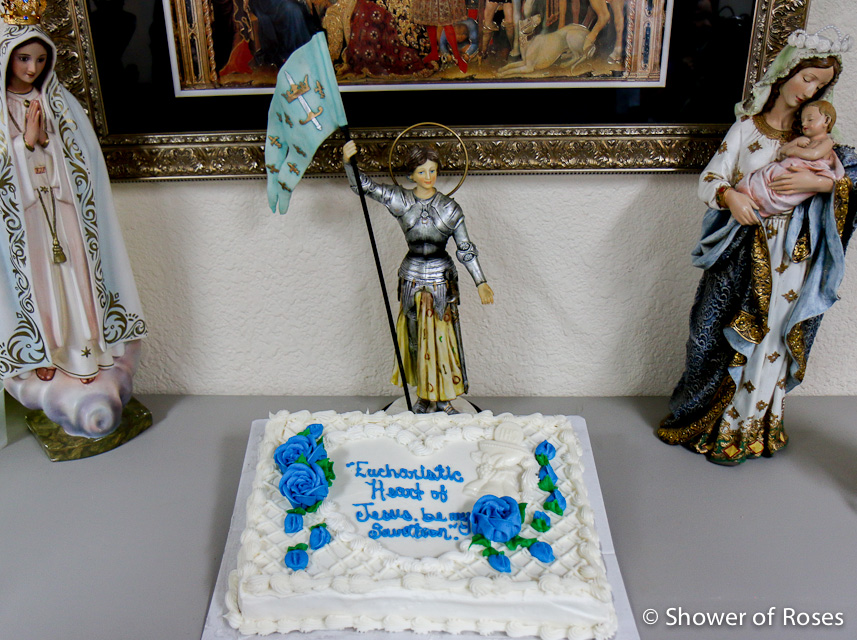 |
| “Eucharistic Heart of Jesus, be my Salvation.” with Bread of Life Cake Topper |
 |
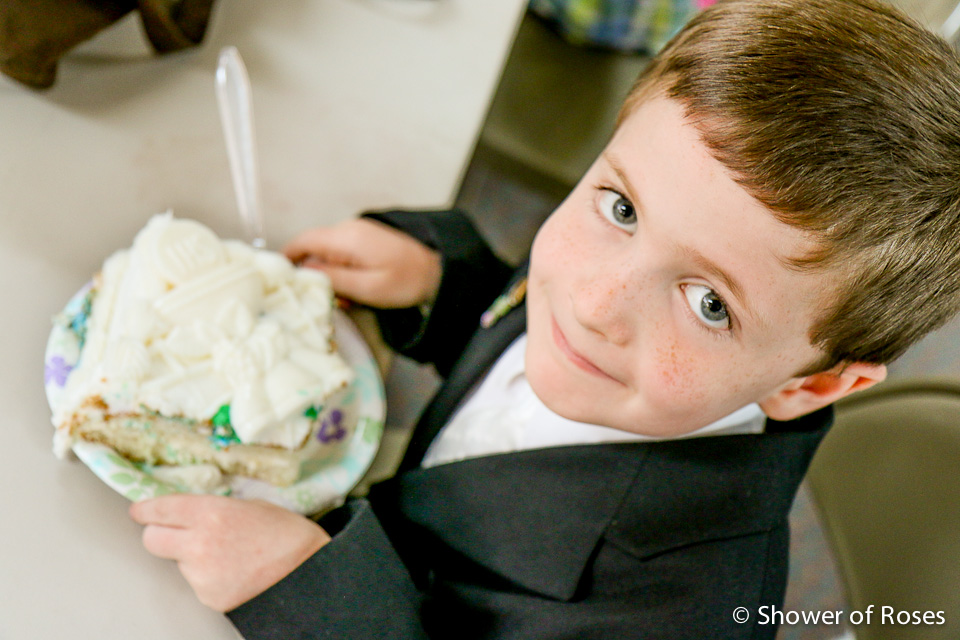
| Great Uncle Tom, lots of new friends, and “Uncle Father!” |
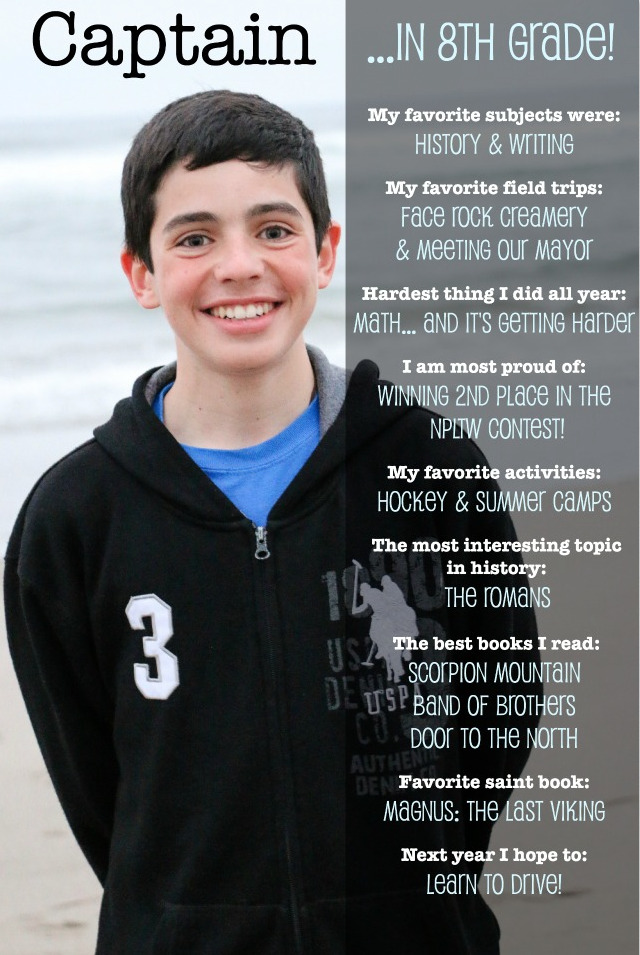
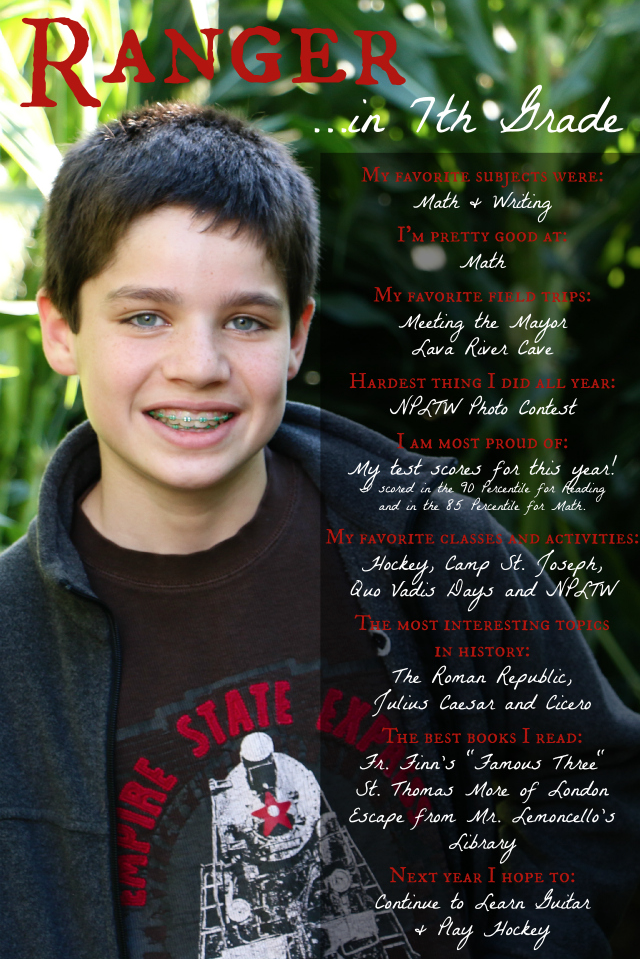
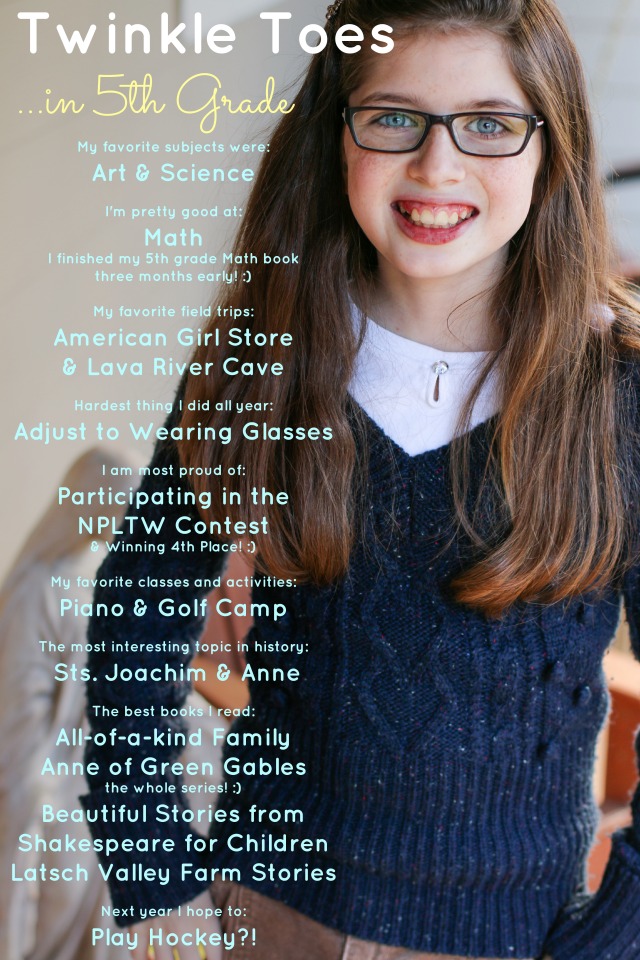
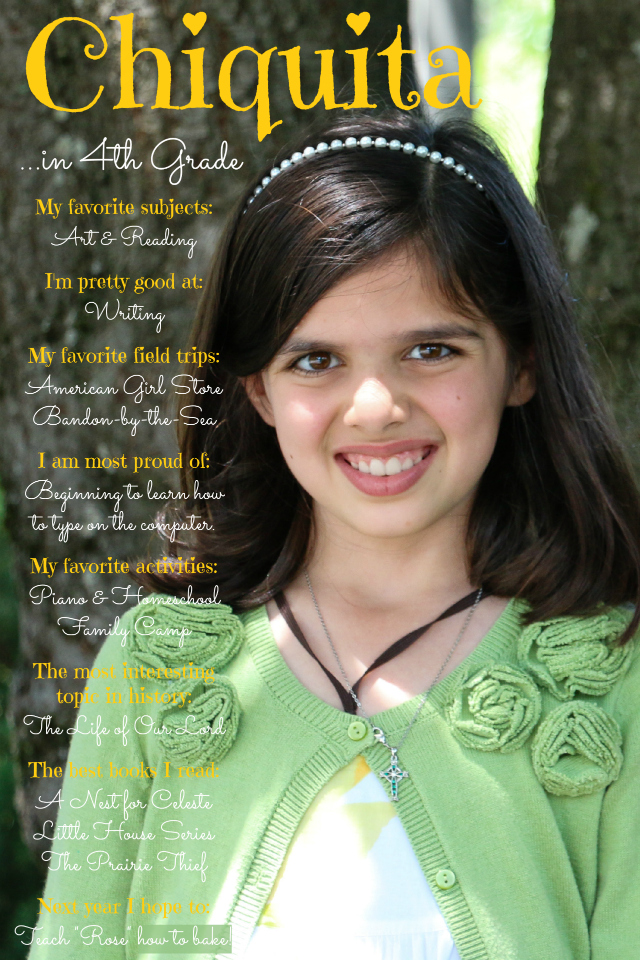
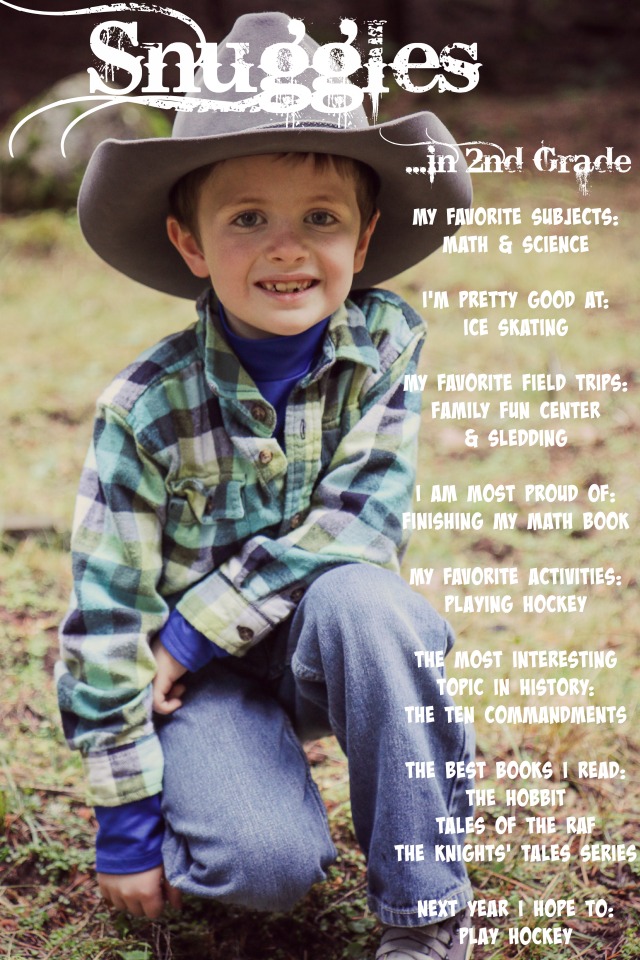
End-of-School Interviews for 2014-2015
A number of years ago I was inspired by Sarah (who we finally got to meet in person this past week!) to start creating these End-of-School Interviews for each of my children and we’ve been making them every year since. Here are this year’s interviews:
Our summer is flying by so quickly… and I still need to finalize our plans for the upcoming school year. How are your plans coming along?
{pretty, happy, funny, real} :: Amongst Lovely Things




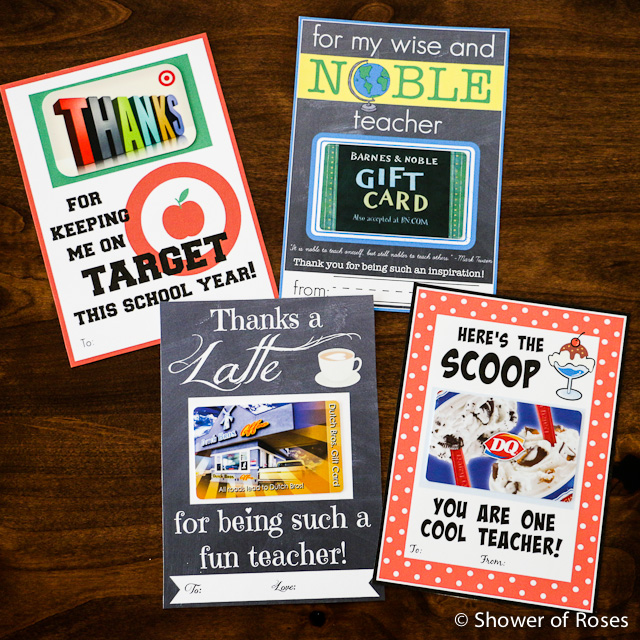
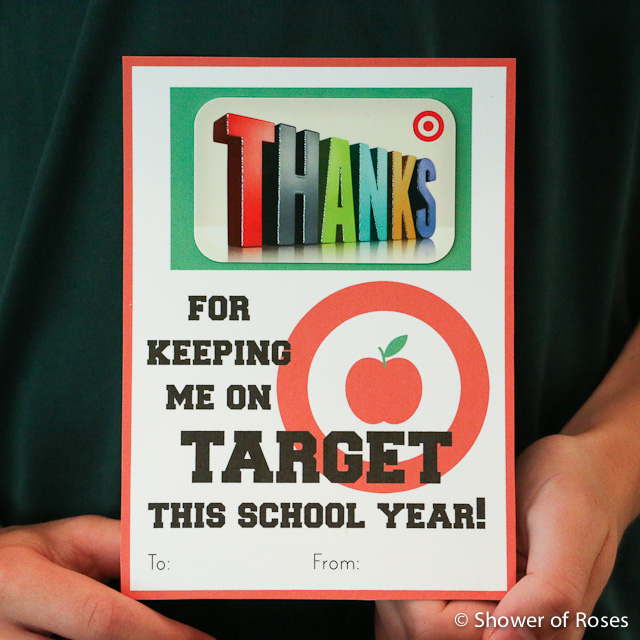
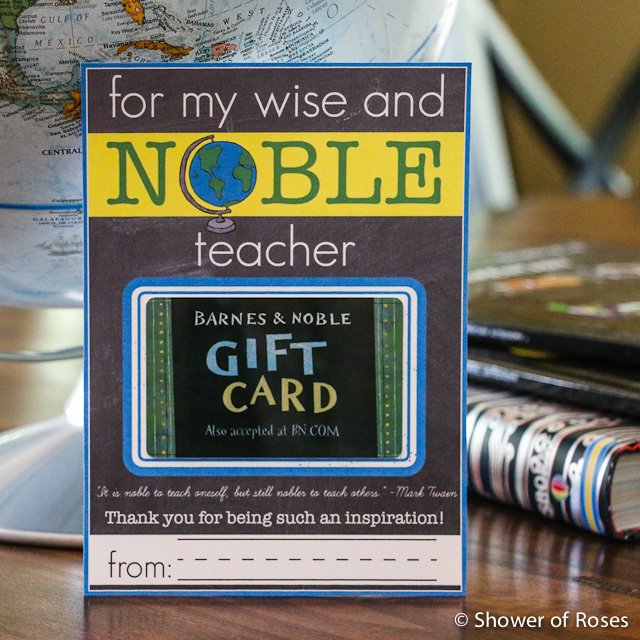
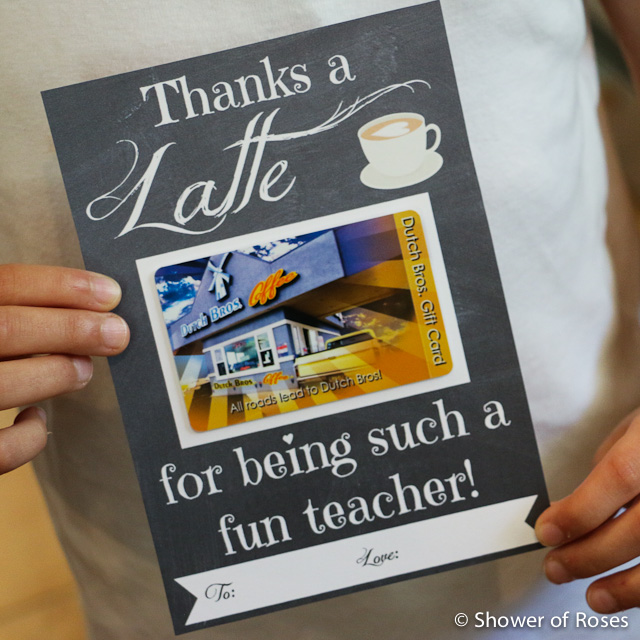
Teacher Appreciation Gifts {with Free Printables!}

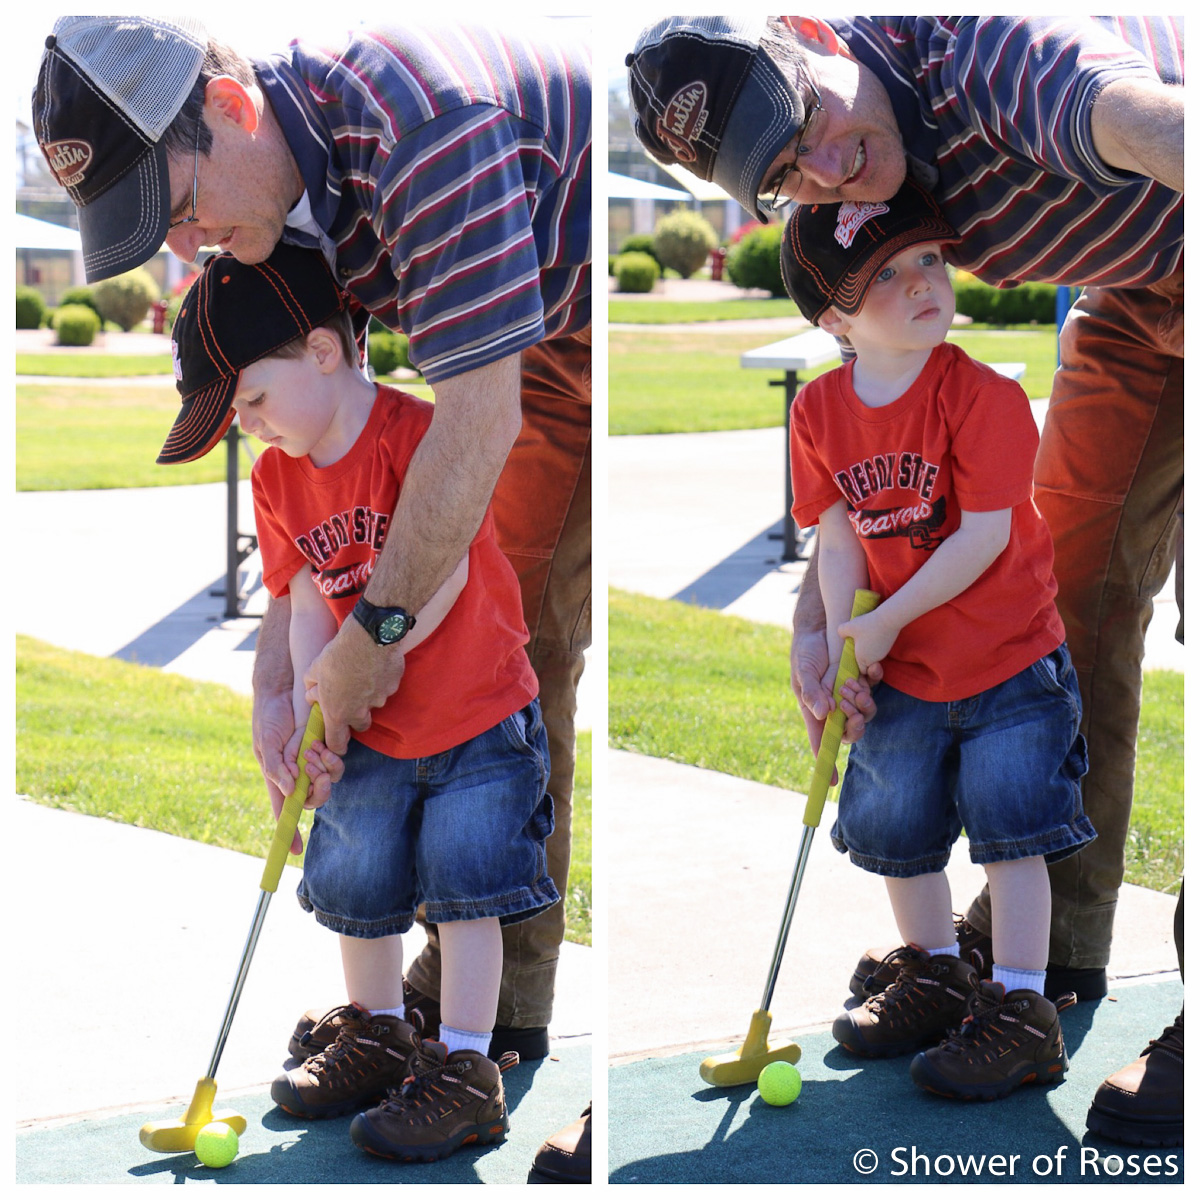
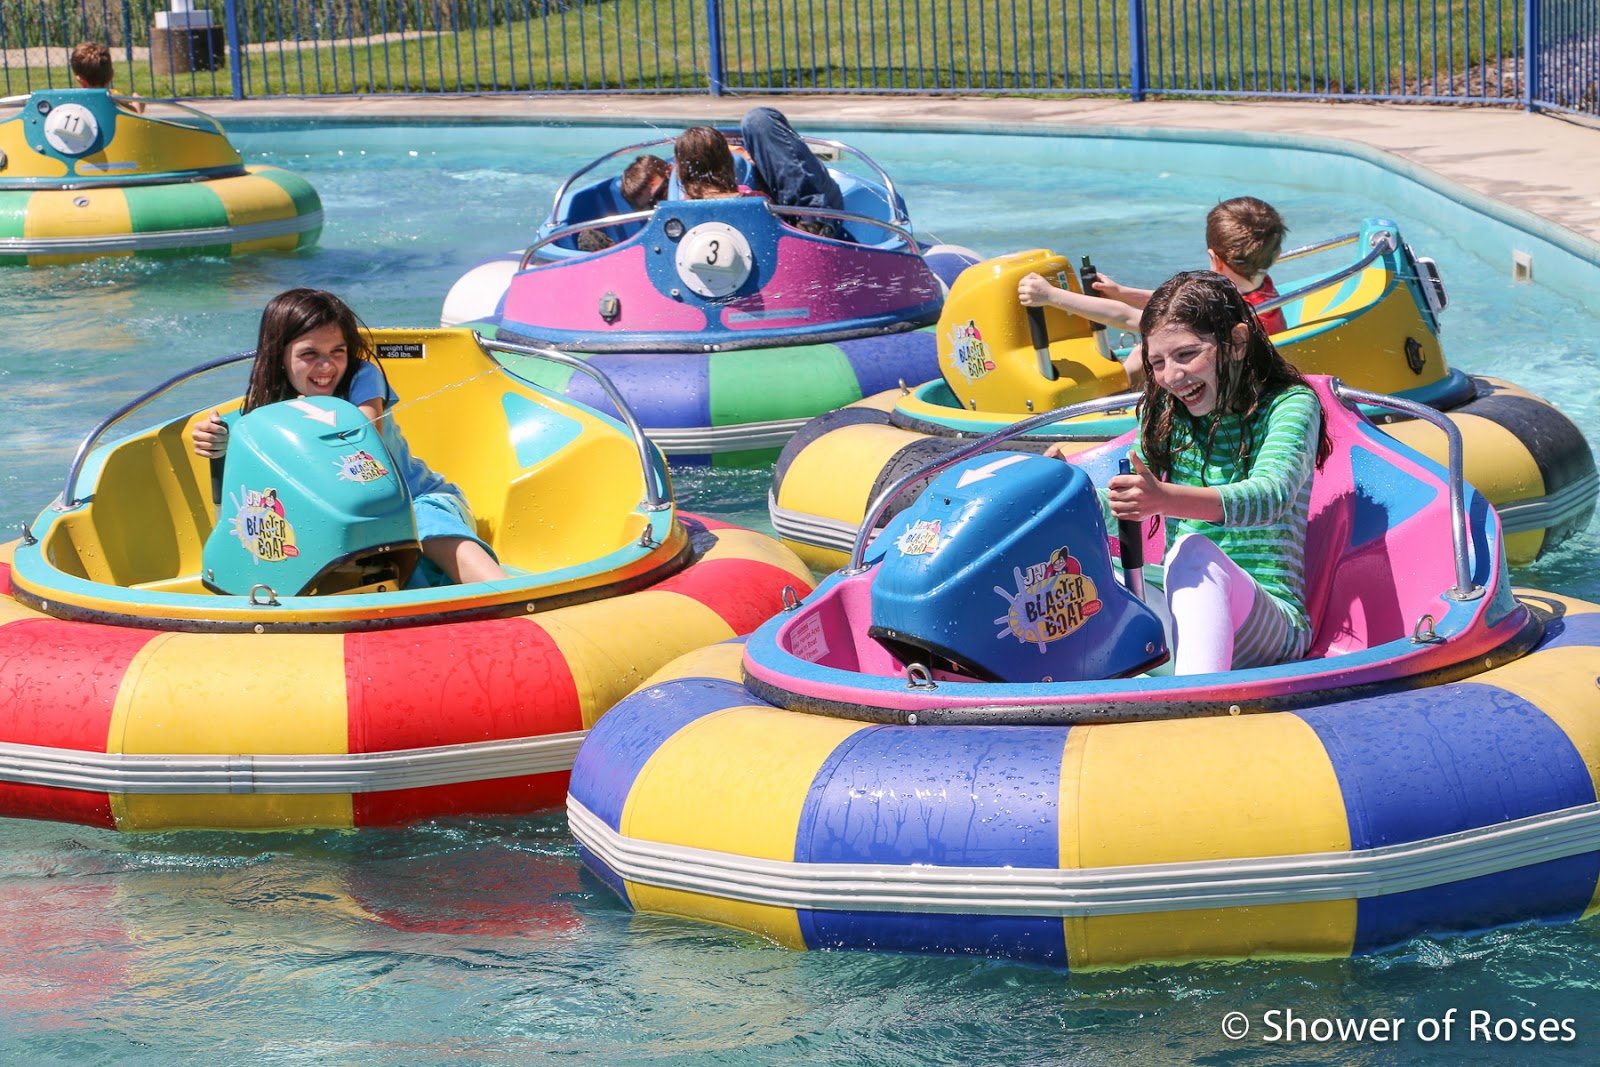
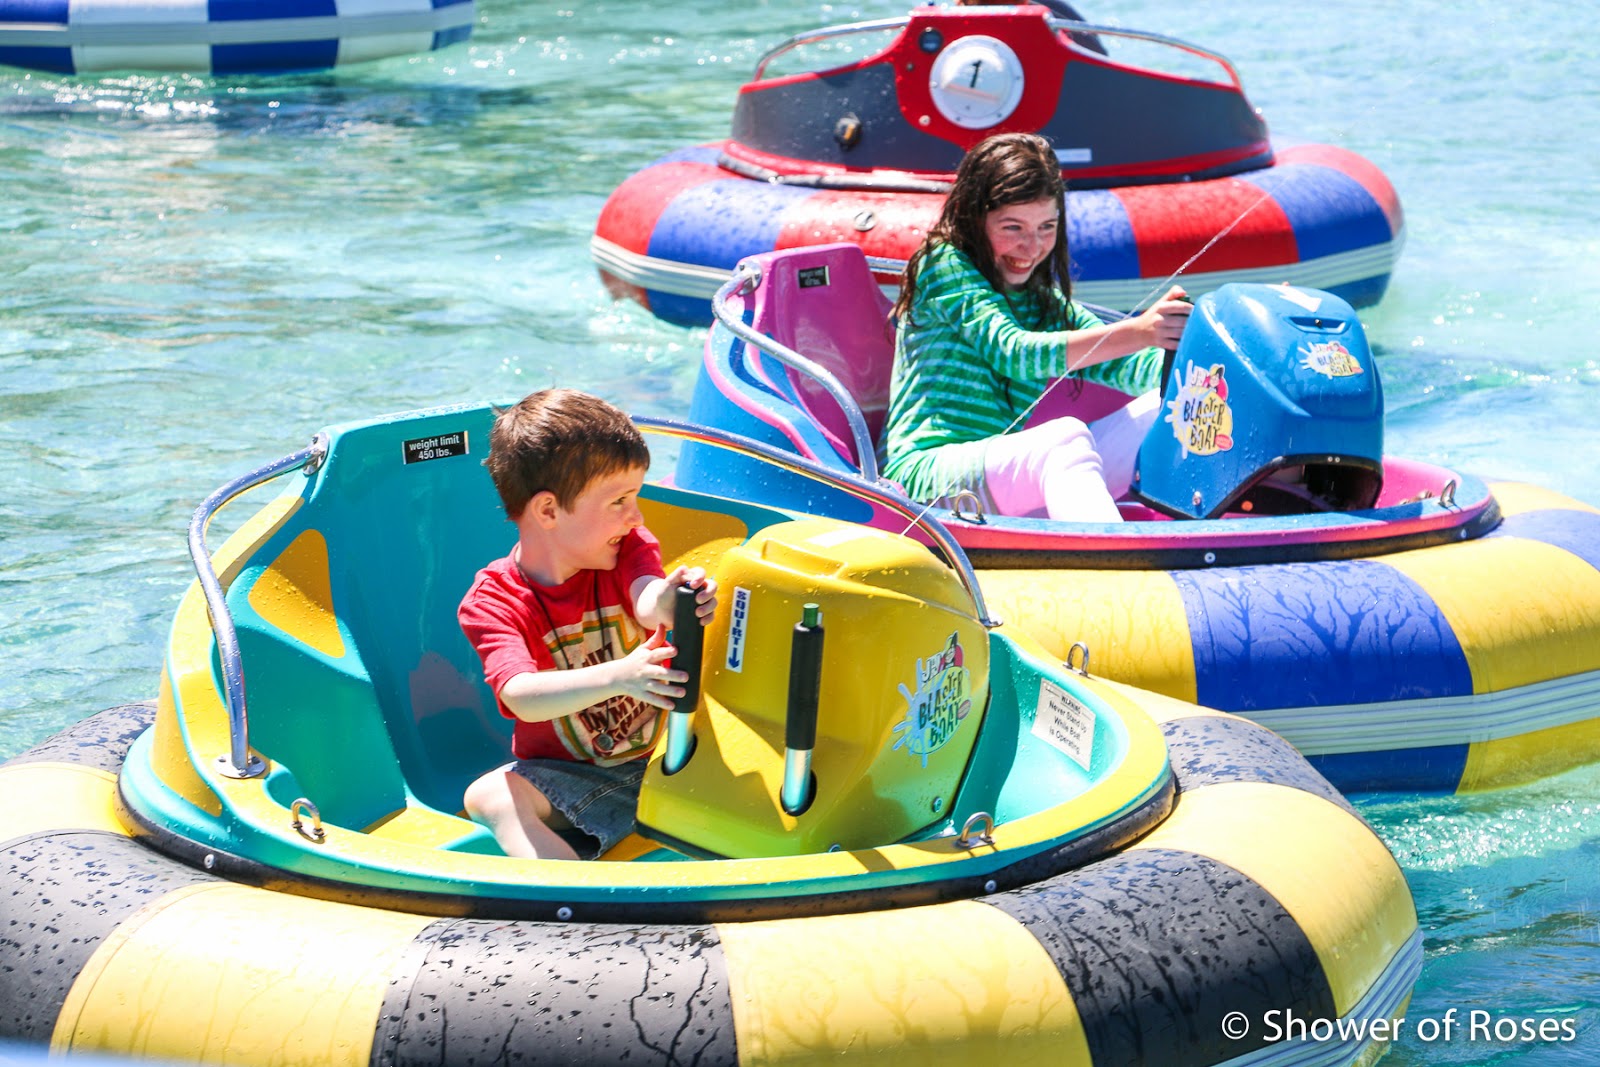
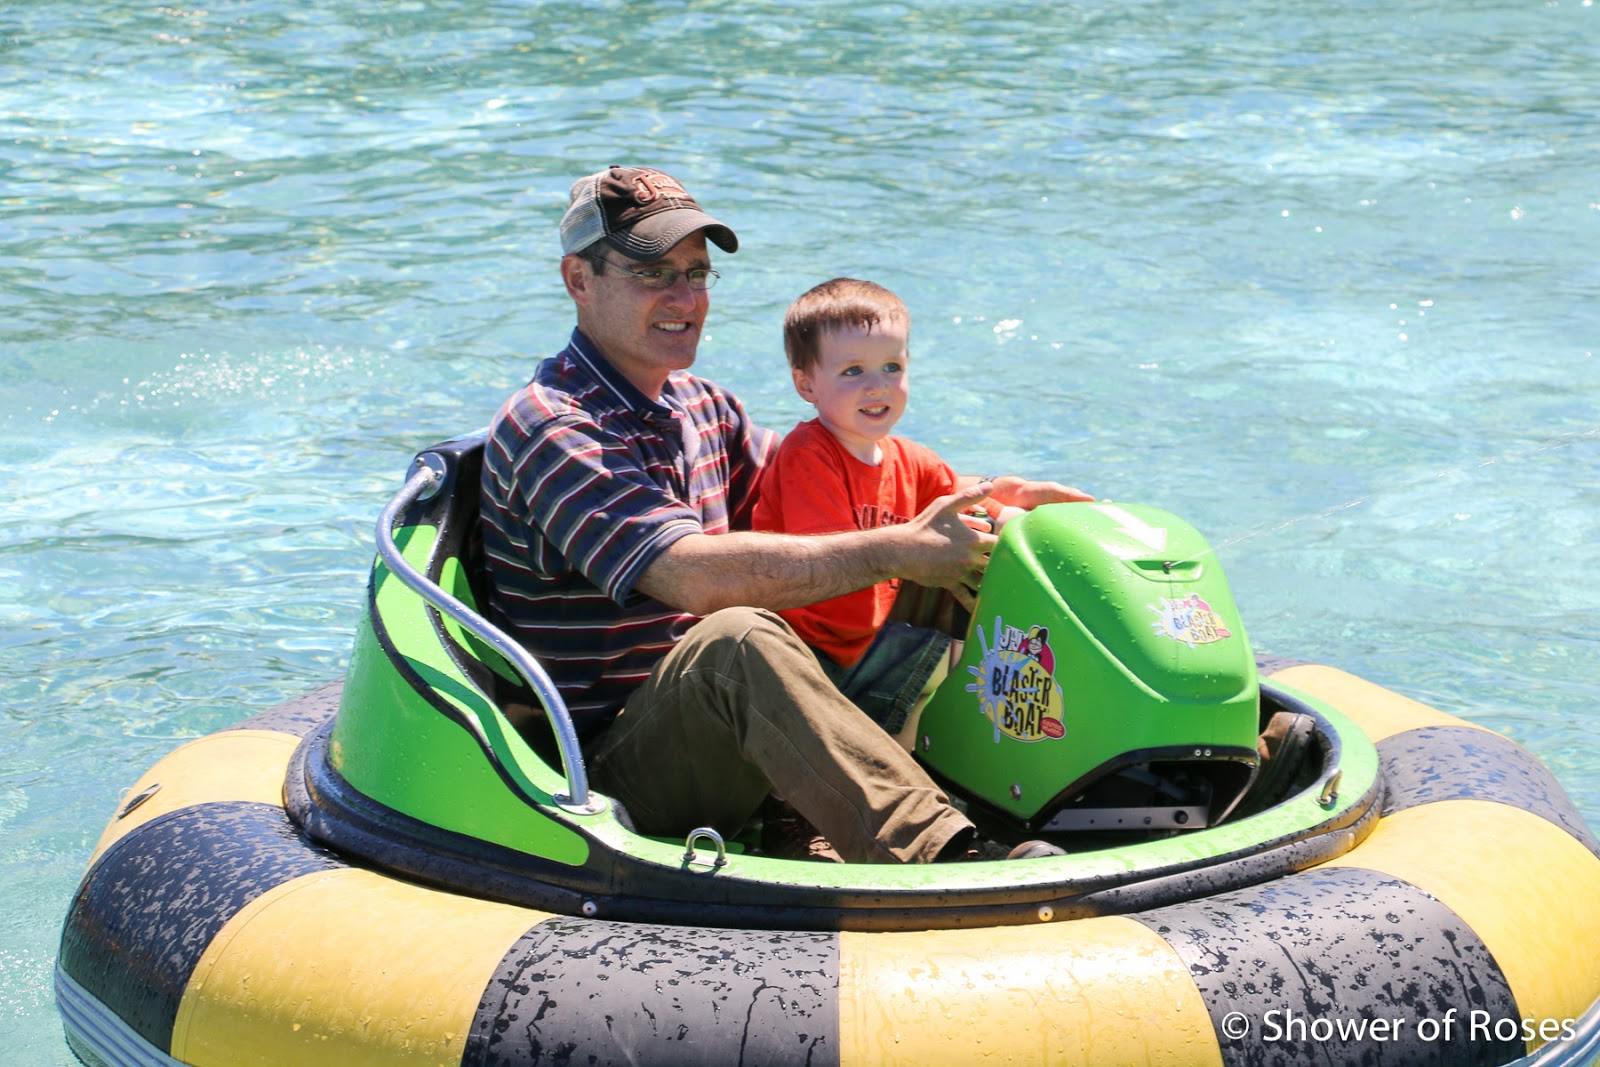
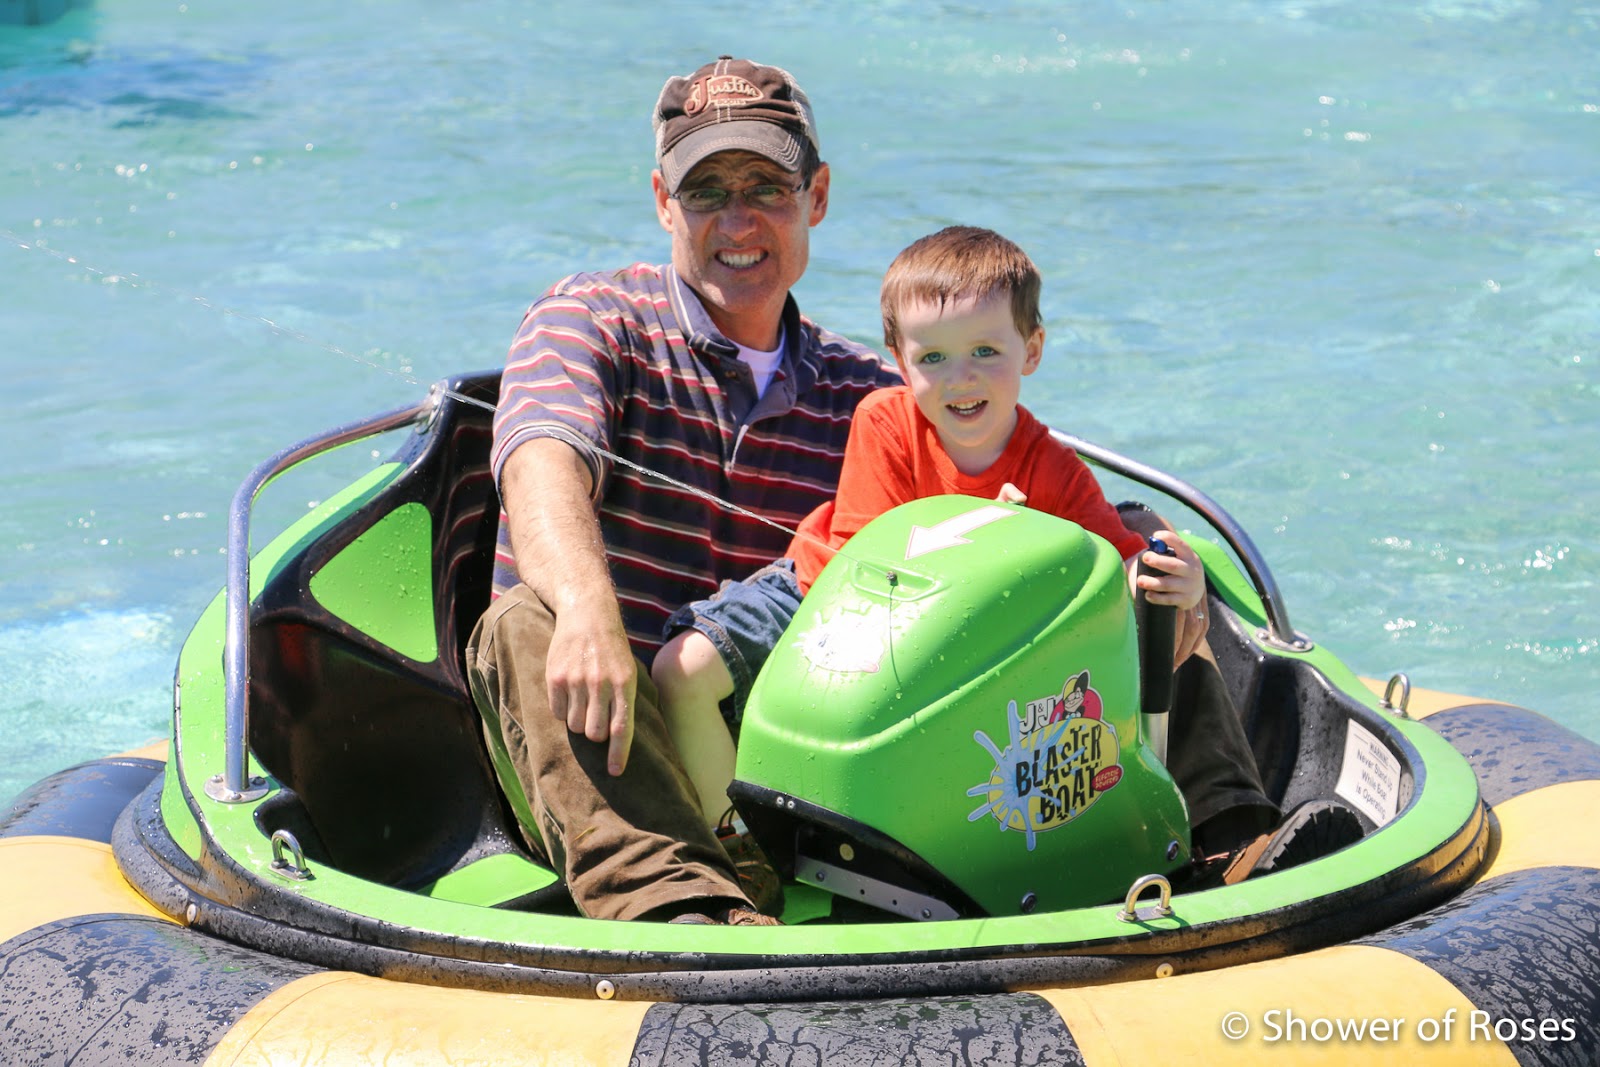
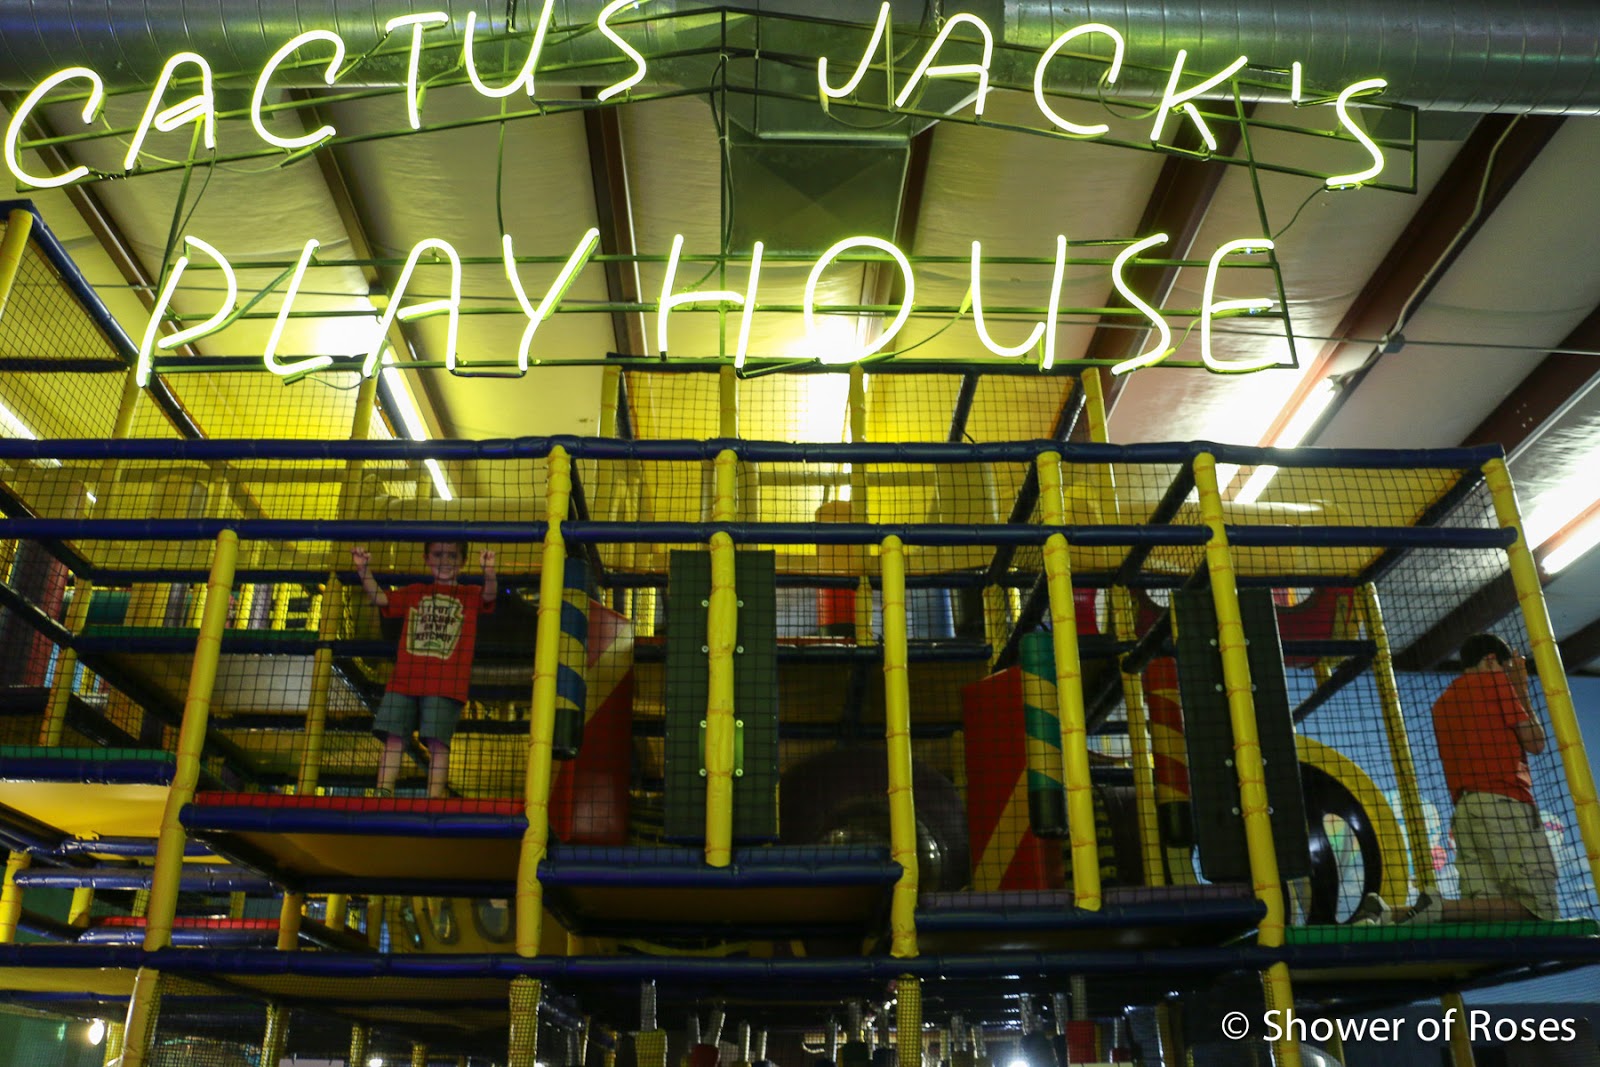
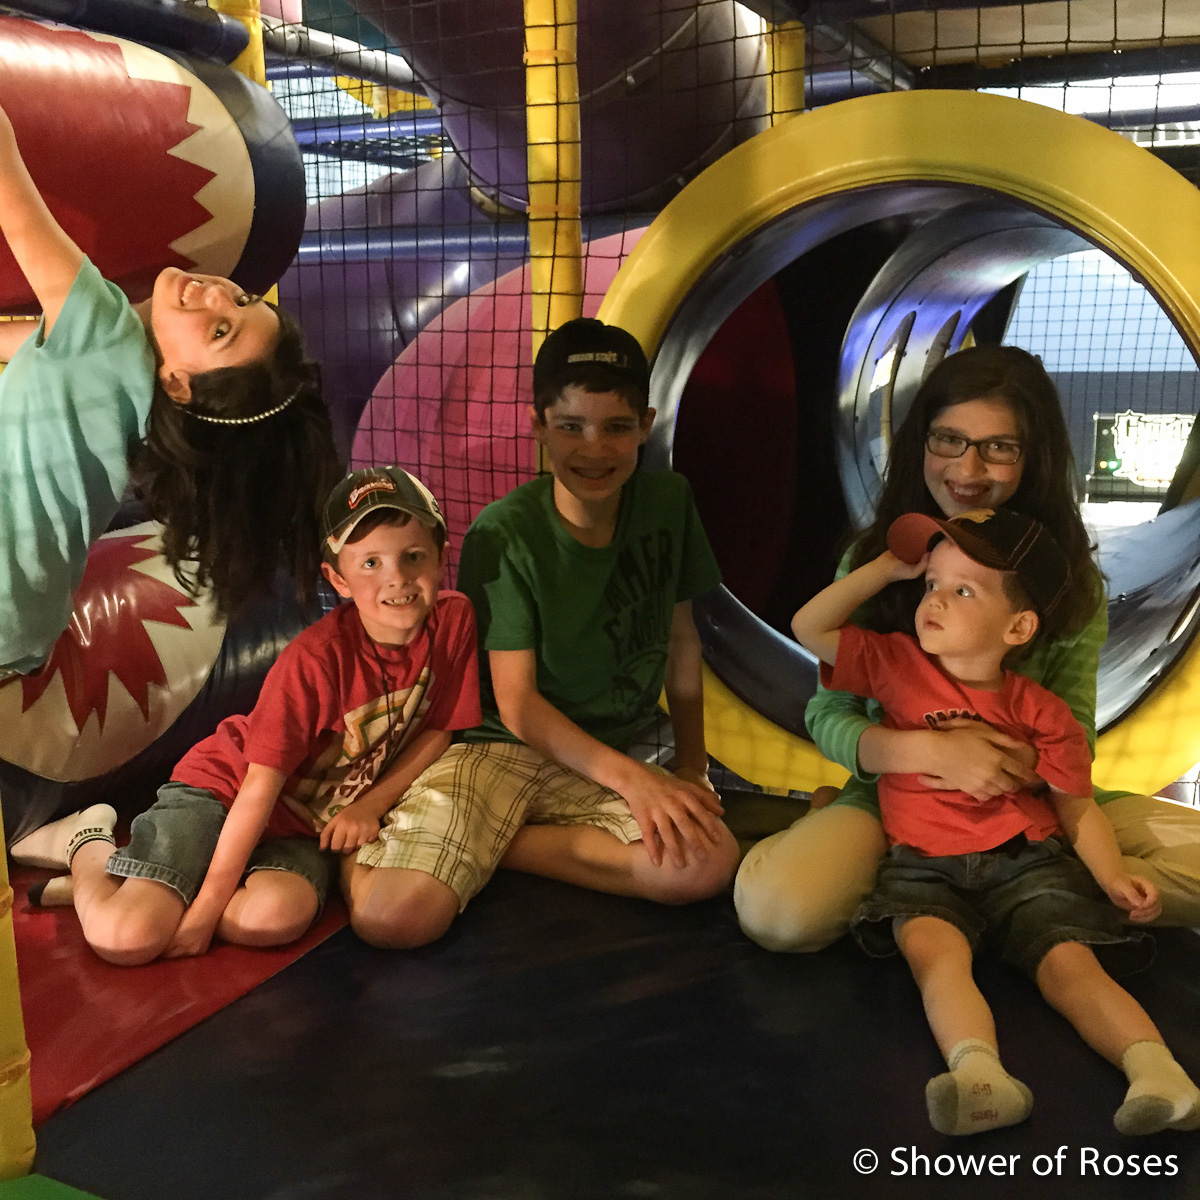
End-of-School Party at the Family Fun Center
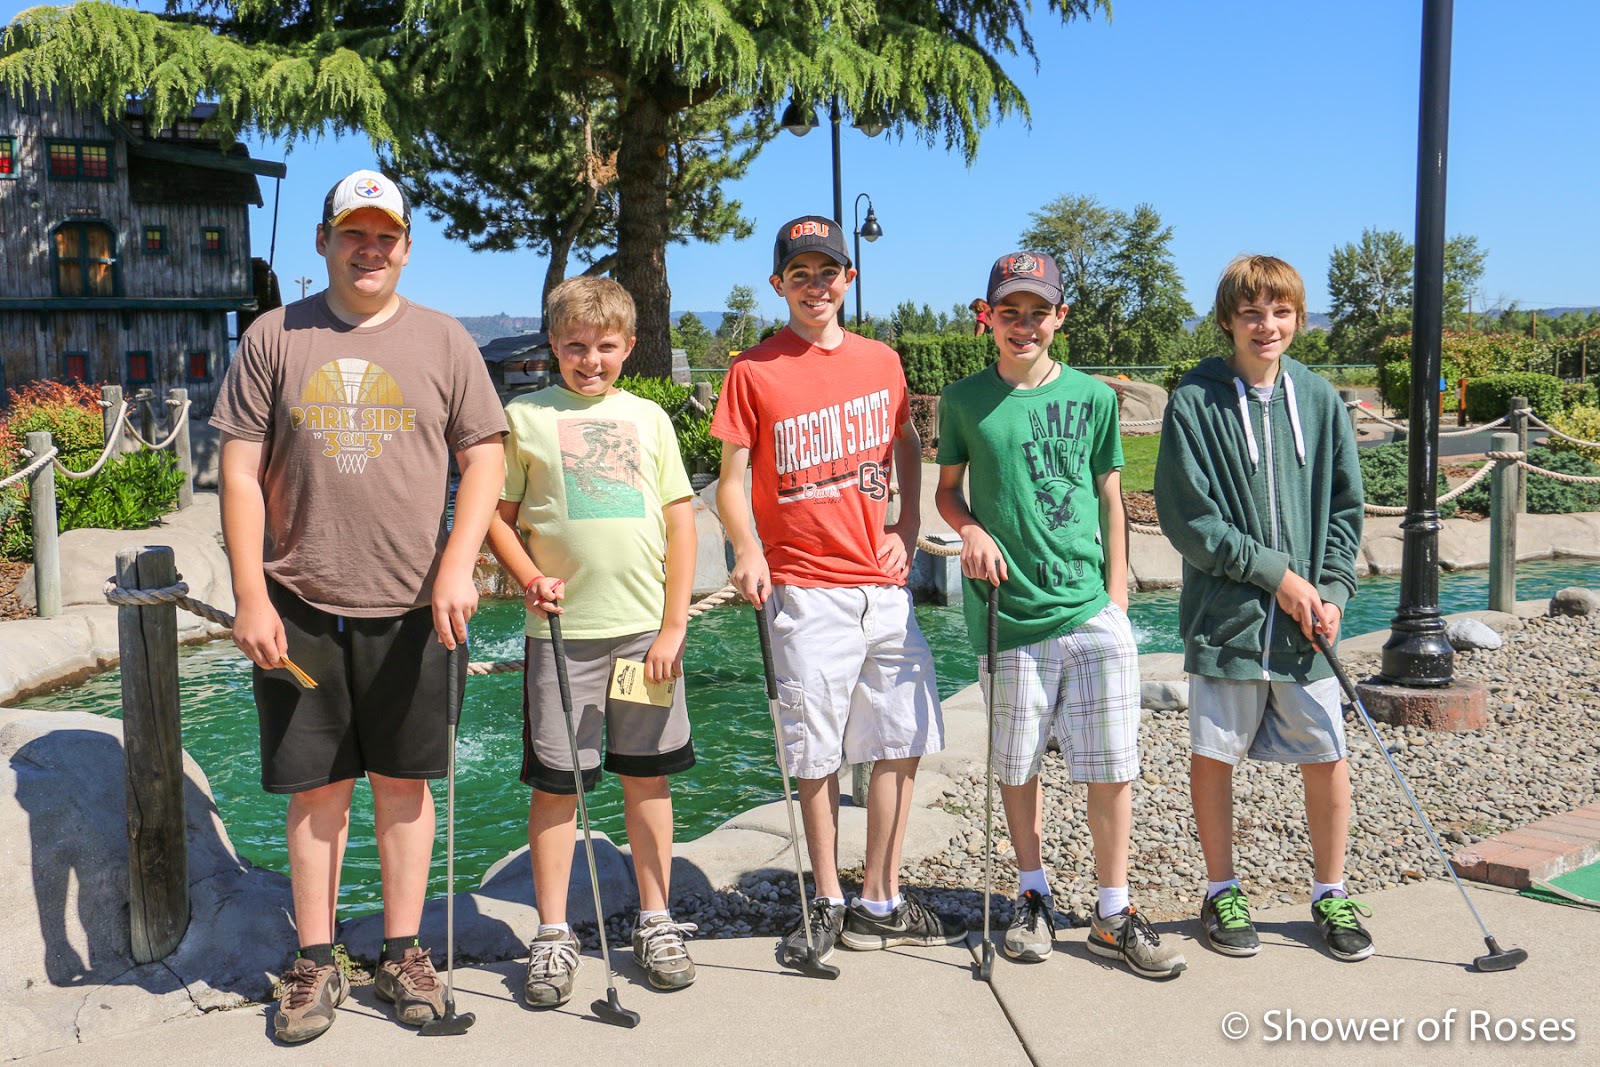
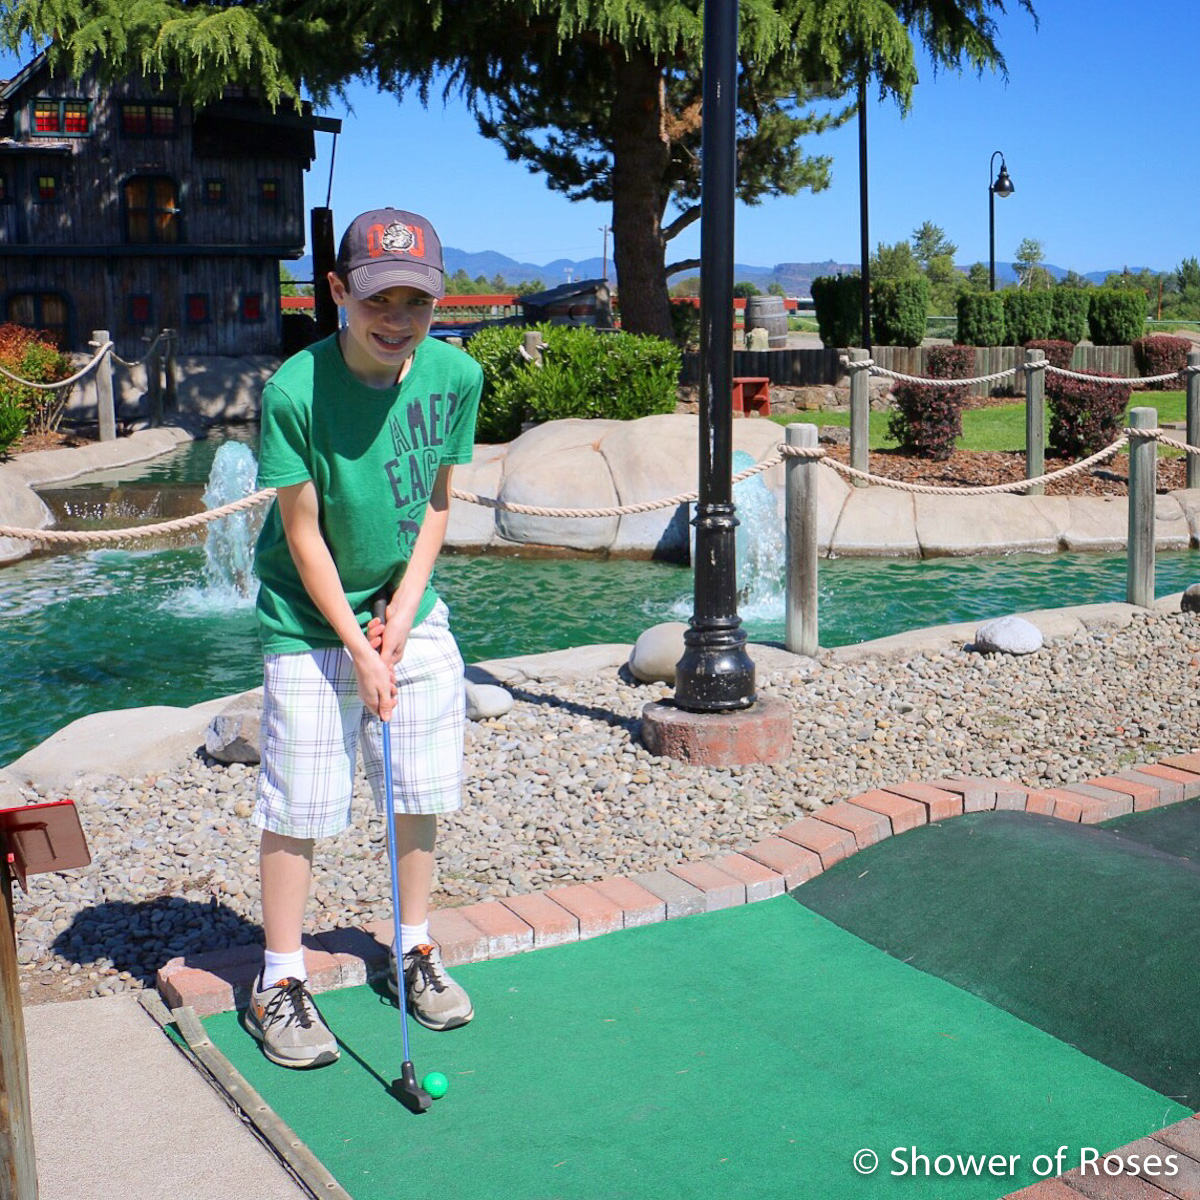
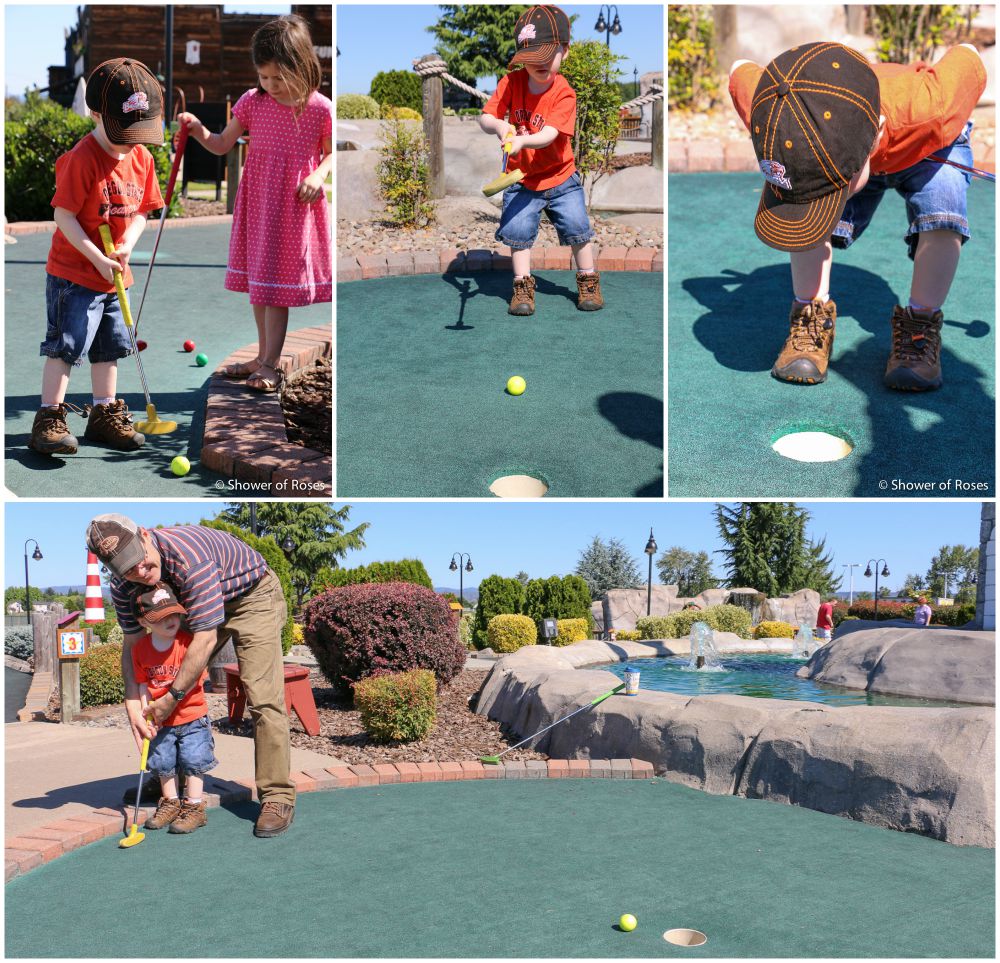
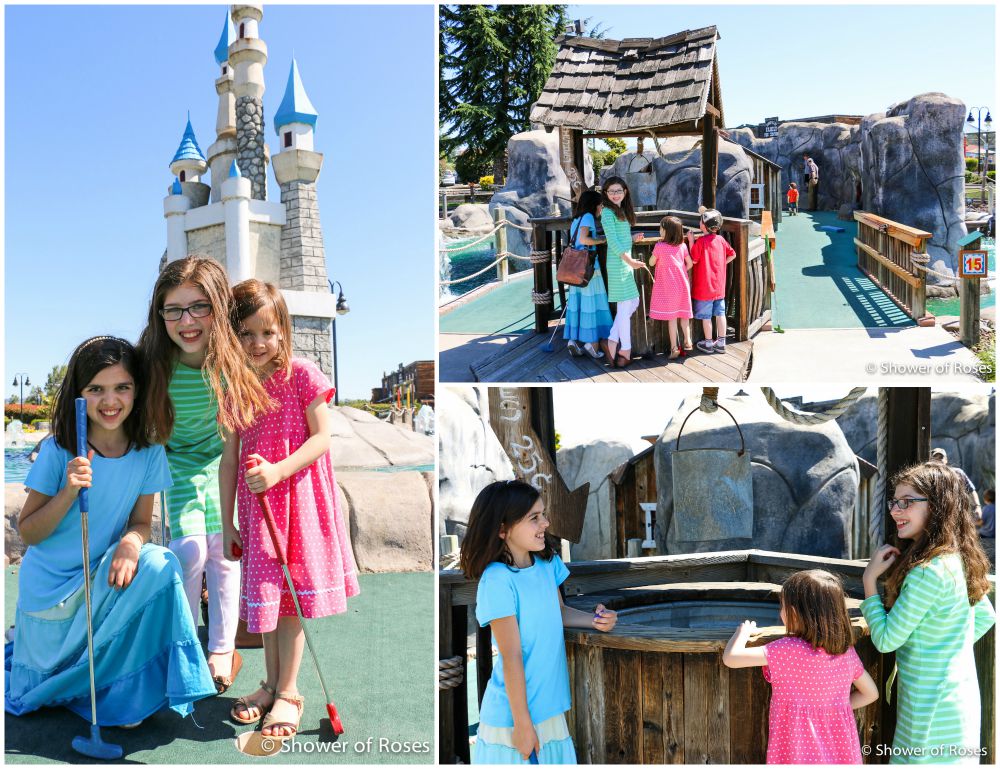
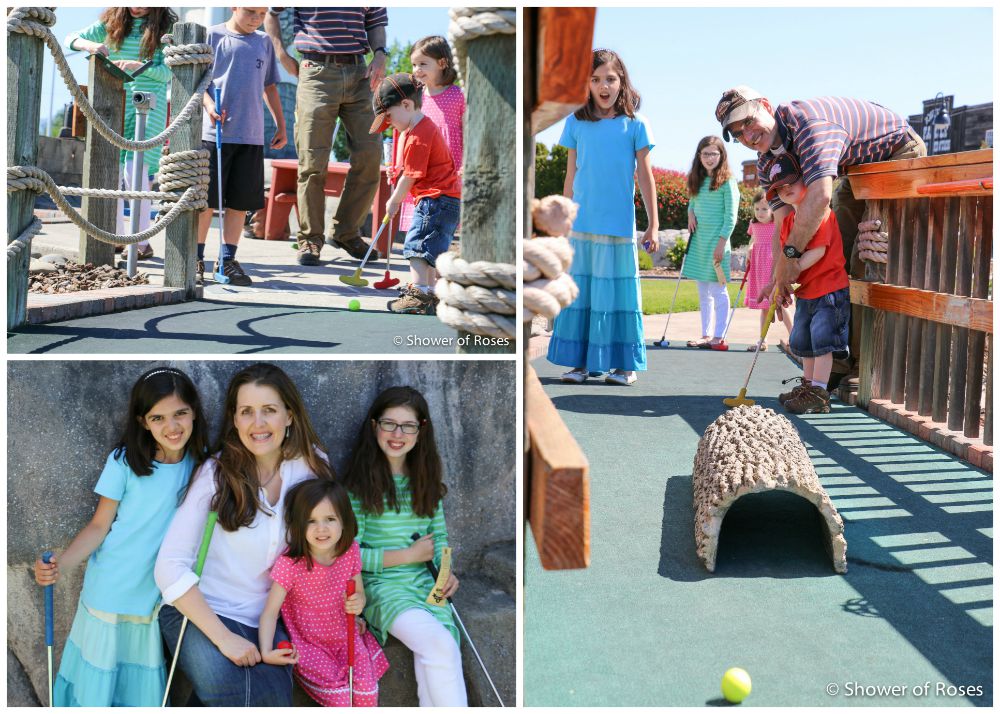
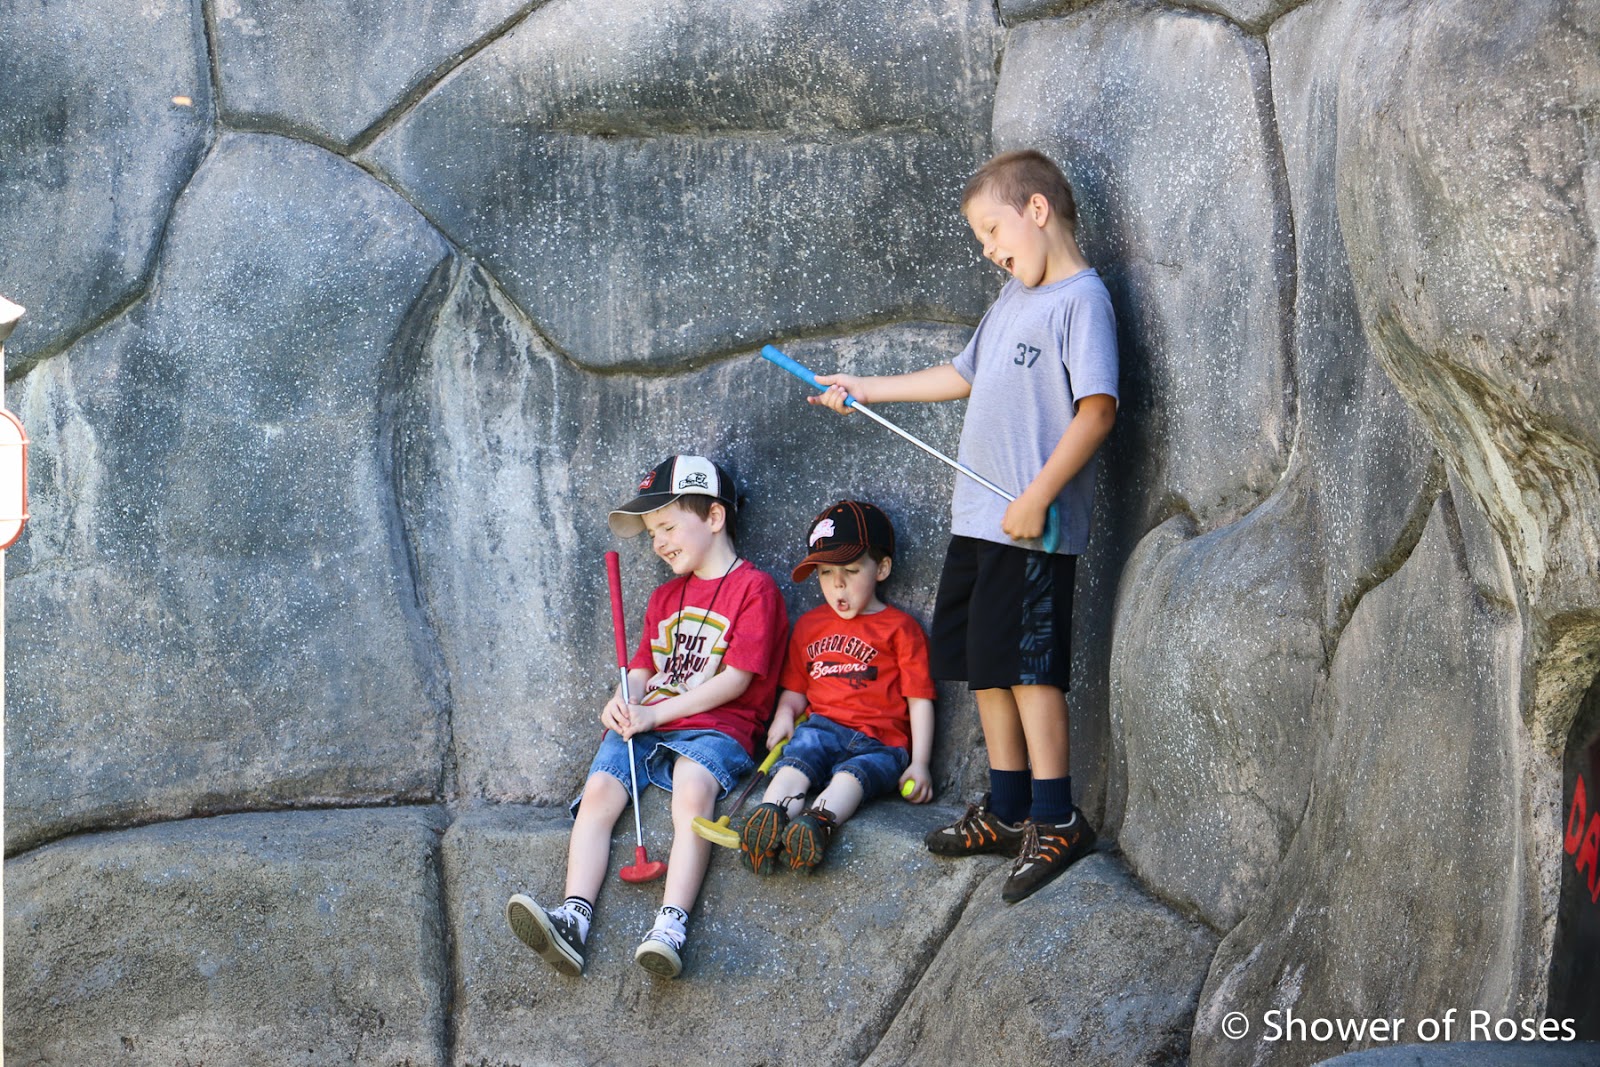
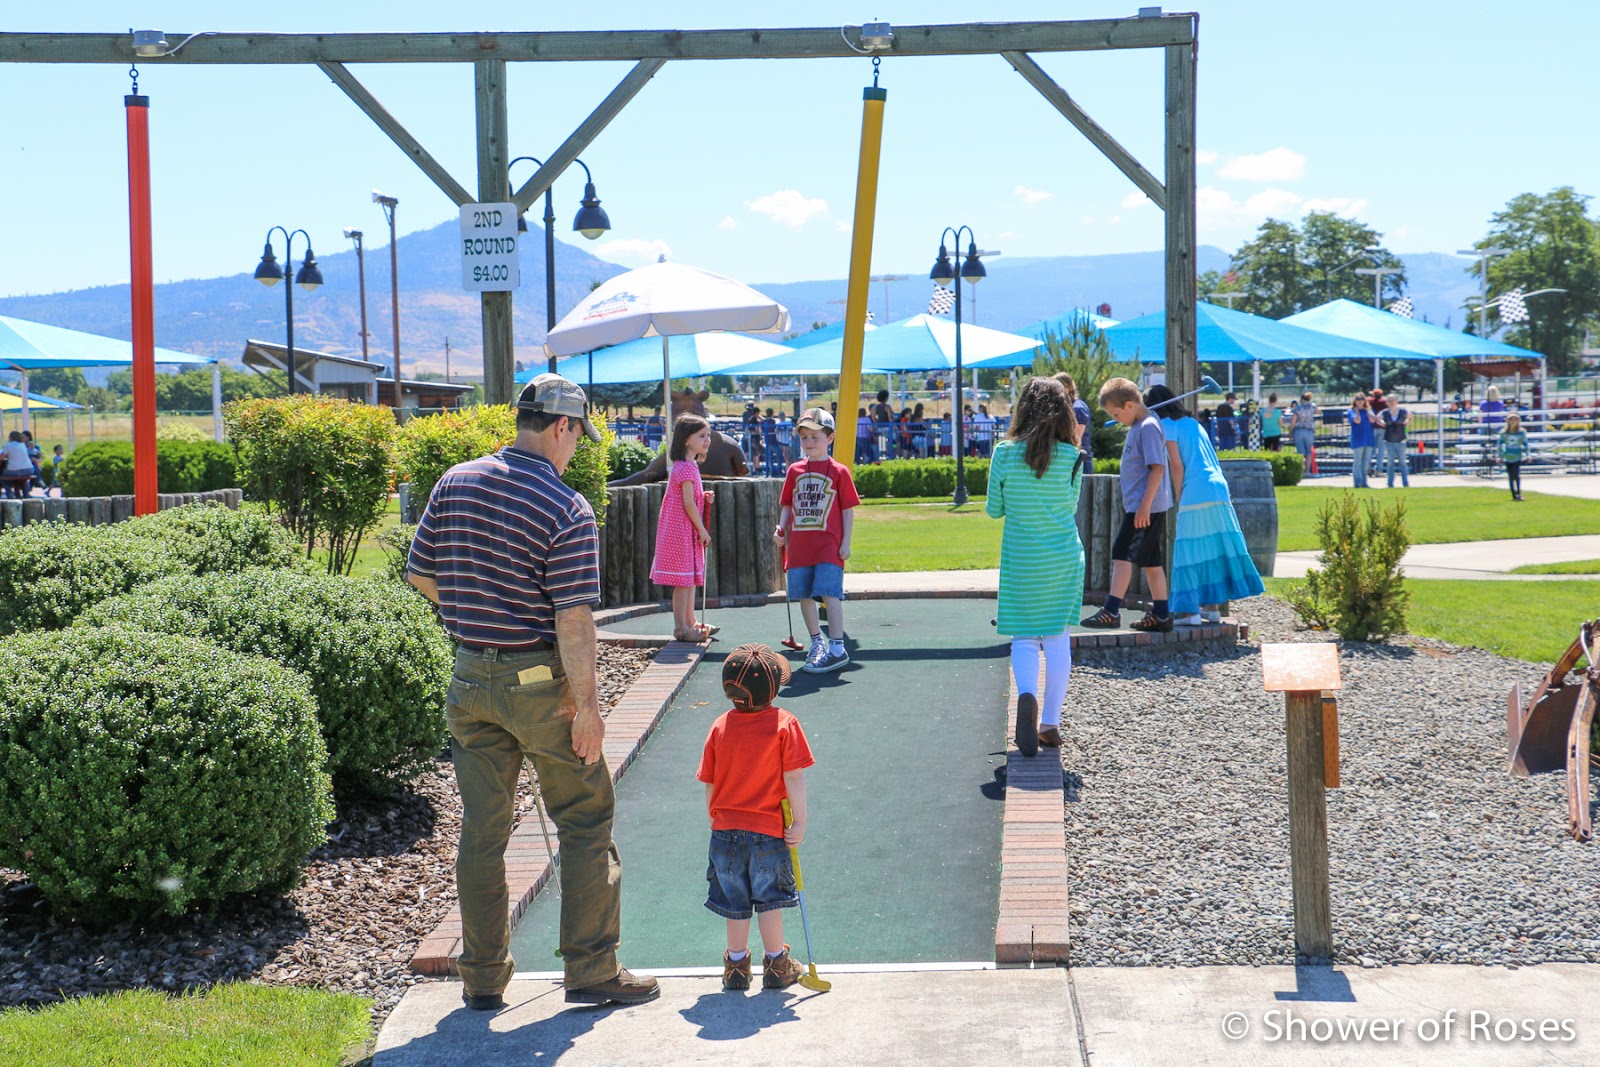
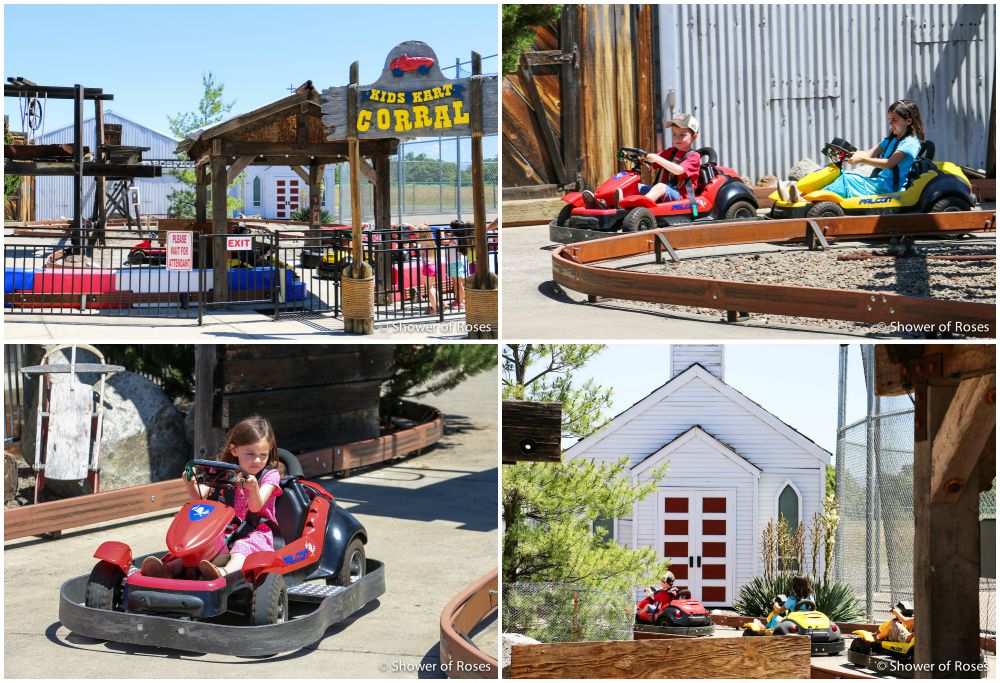

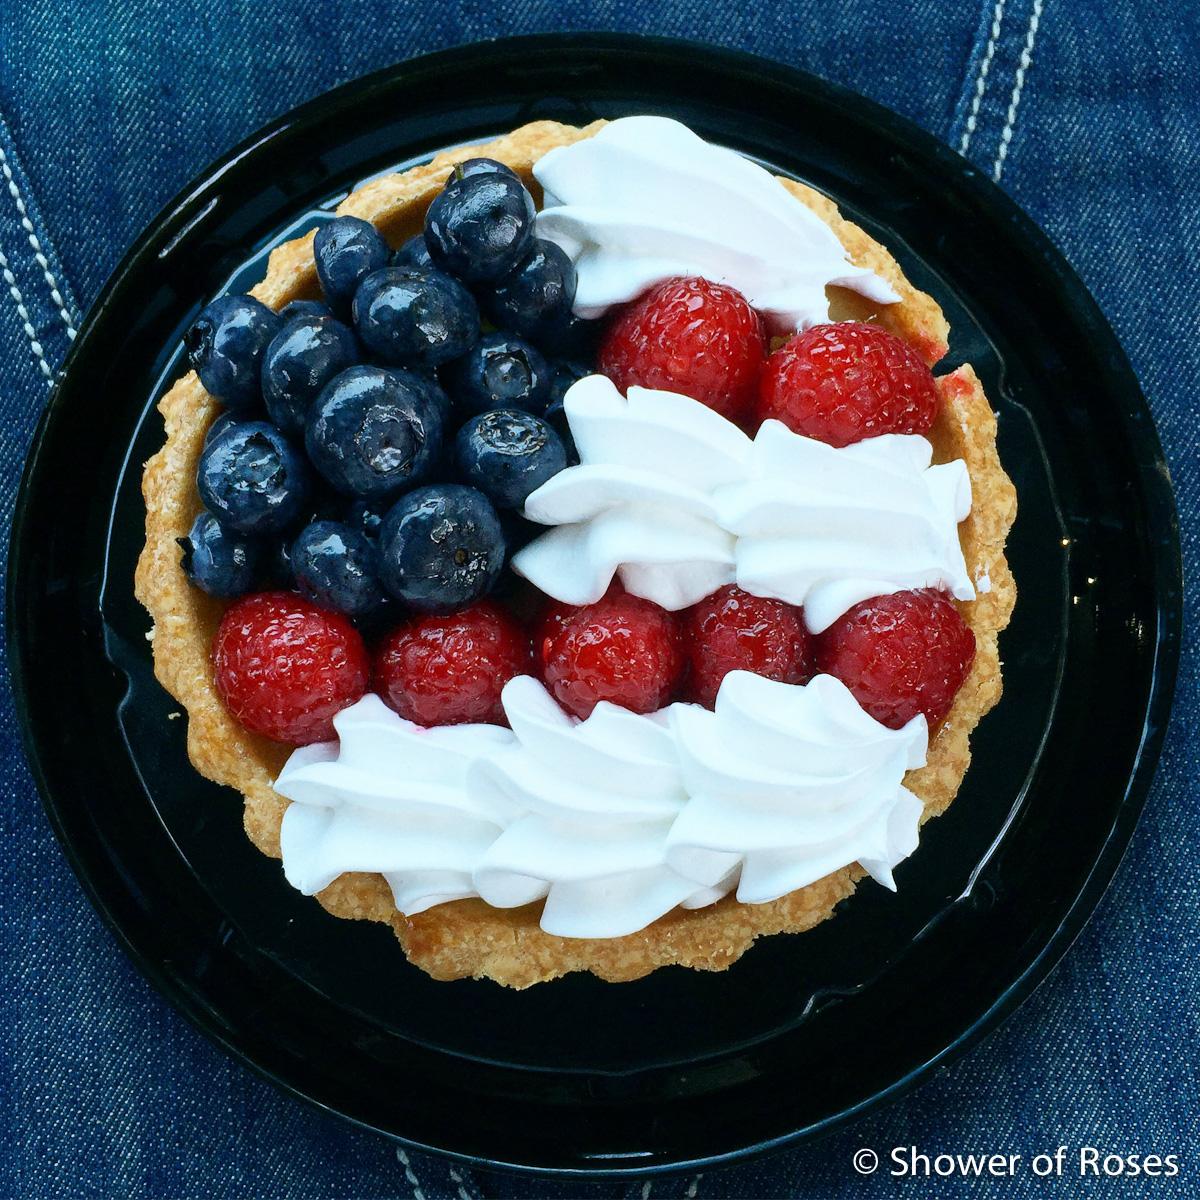
July 4th: Celebrating Our Traditional American Family

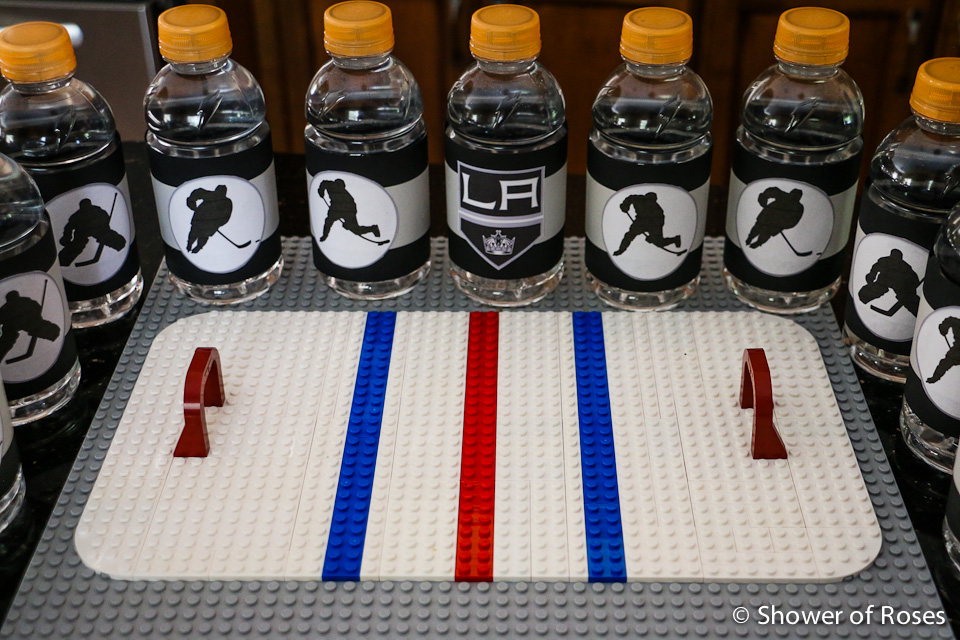
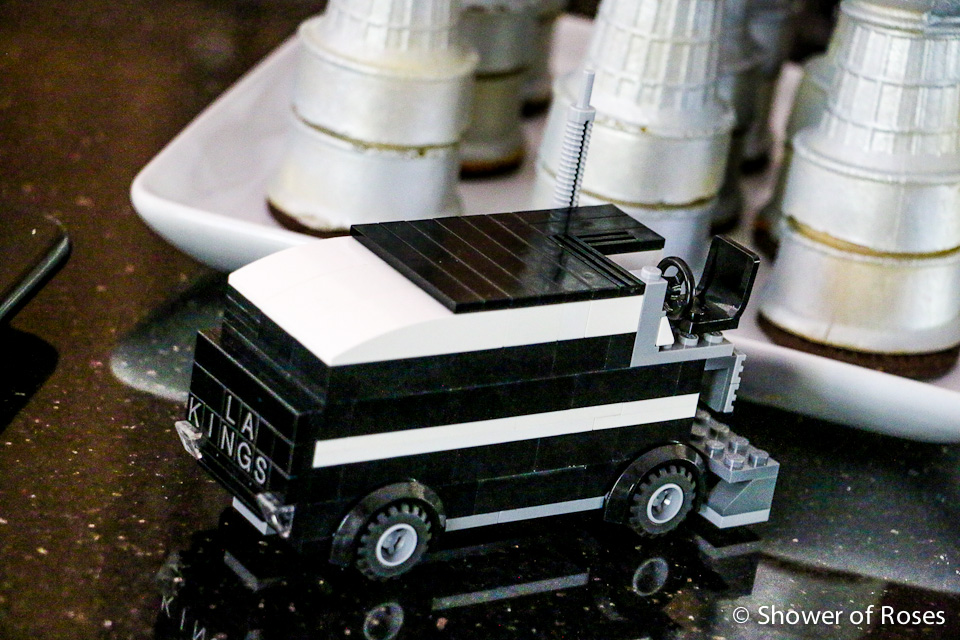
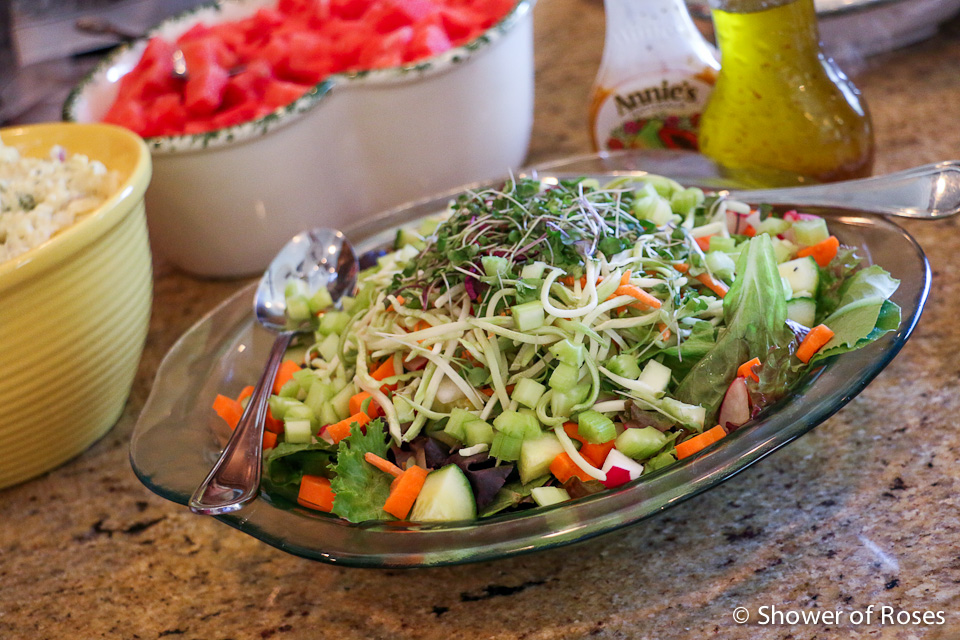
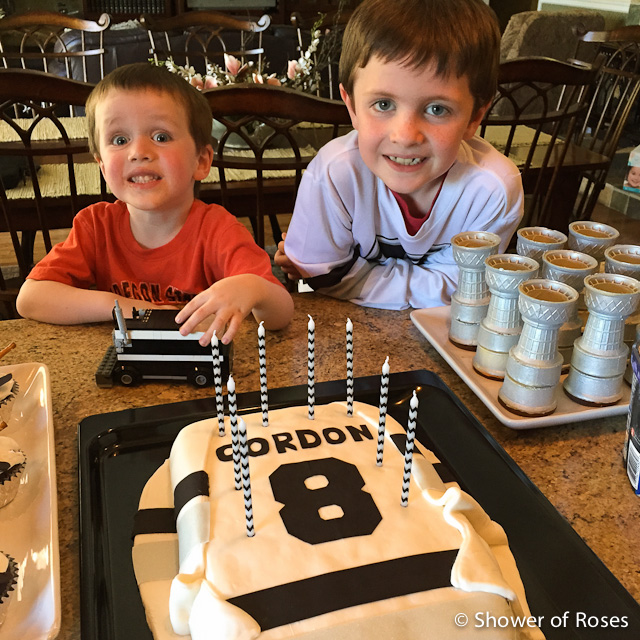
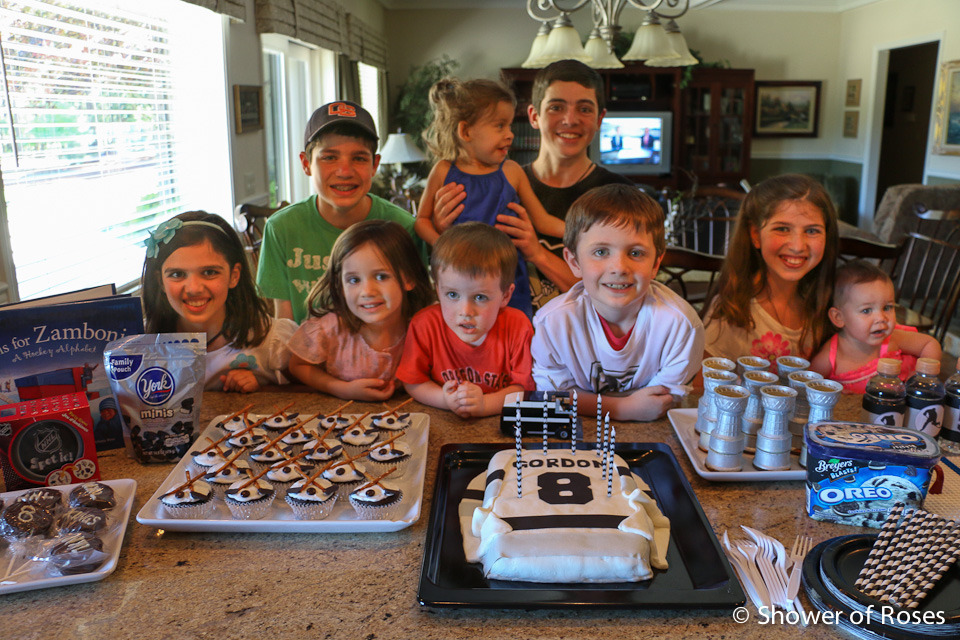
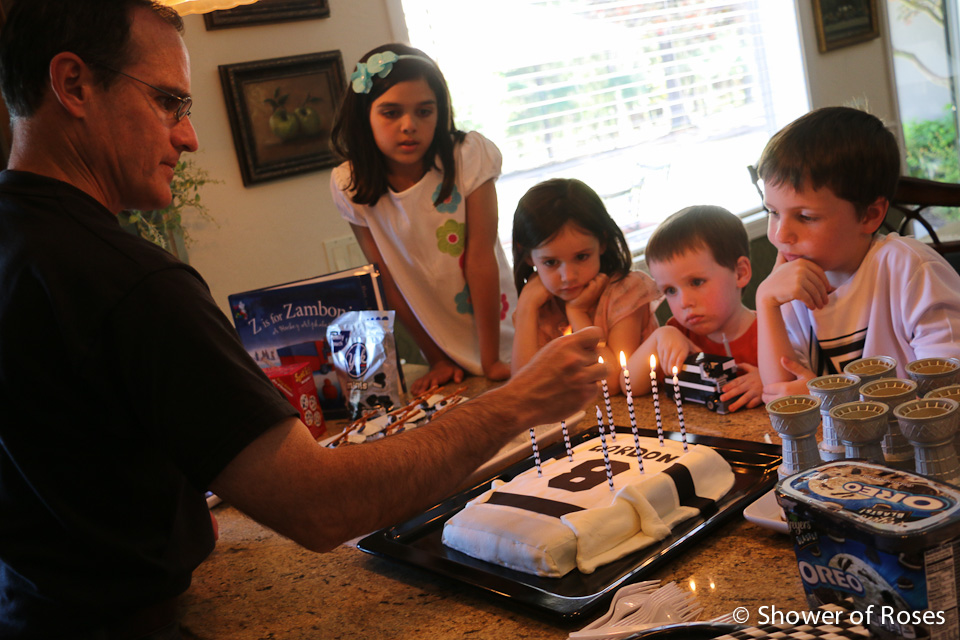
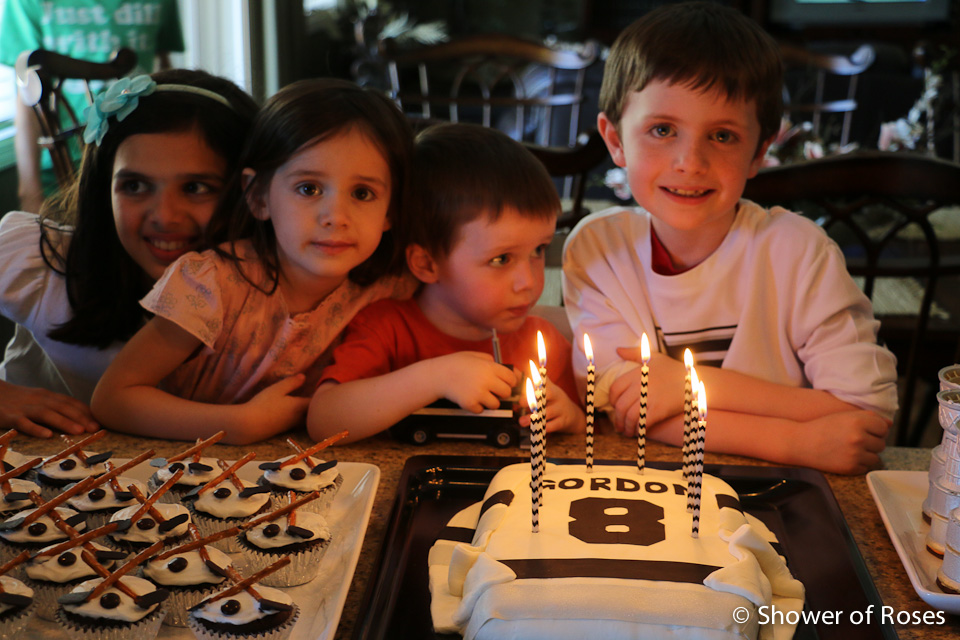
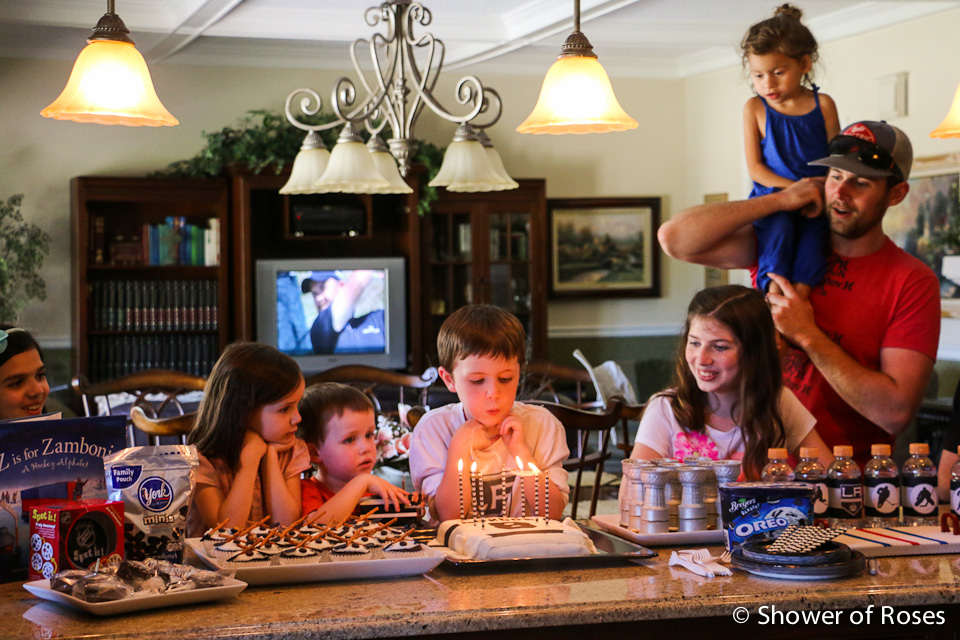
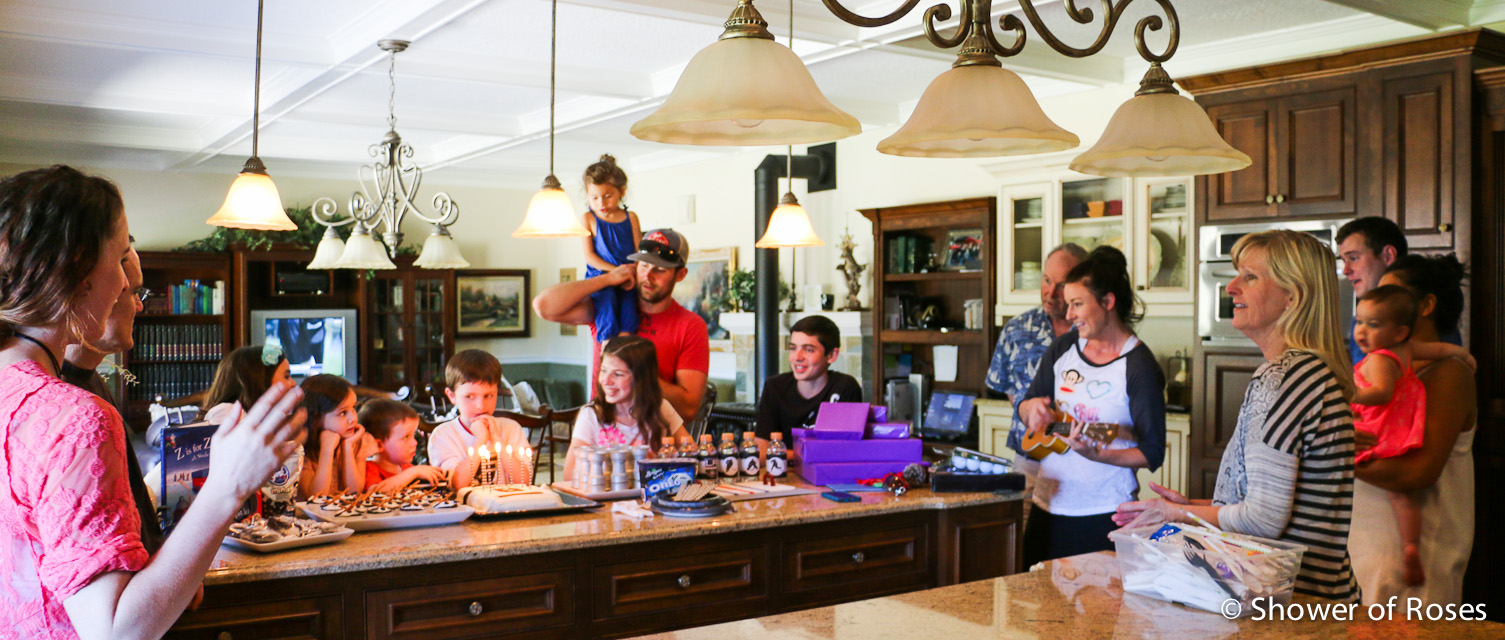
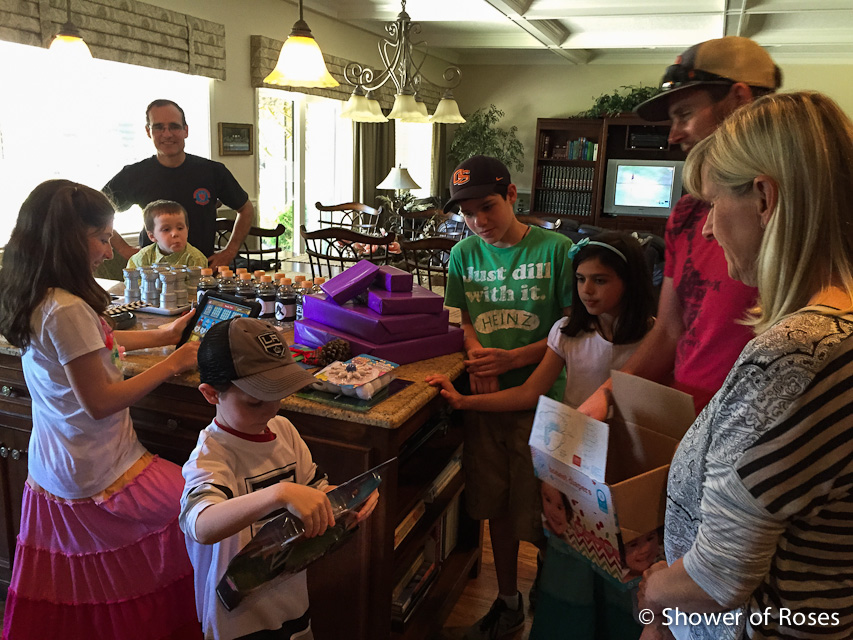
A Hockey Birthday
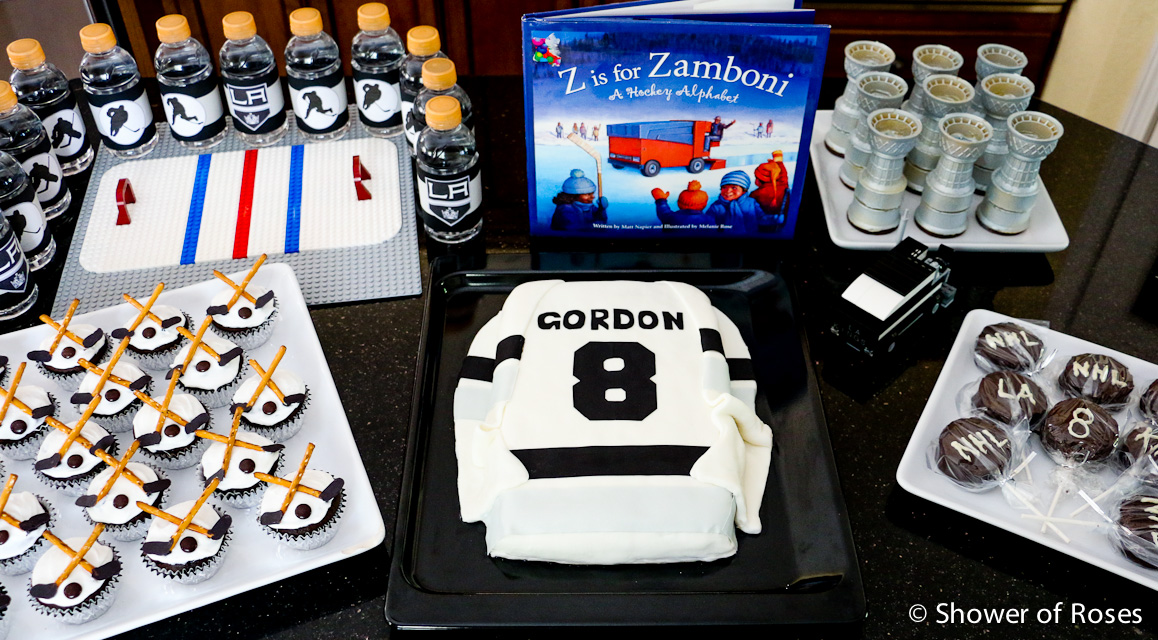
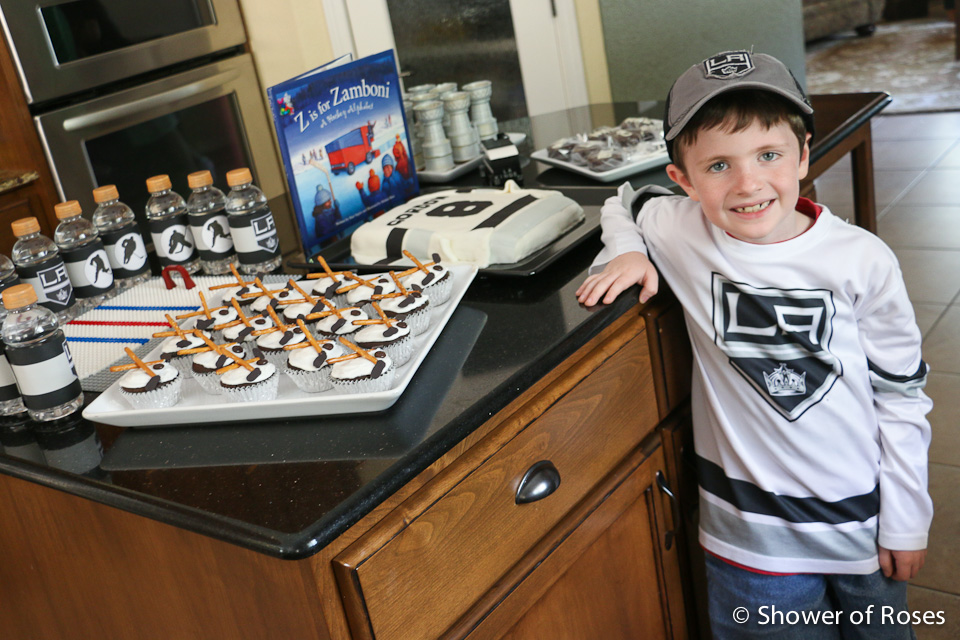
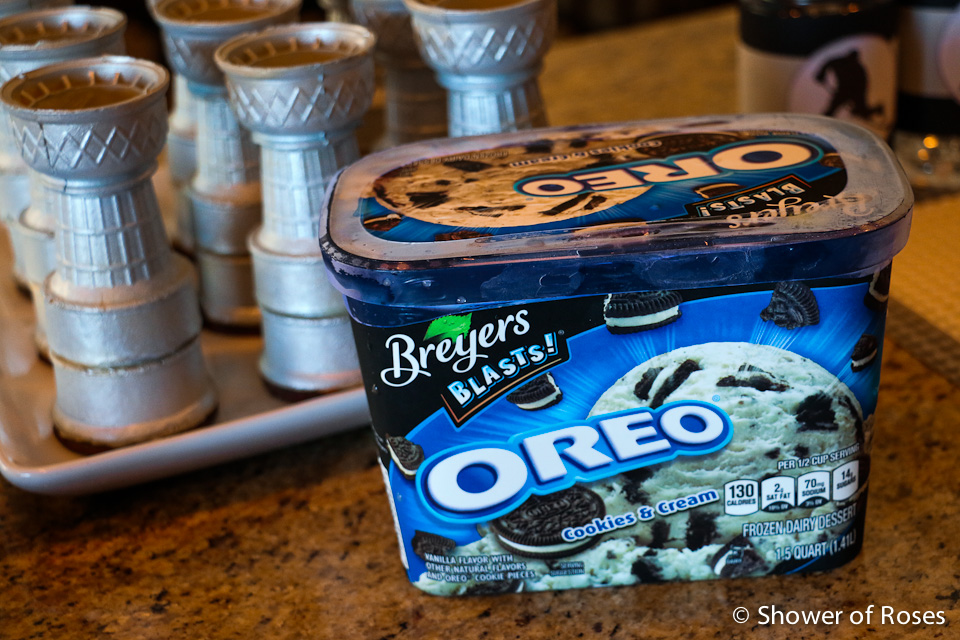
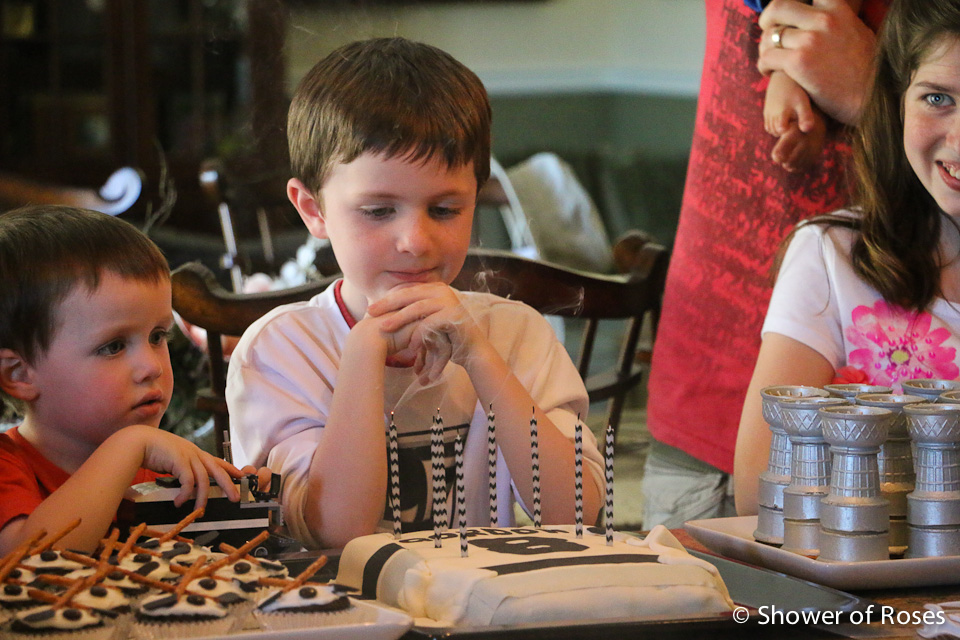
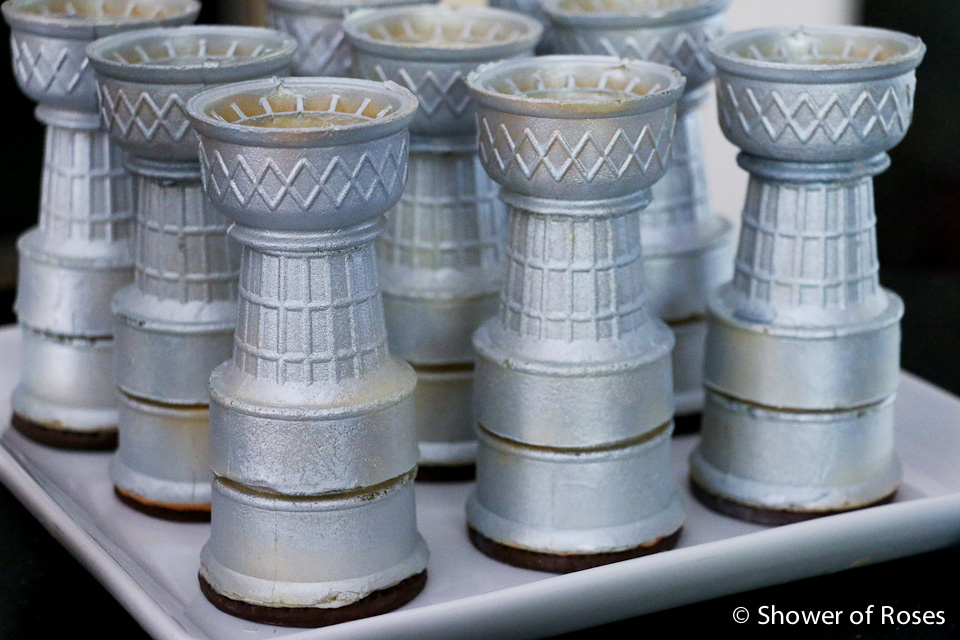
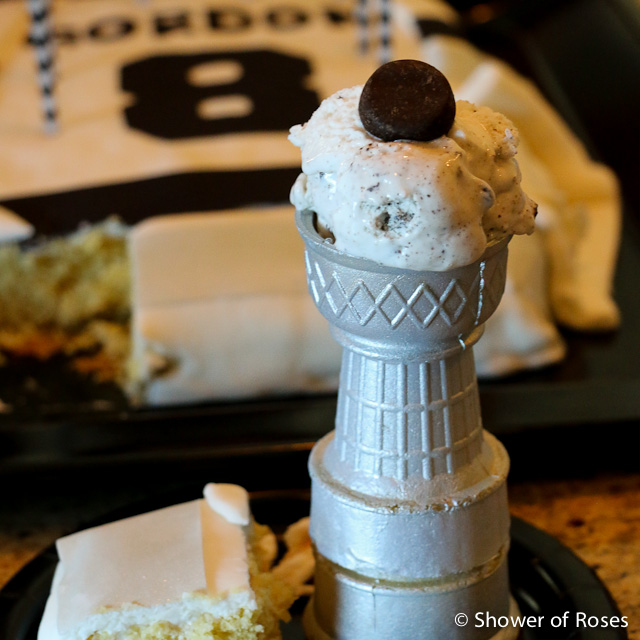
He was so excited when he woke up to discover his Hockey Jersey Birthday Cake, the Face-off Puck Cakes, the Stanley Cup Ice Cream Cones, and all the other treats and decorations we made for his special day.
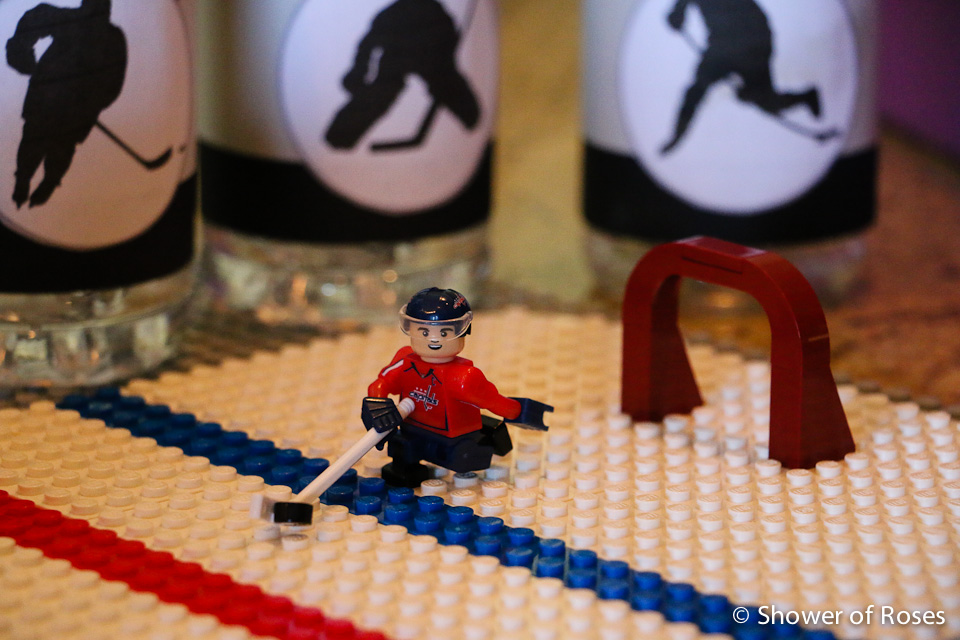 |
| Ranger made sure that the Capitals were still represented! |
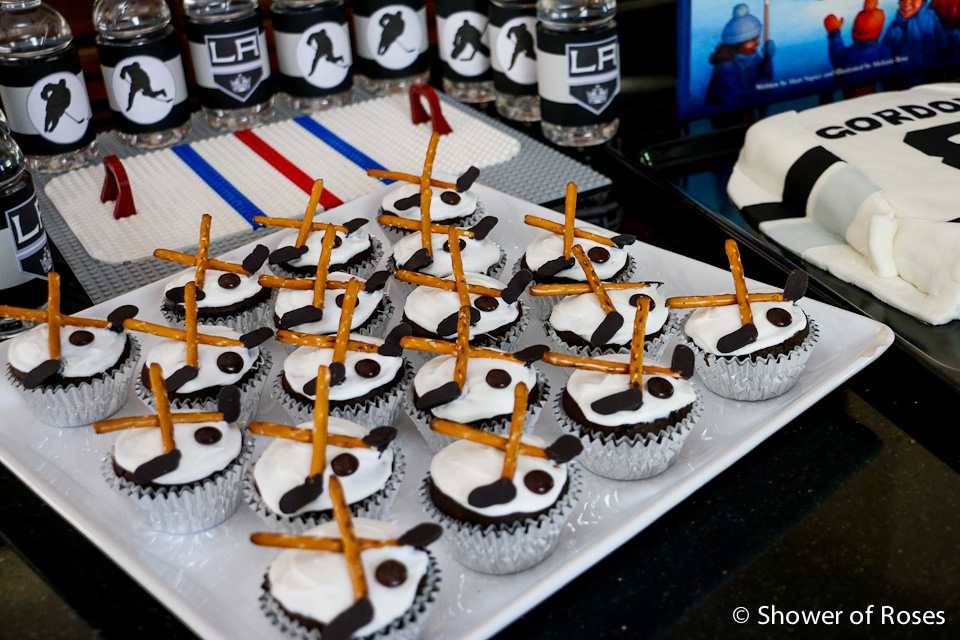

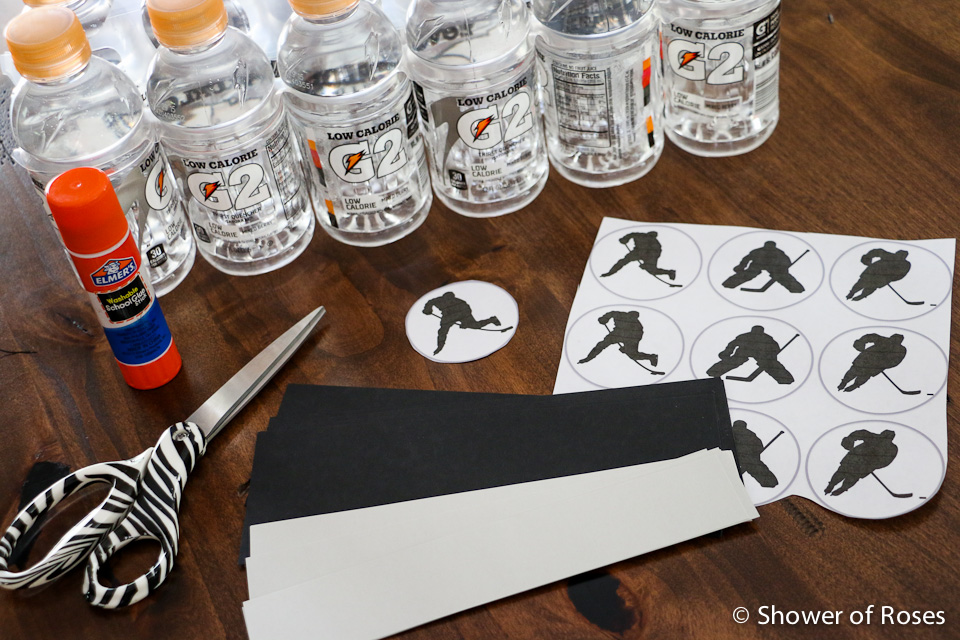
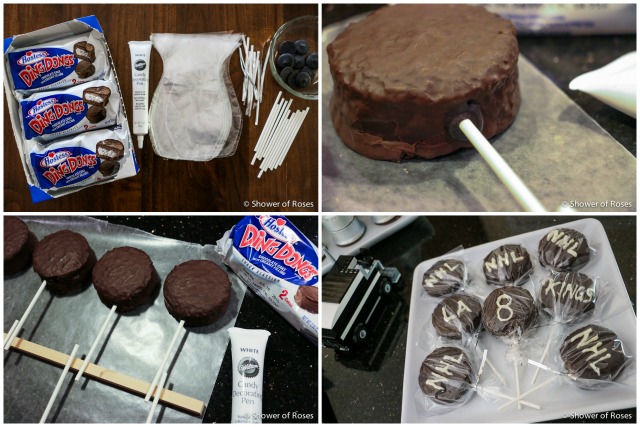


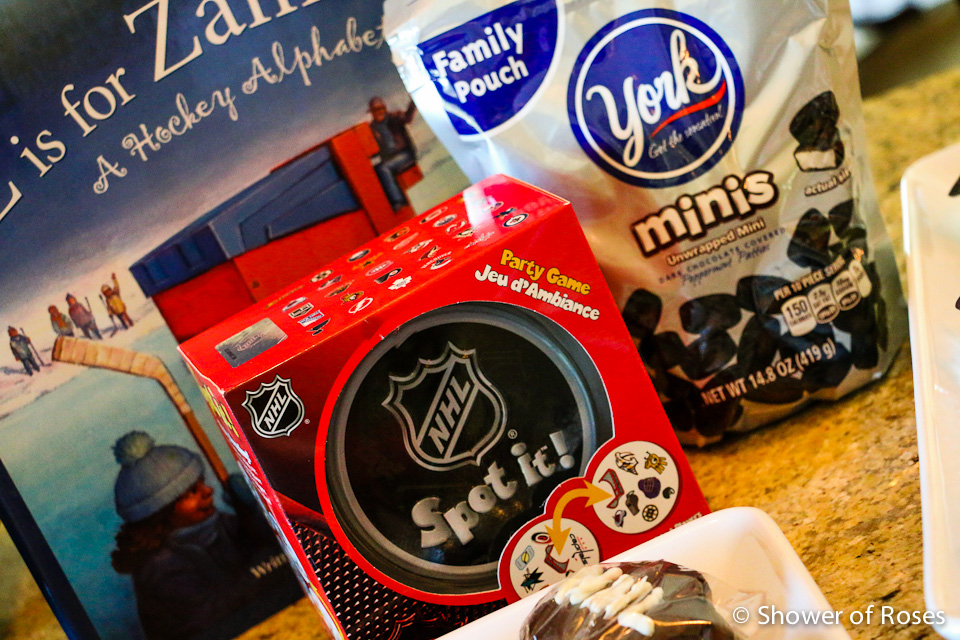
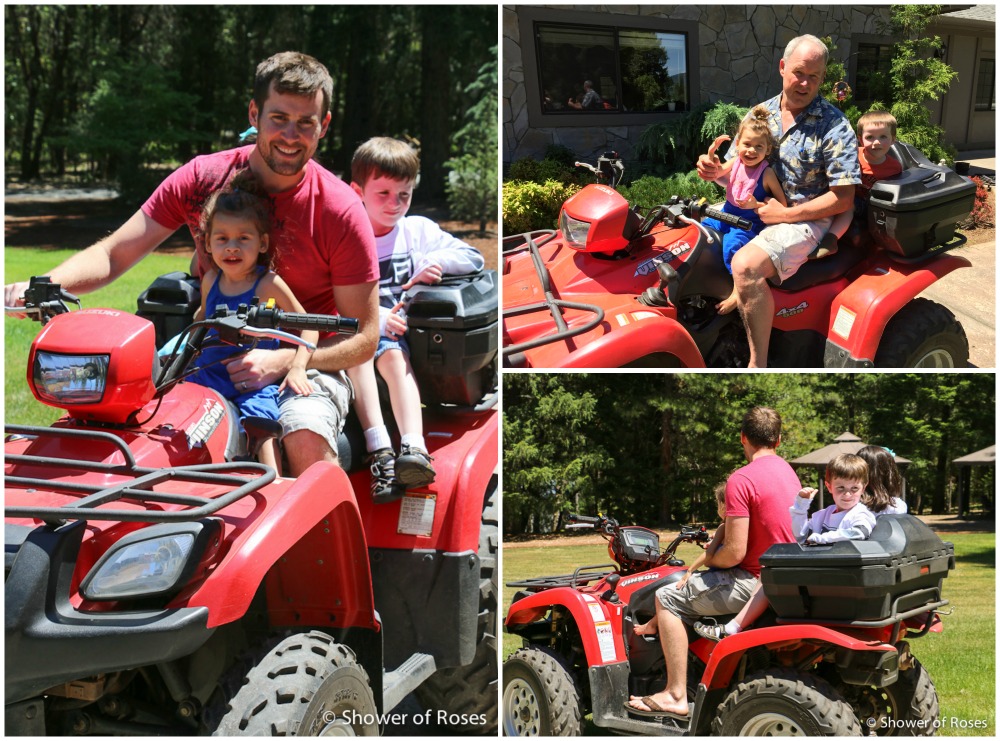
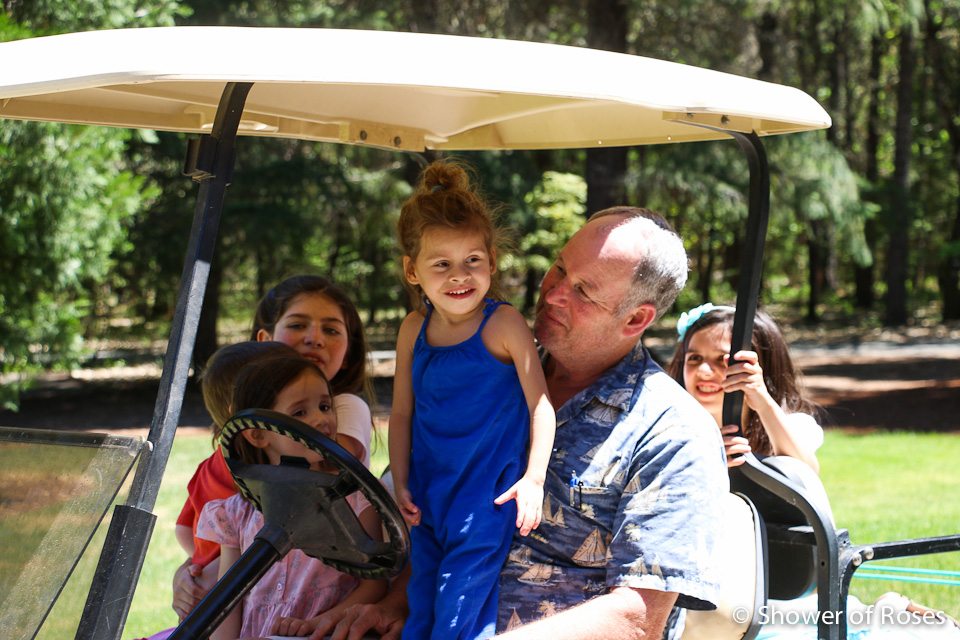
I had a couple games to play including NHL Spot it! and the NHL Bingo I created 7 years ago for one of our older boys’ 8th birthday, but the biggest attraction at Grandma and Grandpa’s house is always getting rides on the golf cart or Grandpa’s quad.





Stanley Cup Ice Cream Cones
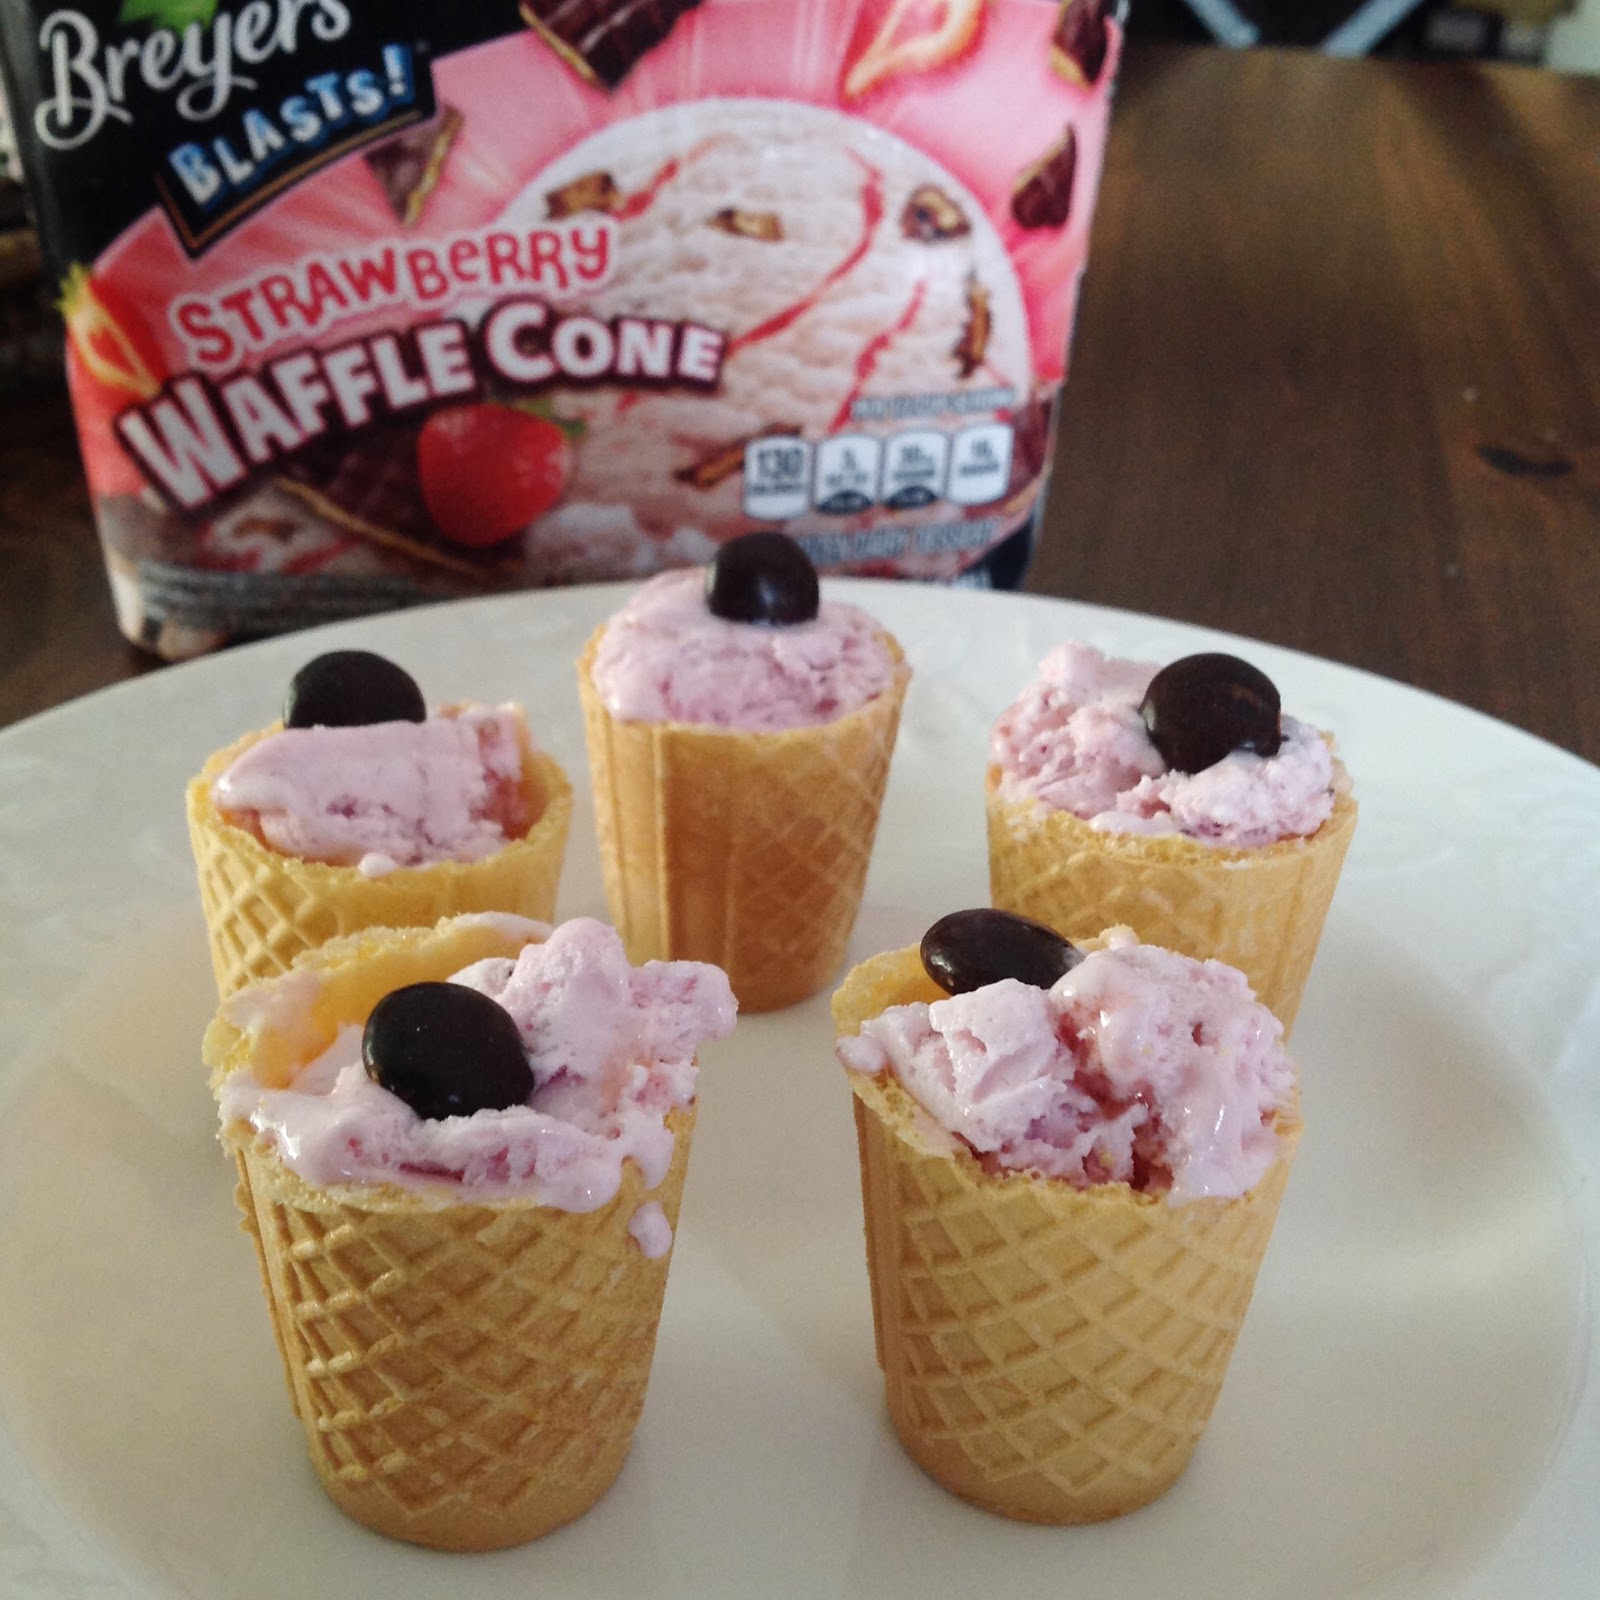 |
| “One of the benefits of helping mom with birthday prep = mini ice cream cones made from some of the leftovers.” – Captain |
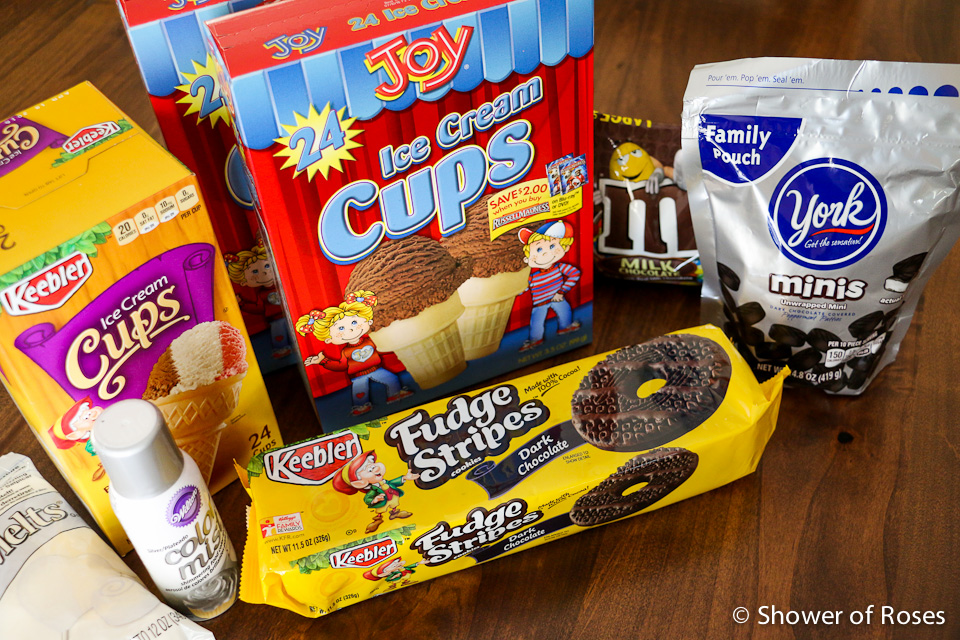
Supplies:
- Joy Ice Cream Cups (2 for each finished treat/cone)
- Keebler Ice Cream Cups (1 for each finished treat/cone)
- Keebler Fudge Stripes
- White Candy Melts
- Silver Color Mist (or use edible silver pearl dust)
- M&M’s
- Cookies & Cream Ice Cream
- York minis (optional)
Directions:
Using a serrated knife, carefully cut off the rounded “cup” area from the Keebler Ice Cream Cup and put aside. We also trimmed the edge of one of the Joy Ice Cream Cups so that the edge would be flat/straight when stacked on top of the bottom Ice Cream Cup.
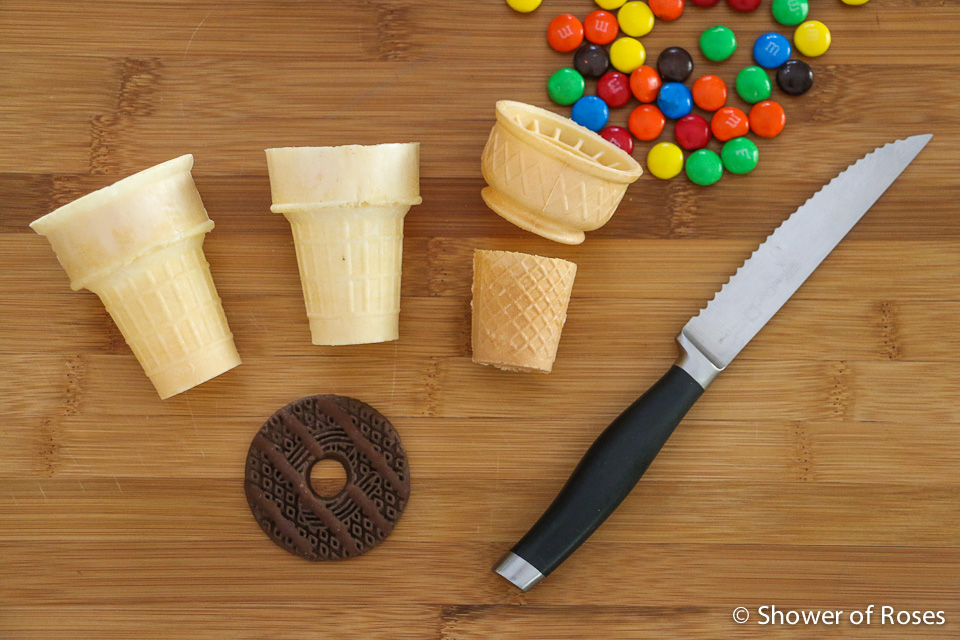
I wasn’t able to find a round cookie the size we needed for the bottom so we filled the center of Keebler Fudge Stripes with a brown M&M and secured it with some melted white chocolate for the base of the Stanley Cups.
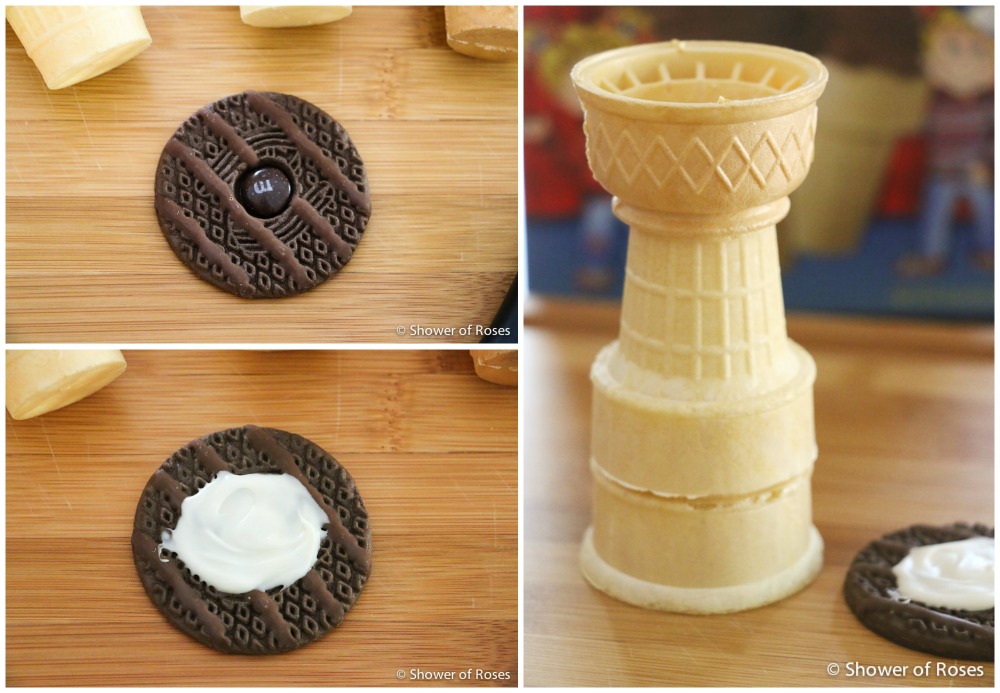
Next, put melted chocolate in a piping bag fitted with a small round tip. (We used a plastic bag with the corned clipped off.) The original directions suggested piping “melted chocolate on the base of the ice cream cup and slide it inside the second ice cream cup, stacking and sealing them together.” We skipped this step so that they could be taken apart during the party and used for Ice Cream, saving the treat side for later.
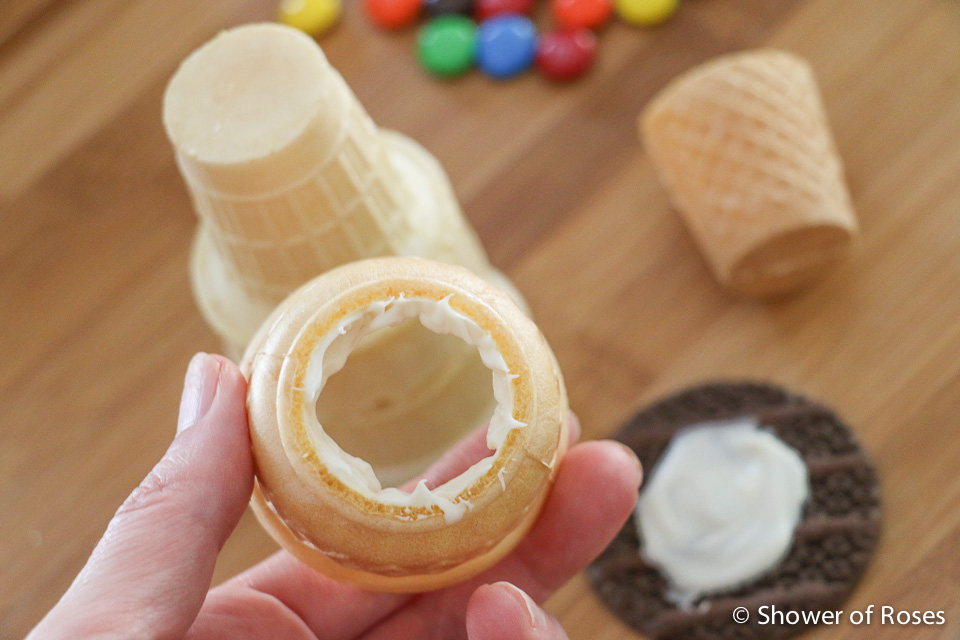
Pipe a ring of chocolate on the top of the Stanley Cup and attach the ice cream cone “bowl” cut earlier on top.
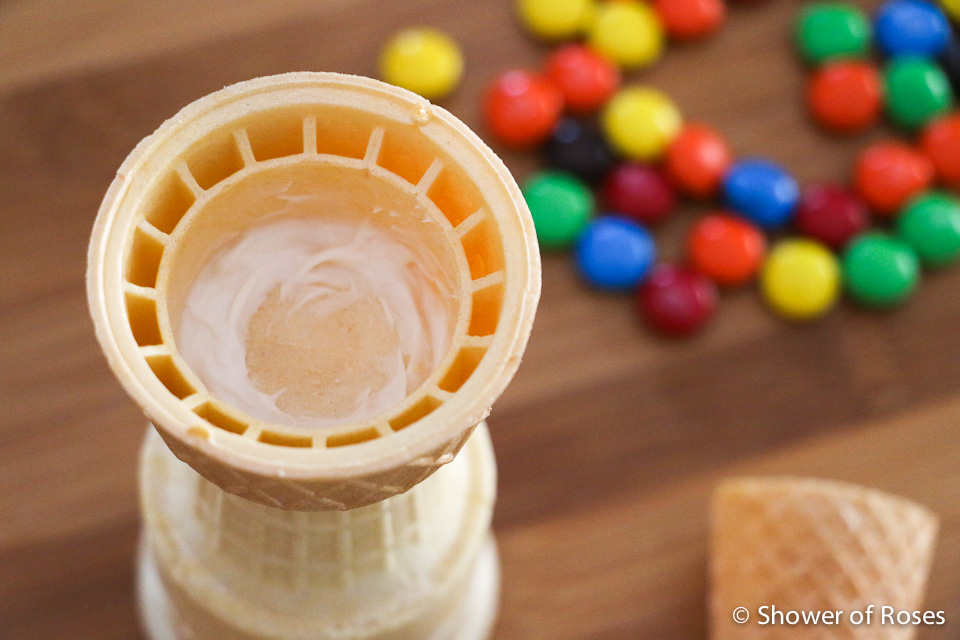
Before filling the bottom cups with treats (M&M’s) and attaching the base (cookie) we temporarily put the cones together and spray painted them silver with Silver Color Mist. This wasn’t the most cost-effective thing to do, and we ended up needing a second can (purchased with 60% off coupons at least) to cover the cones that we made.
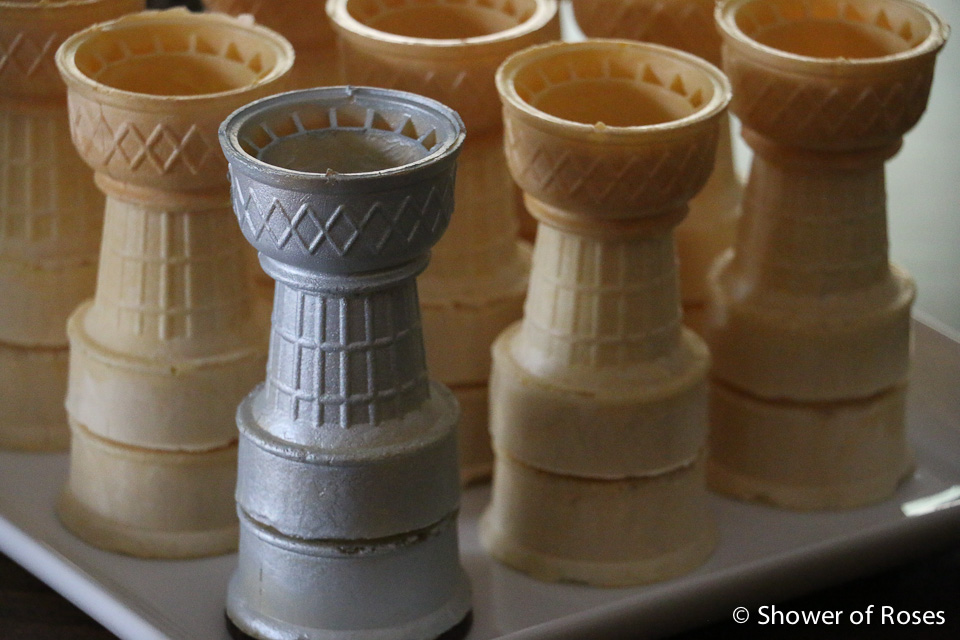
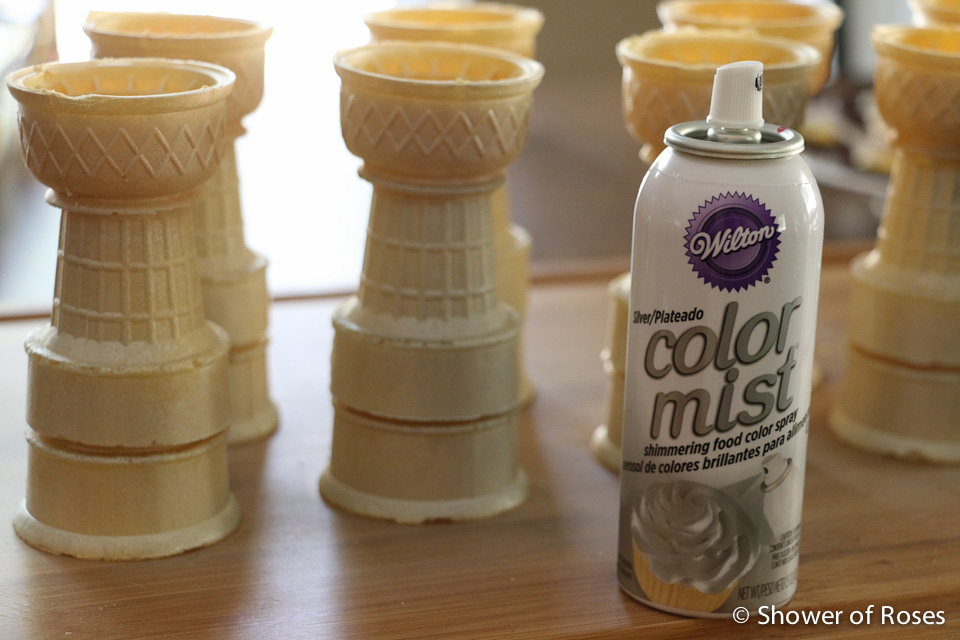
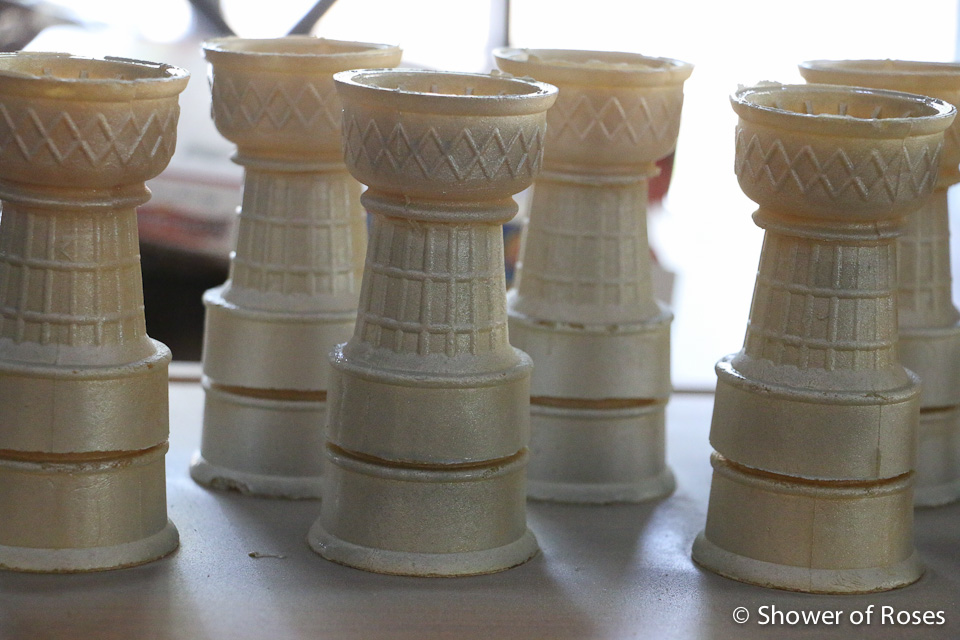
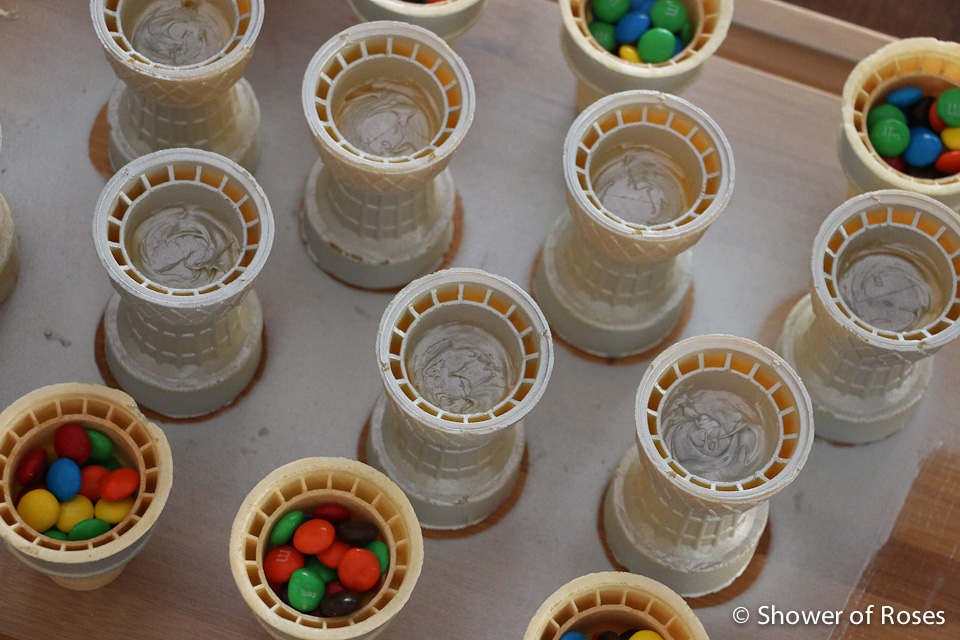
After the silver spray has dried, fill the bottom cup (the ice cream cup that wasn’t trimmed or cut at all) with candy, then pipe chocolate around the edges of the opening and place the cookie over the opening to seal. Stand the ice cream cups cookie-side down.
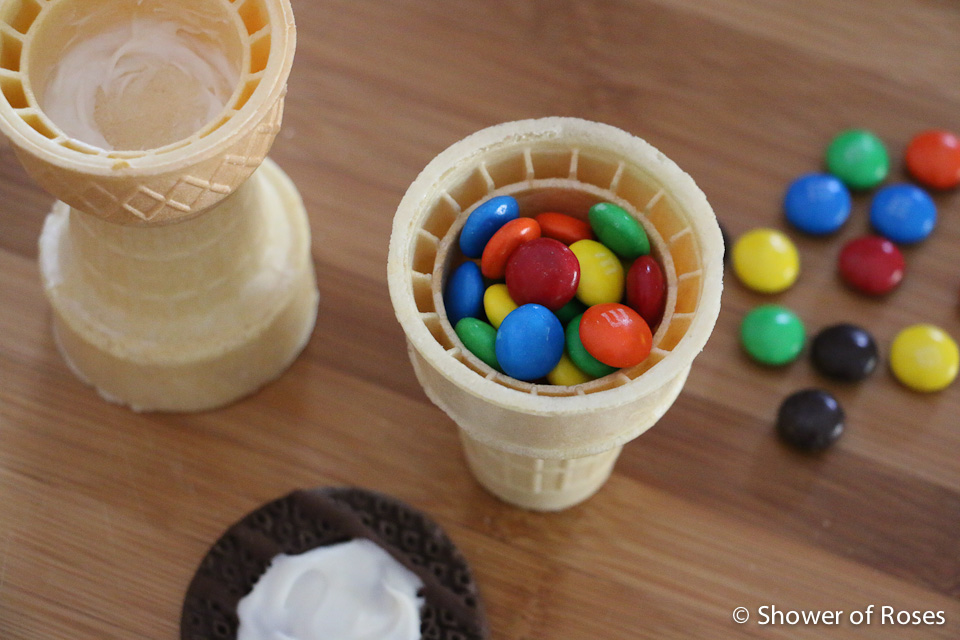
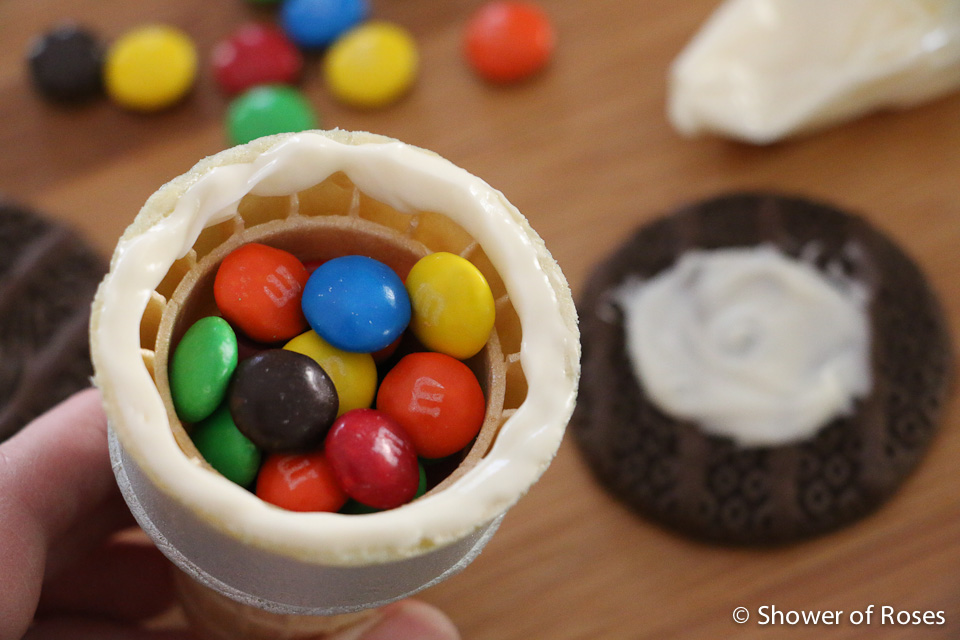
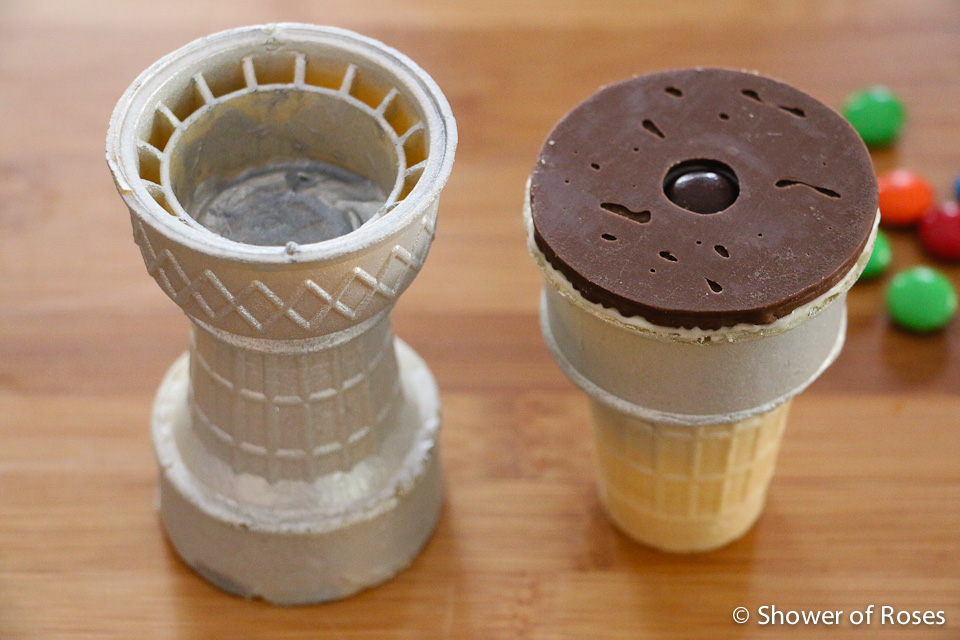
Re-assemble cones, set on tray, and let color and chocolate dry overnight in a cool, dry place.















0 Comments